

The stitch explorer series is a series of stitch tutorial videos I am creating to share with my students, and everyone on the interwebs!
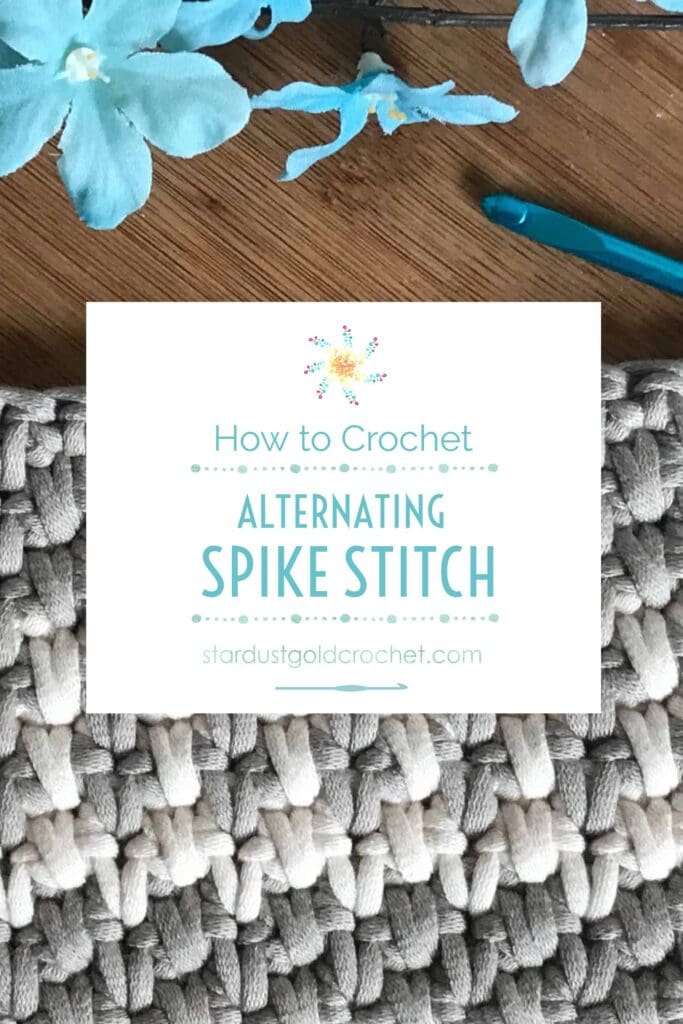
So, a few weeks ago I asked my Facebook friends to choose a few stitches for a project, and they choose all 5! Whew. The alternating spike stitch was one of them. I’m working on a 5 stitch scarf or cardigan (haven’t decided yet!) and this is one of the stitches I will use, so start practicing!
I tried to finish the project I wanted to link with this stitch by today, but crocheted 7 hours yesterday and didn’t finish :(. Oh well! Keep an eye out for the free pattern, which I’ll try to have uploaded by next Wednesday (February 13, 2019) – or at the latest on Friday (February 15, 2019) evening (just in time for you to start hooking it on Sunday, because of course, you’ll have to make a trip to the yarn store on Saturday right? lol)
….Or I can just tell you now!
Go grab some Bernat Maker Home Dec yarn or it’s equivalent. You can find it at most craft stores and even WalMart. For the project, I used Cream & Clay. You will need approximately 3 skeins of the cream & 2 skeins of Clay. You won’t use up all of the skeins, so you’ll have some left over the other next home dec project I have planned too!
So let’s learn this stitch!
The alternating spike stitch is a simple pattern that works by chaining an even number of stitches to start. Then the pattern goes as follows:
+ Special Stitch:
Spike stitch; 1 sc below in the base of the next sc.
Pattern:
Chain an even number of chains.
Row 1:
sc 1 in 2nd chain from hook, and in each chain across. ch 1, turn.
Row 2:
sk 1st sc, *sc 1 in next st, spike stitch below next st* – repeat from * to * to end of row, end with 1 sc in the ch 1. (I recommend marking the ch 1’s from each row, it helps)
Rows 3 – X:
repeat row 2 until you have your desired height.
That’s it! If you are a visual learner, like I know I am, the video tutorial is below. Please take a moment to subscribe to my channel if you’d like to see all the stitch explorer videos. I’ll be premiering one every Saturday – forever (at least that’s the plan)!
This is a great stitch to use for making quick and easy pot holders, or place mats. It will even look great in a blanket or scarf, and it works up really fast once you get the hang of it!
I hope you enjoy this tutorial, and if you have any questions or comments, please leave them below, I would love to talk crochet!
What is your favorite stitch?
What is your favorite type of crochet project?


This is a very pretty and very easy stitch. Thank you