I was sick last week with the funk that is going around ☹. I don’t know what the weather does where you are, but in Memphis, it’s up and down. We tell visitors, “If you don’t like the weather, wait a day!” Yesterday it was 33 degrees and today its 65 😉.
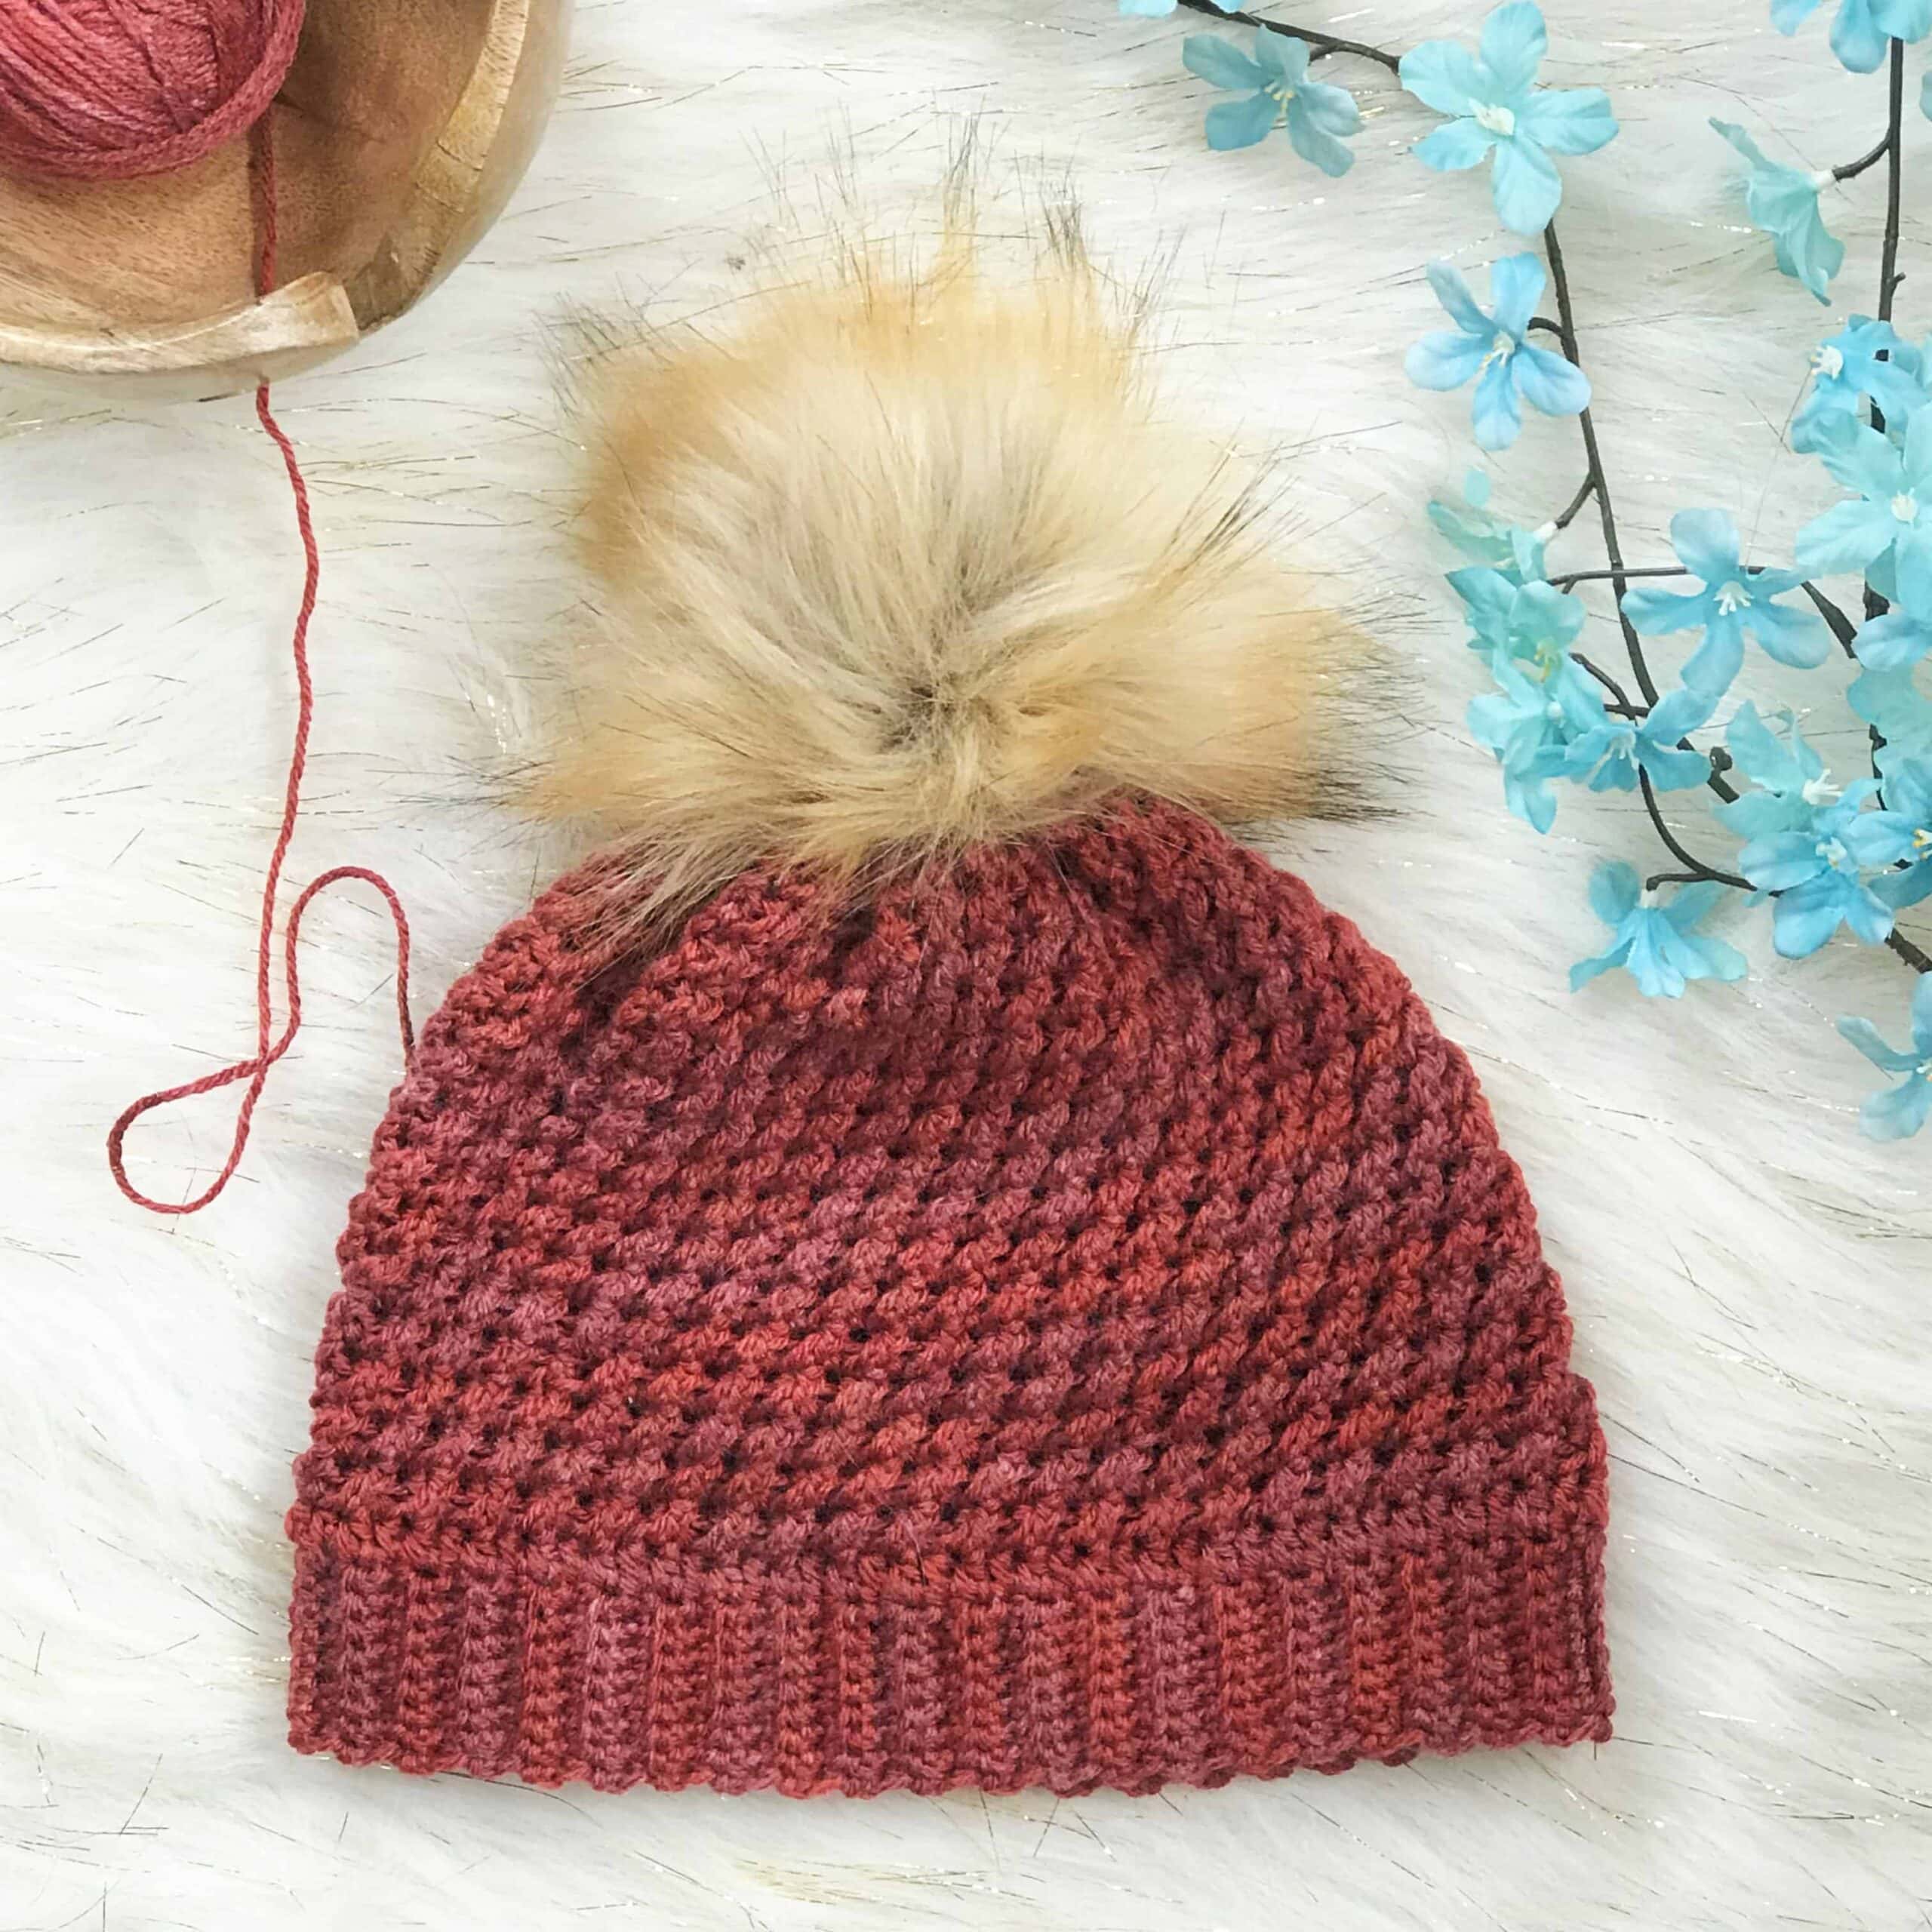
So, while I was laid up, I decided to play around with my new yarn. I found it Hobby Lobby, it’s called Sweet Divinity by Yarn Bee. I absolutely fell in love with all the colors, they are amazing. It’s really soft too and has this faded look in certain spots.
I wanted to create a beanie that would be so easy to adjust it’s ridiculous. I mean, you can make this for anyone, and it will fit. So, I kept it simple. You can create a brim that contains any even number of rows and measures around any head size, including a newborn!
I’ve created a full tutorial for this pattern you can find here on my YouTube Channel, and I’ve embedded it at the bottom of the post. While you’re there, go ahead and subscribe to my channel to get updates on all new tutorials 😊.
So, let’s get started!
Complete Video Tutorial at the Bottom of Post
Add to your Ravelry queue & favorites – please make a project page if you make it! & show some <3 on Etsy
The Lyra Beanie is so easy to modify and combines simple stitches so it’s great for a beginner!
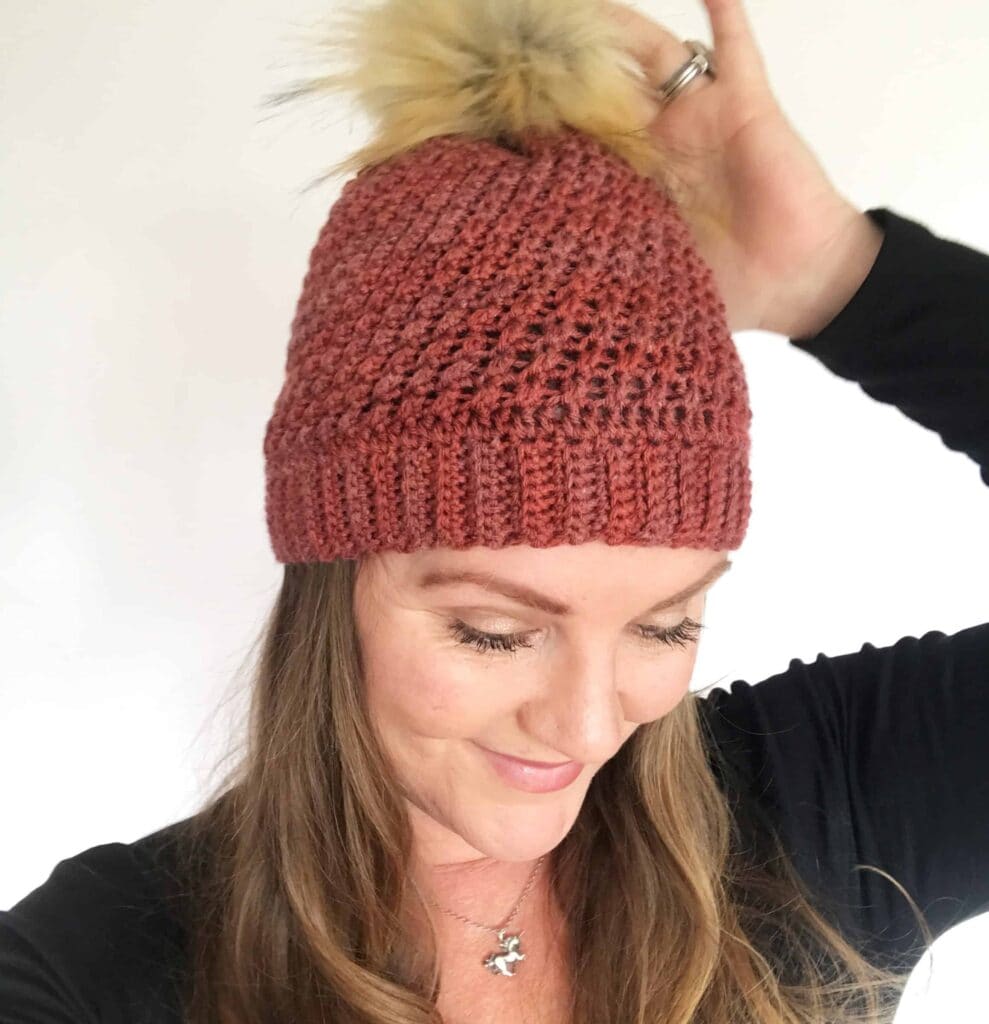
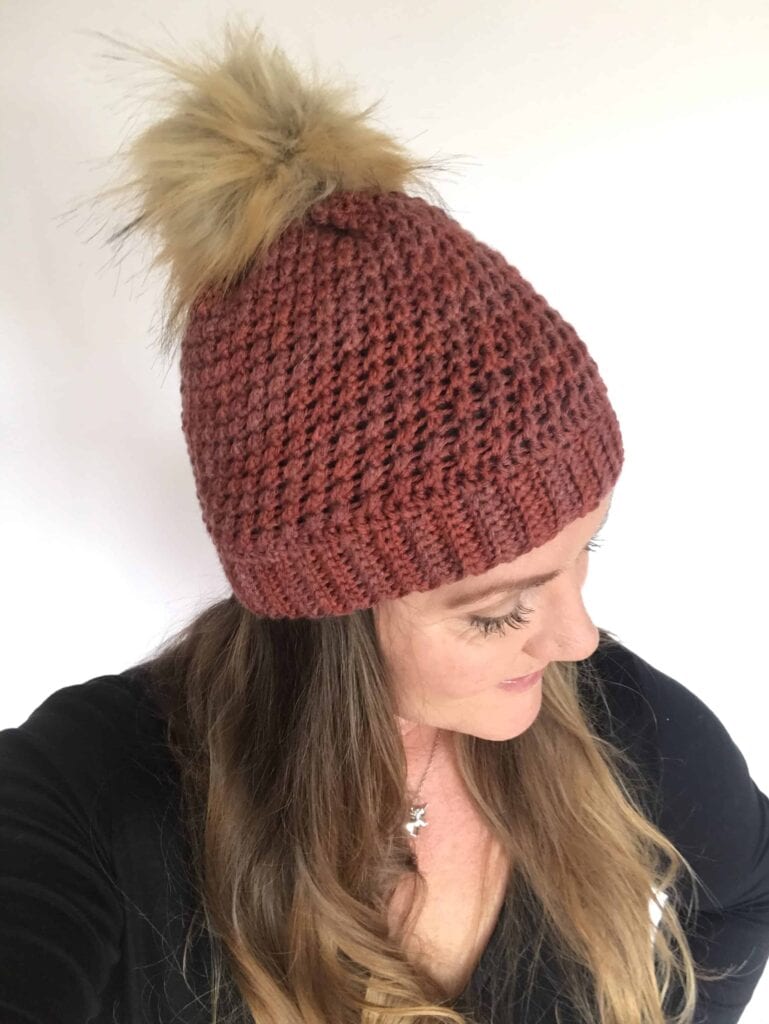
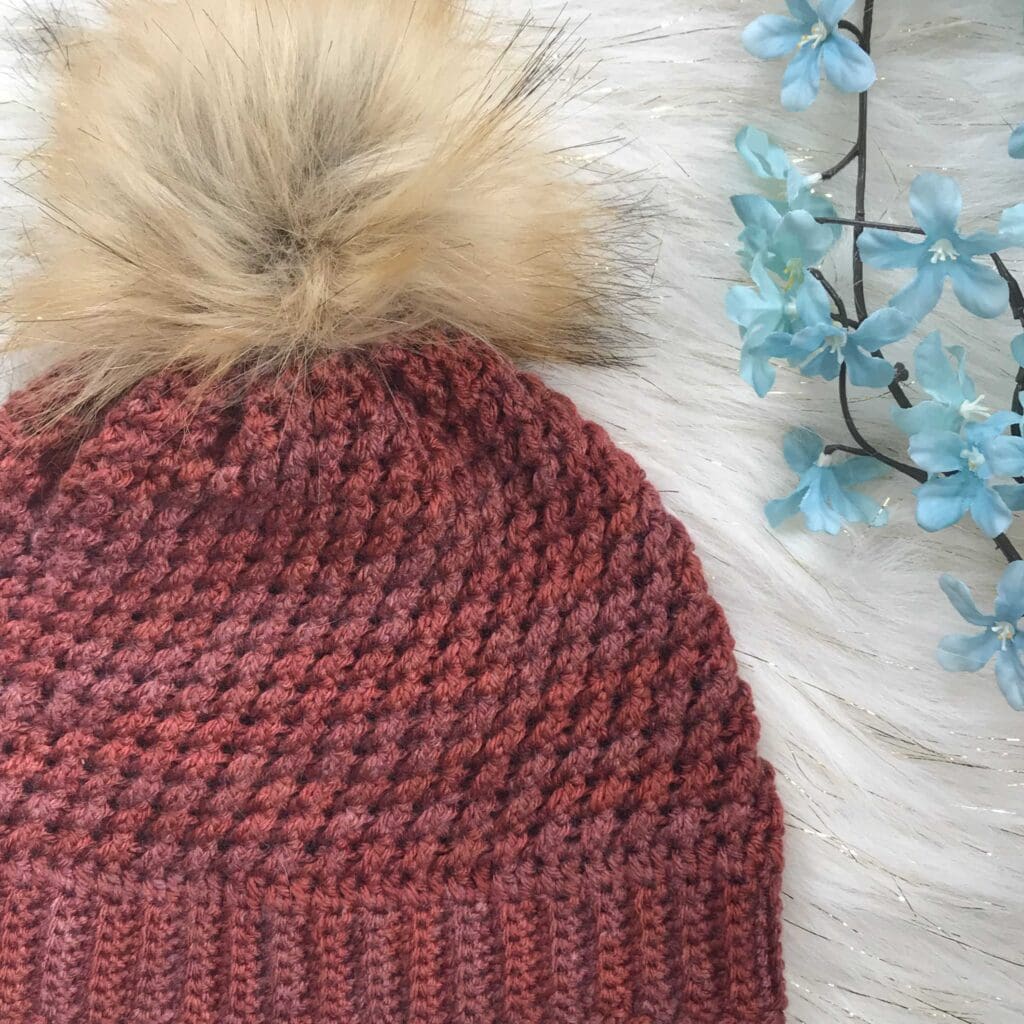
Are you ready to make it? Let’s do this!
Gauge:
Top of Beanie = 5 sts x 5 rows (in the round) = 2 x 2″ (5 x 5 cm)
Brim of hat = 19 rows = approximately 2″ (10 cm)
Gauge instructions:
Brim:
chain 9, sc in 1st ch from hook and in each ch across. *ch 1, turn. sc 1 in next st (both loops), sc 1 in each of next 6 sc, sc 1 (both loops) in last sc of row* – repeat from * to * until you have 10 rows.
Top of Beanie:
Work a foundation chain of 30, join. ch 2, *sk 1 st, dc 1 in next st. hdc 1 in skipped stitch working behind the dc* – repeat from * to * until you have 5 rows.
Materials:
Suggested Yarn:
I used Yarn Bee Sweet Divinity in the colorway Red Clay, this yarn is listed as a 4-weight yarn, it’s lighter, so I suggest using a 3-weight as a substitute.
Suggested Yarn Details:
80% Acrylic, 20% Nylon, 243 yards/ 222 meters (100 g / 3.5 oz) per skein
Yardage Needed:
150 – 175 yds (137 – 160)
Hook Size:
4.5 mm
Scissors
Darning Needle
Pom Pom (optional)
Stitch guide:
sc – single crochet
insert hook in indicated st, yo, draw up a loop. yo, draw through both loops on hook.
dc – double crochet
yo, insert hook in indicated st, yo, draw up a loop, *yo, draw through 2 loops* – repeat from * to * until you have one loop left on the hook.
yo, insert hook in indicated st, yo, draw up a loop, yo, draw through all three loops on hook.
Abbreviations:
| sc | single crochet |
| dc | double crochet |
| hdc | half double crochet |
| RS | right side |
| WS | wrong side |
| sl st | slip stitch |
| blo | back loop only |
| ch | chain |
| rnd | round |
| ch | chain |
| st(s) | stitches |
PDF is available on Ravelry here for $3.99
+ Size(s):
Beanie has negative ease of about 3.5”
Lyra beanie is designed to be adjustable to any size head, including newborn, instructions on special sizing within pattern.
The written pattern below is for the beanie in the sample photos and will fit average woman’s head circumference of around 21 – 22.5”
The following is a guide on how to customize your beanie and why I decided to write it like this.
Some say it’s lazy to not exclude instructions for all sizes – not if ones goal is to help others to learn the art of designing. My goal is to help you learn to fish, not give you a fish ;).
Sizing adjustments happen in 3 ways: 1. The number of chains you use for the width of the brim. 2. The number of rows you crochet for the circumference of the brim. 3. The number of rounds you crochet for the top of the beanie.
+ Customize for your perfect fit
The pattern is worked in even numbers.
Grab a pen and paper 😊. You’re going to write some things down.
I wanted to create a beanie that will carry over for any size head, from baby to adults, and you can use any yarn / hook size you want to create a truly unique beanie.
Use these sizing guides below to help you create a perfect fit for you or your loved one. If you use the recommended yarn and hook size, the brim has a negative ease (meaning it is smaller than head circumference) by about 3.5”.
To give you an idea of the stretch, my brim (before joining) measured 19” and my head circumference is 22.5” – so it stretches quite a bit.
So when you take your measurement, subtract about 3.5″ and that is the length of rows you want to create for your finished beanie. Of course, you can try it on and see if you like the stretch and add or subtract accordingly.
Then work as many rows as you need to get that perfect fit, remember to work an even number of rows.
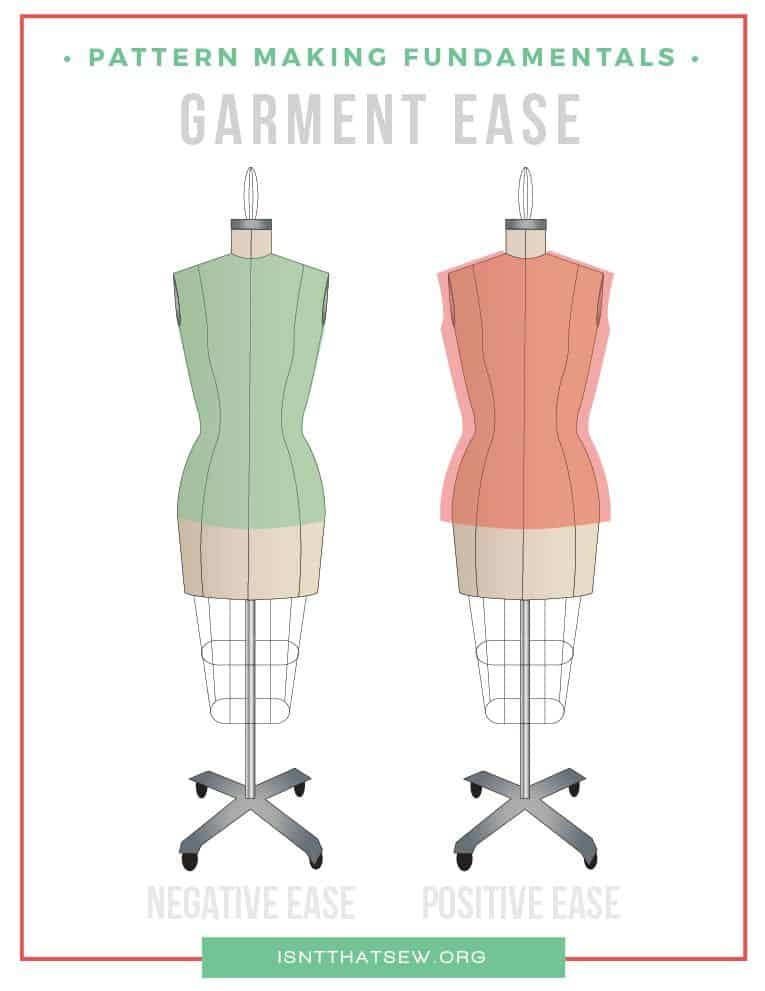
Here is an example of what negative and positive ease are (in case you are wondering) :). Negative ease is smaller than the body measurement and positive ease is larger. No ease means it fits exactly to body measurements. To learn more about ease, check out the Isn’t it Sew article on ease.
Brim width:
The brim in my sample is 8 sts wide and measures 1.5″. Of course, you can downsize this for babies, toddlers, and child sizes. I’d recommend a 3 or 4 stitch brim for babies, and 5-6 stitches for toddlers/children.
TIP: For an accurate head measure, place a tape measure across the forehead and measure around the full circumference of the head, keeping the tape measure snug.
General Head Circumferences:
source: https://www.craftyarncouncil.com/standards/head-circumference-chart
If you don’t have someone to measure, you can use these as a guide. If you go with the middle number, you should be good!
example: If you are making it for a preemie. go with 10″, then subtract about 3 – 3.5″ off that. So, your brim should measure about 7 – 7.5″ before joining. If in doubt, go up, not down.
(the measurements below do not include ease)
| inches | cm | |
| Preemie | 9 – 12 | 23-30.5 |
| Baby | 14 – 16 | 35.5 – 40.5 |
| Toddler | 16 – 18 | 40.5 – 46 |
| Child | 18 – 20 | 45.5 – 51 |
| Tween | 20 – 22 | 51 – 56 |
| Woman | 21 – 23 | 53 – 58.5 |
| Man | 22 – 24 | 56 – 61 |
- Remember to count your stitches 😉.
- Pattern is created by working the brim, then working the crown.
- Pattern is worked in the round.
Pattern:
Brim:
Using 4.5 mm hook, chain 9.
Row 1: Sc in 1st ch from hook and in each ch across – 8 sc.
Row 2: Ch 1, turn, sc 1 in 1st sc, sc 1 (
R3 – R84: Repeat row 2 – until you have 84 rows or 19” (or any even number of desired rows to fit your measurements).
Joining Brim:
Join brim by bringing sides together, work through both loops of each st across with sl st (8 sl sts).
You will end up with the starting tail on top, where you will begin the top of the hat, you can weave in the tail at any time. Turn the brim inside out, so you’re working right to left.
finished with brim.
General Crown Height:
When deciding how tall to make your beanie, use the guides below. Measure from the bottom of the brim to the top of the last round.
(these measurements include the brim)
note: 5 rnds = 2” so mine measured about 7” + 1.5” for the brim and totaled 8.5” from bottom of brim to top of hat.
| inches | cm | |
| preemie | 4.25 | 11 |
| newborn | 5 | 12.5 |
| 6 months | 5.75 | 14.5 |
| 12 months | 6.5 | 16.5 |
| child/teen | 7.26 | 18.5 |
| adult | 8.25 | 21 |
| large adult | 9.25 | 23.5 |
Top of Beanie:
Rnd 1: Ch 1, hdc 1 (or sc 1) in top of each row for a total of 84 hdc (sc), join in ch 1 – 84 sts.
Rnd 2: Ch 2, *sk 1 st, dc 1 in next st, hdc 1 in skipped stitch (working behind the dc)* – repeat *…* to end of round, join in 2nd ch of ch 2 – 84 sts.
Rnd 3 – 17: Repeat rnd 2 until your hat measures approximately 8” from bottom of brim to top.

+ Assembly for Top of Beanie:
With seam facing you and WS out, position the beanie like this, top side up. Sew together both pieces as pictured below, working through top loops of the stitches
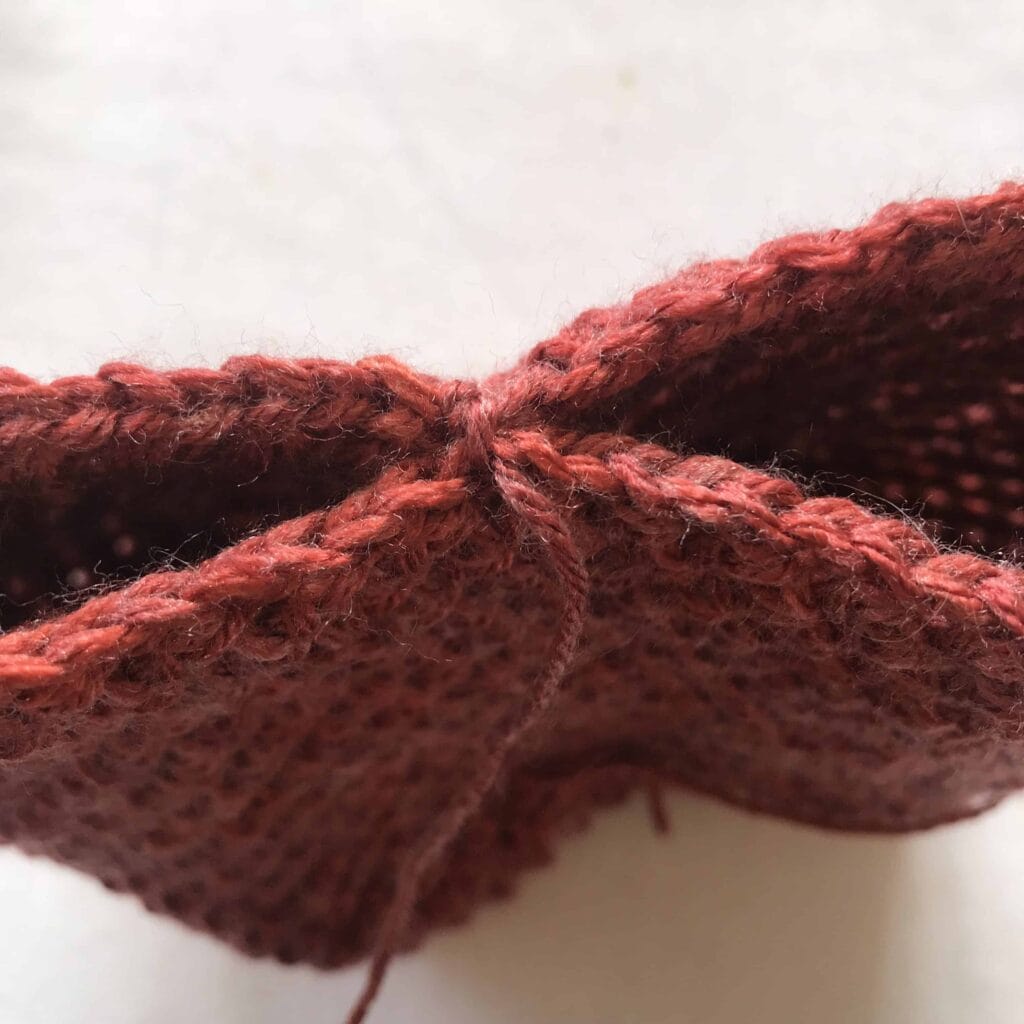
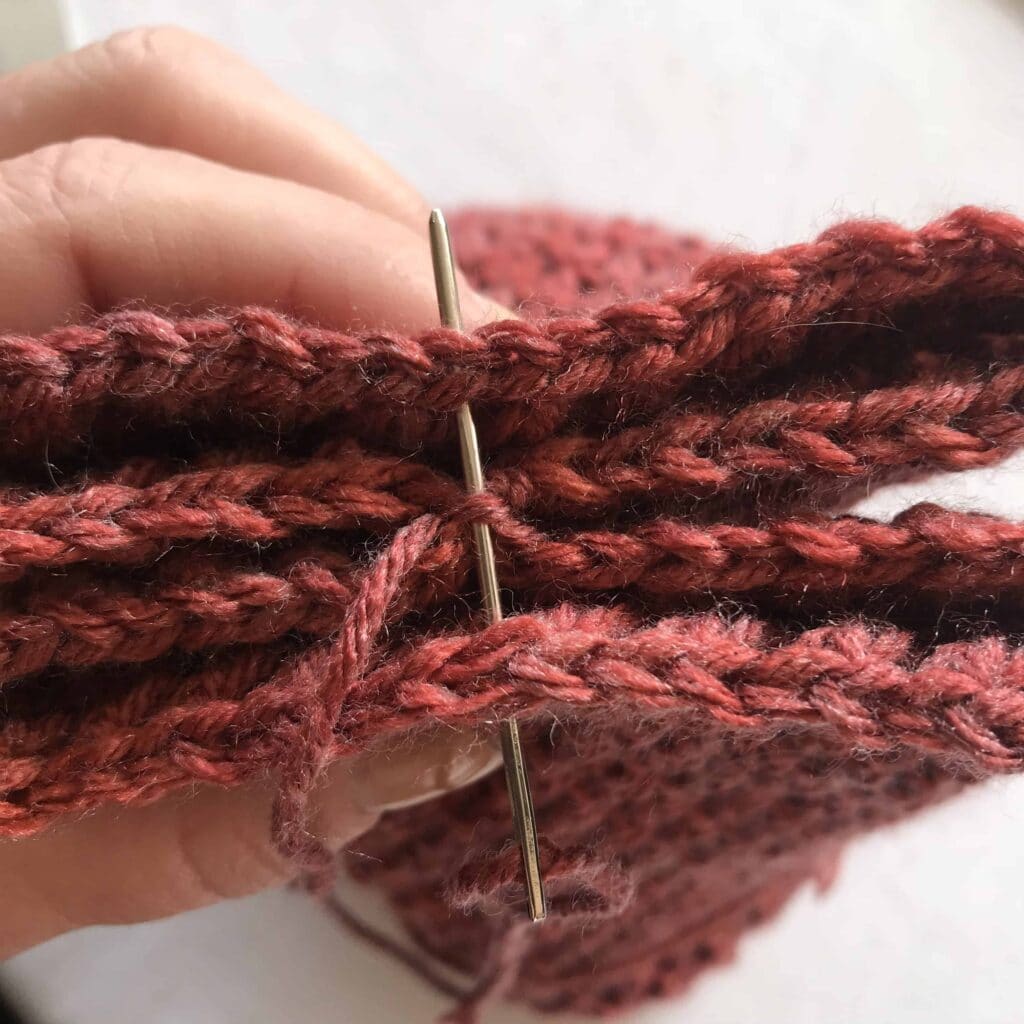
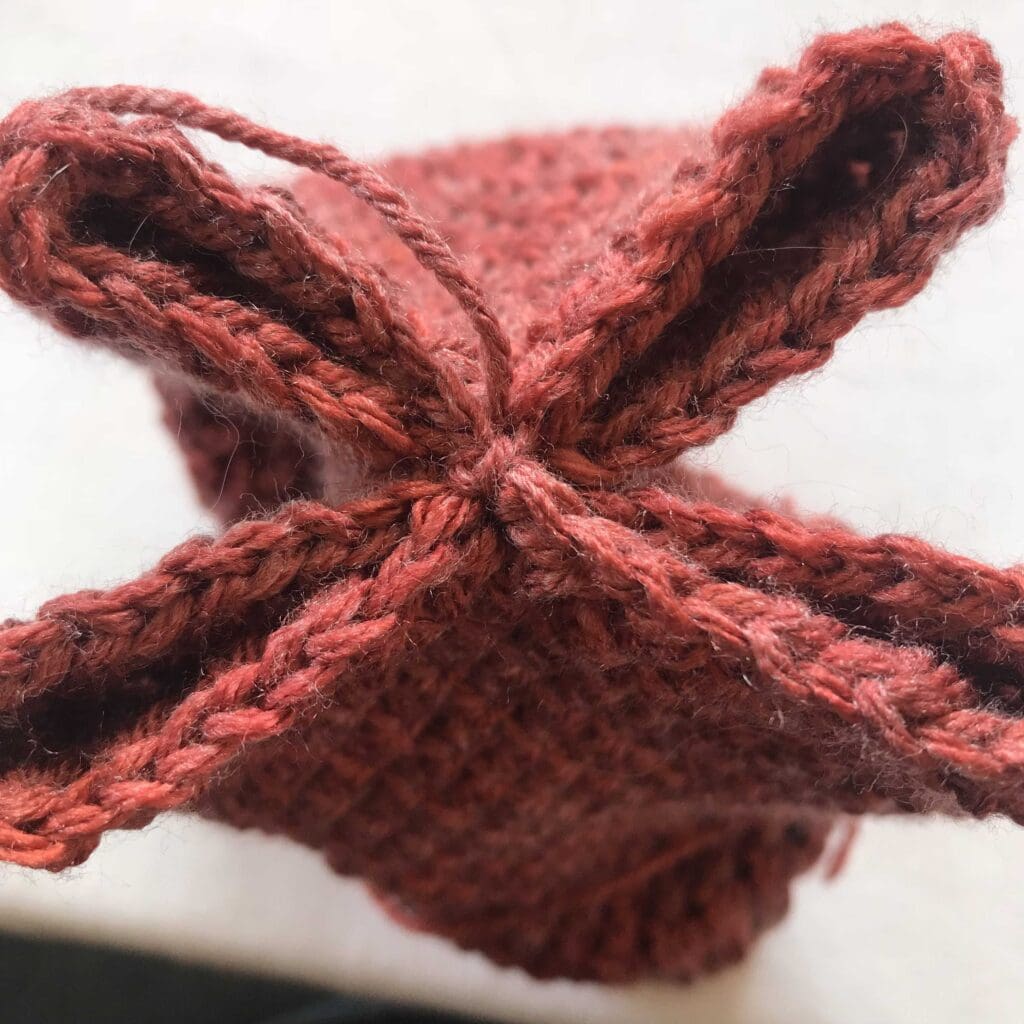
Keep sewing in all corners to the center until all the holes are closed.
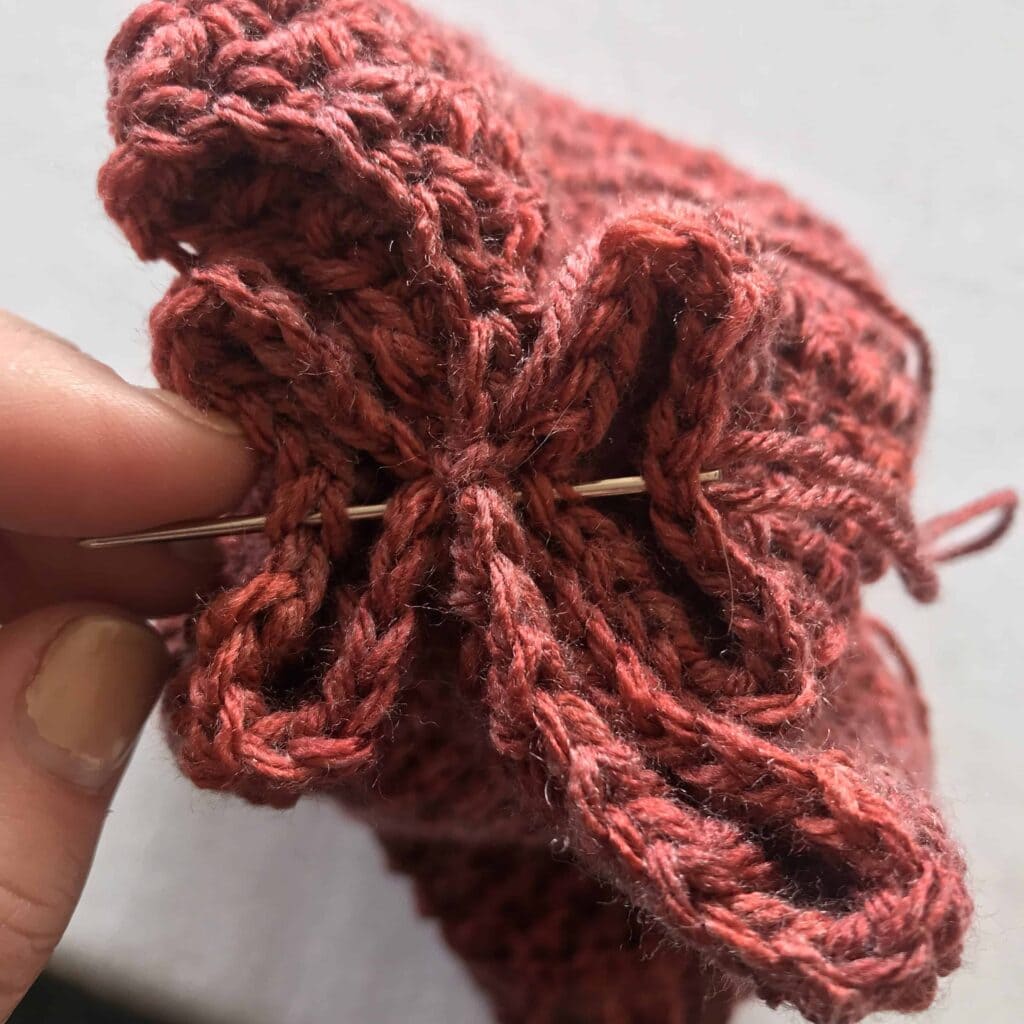
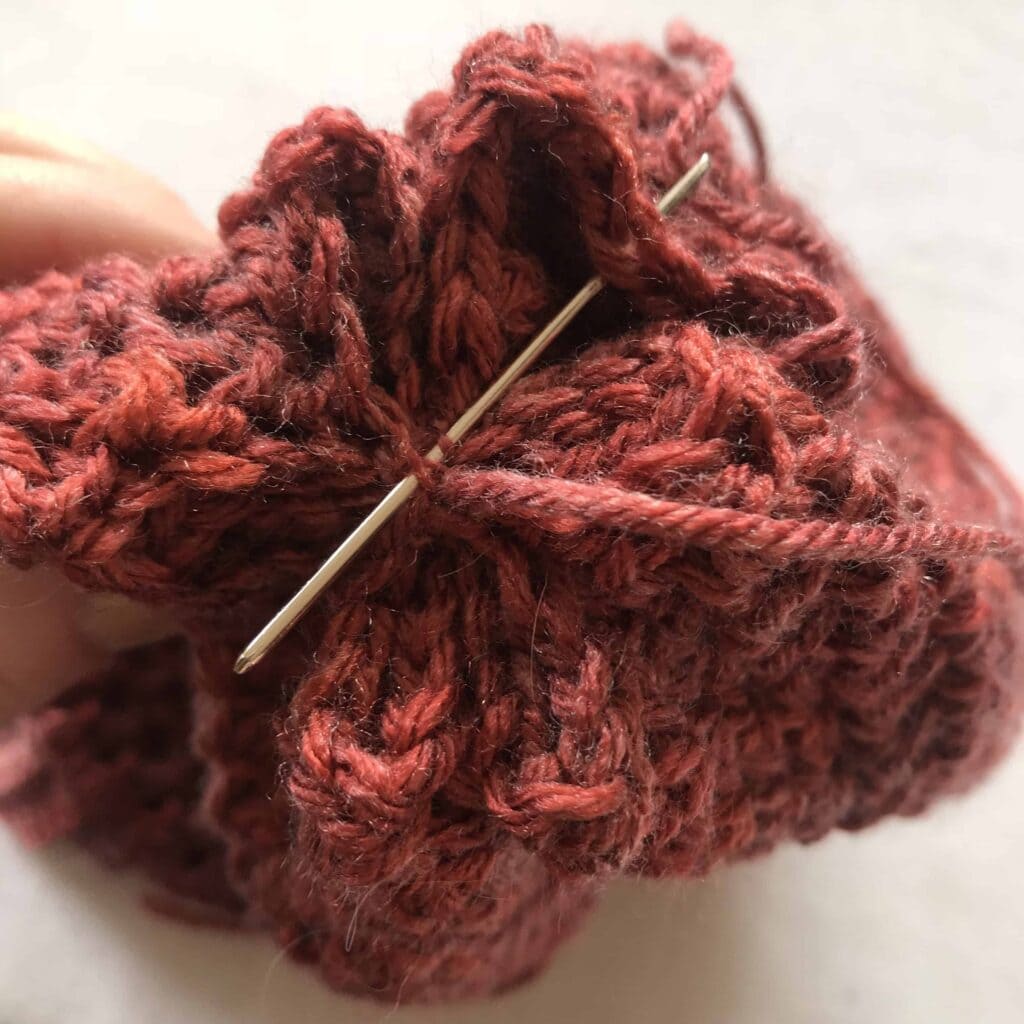
Leave a long tail for attaching pom or leave it bare! It’s up to you 😊. Weave in all tails.
Turn RS out and attach pom pom.
Pom Pom is optional! I went ahead and bought some online at Amazon that have a little loop at the bottom, so I can safety pin it when I feel like a pom pom and just take it off when I don’t want one 😉.
Congratulations! You’re finished!
I’d love to see your work!
#stardustgoldcrochet #lyrabeanie
Thanks for stopping by and making beautiful things with me,
If you’d like to collaborate with me, please send me a message or leave a comment, I would love to work with you!



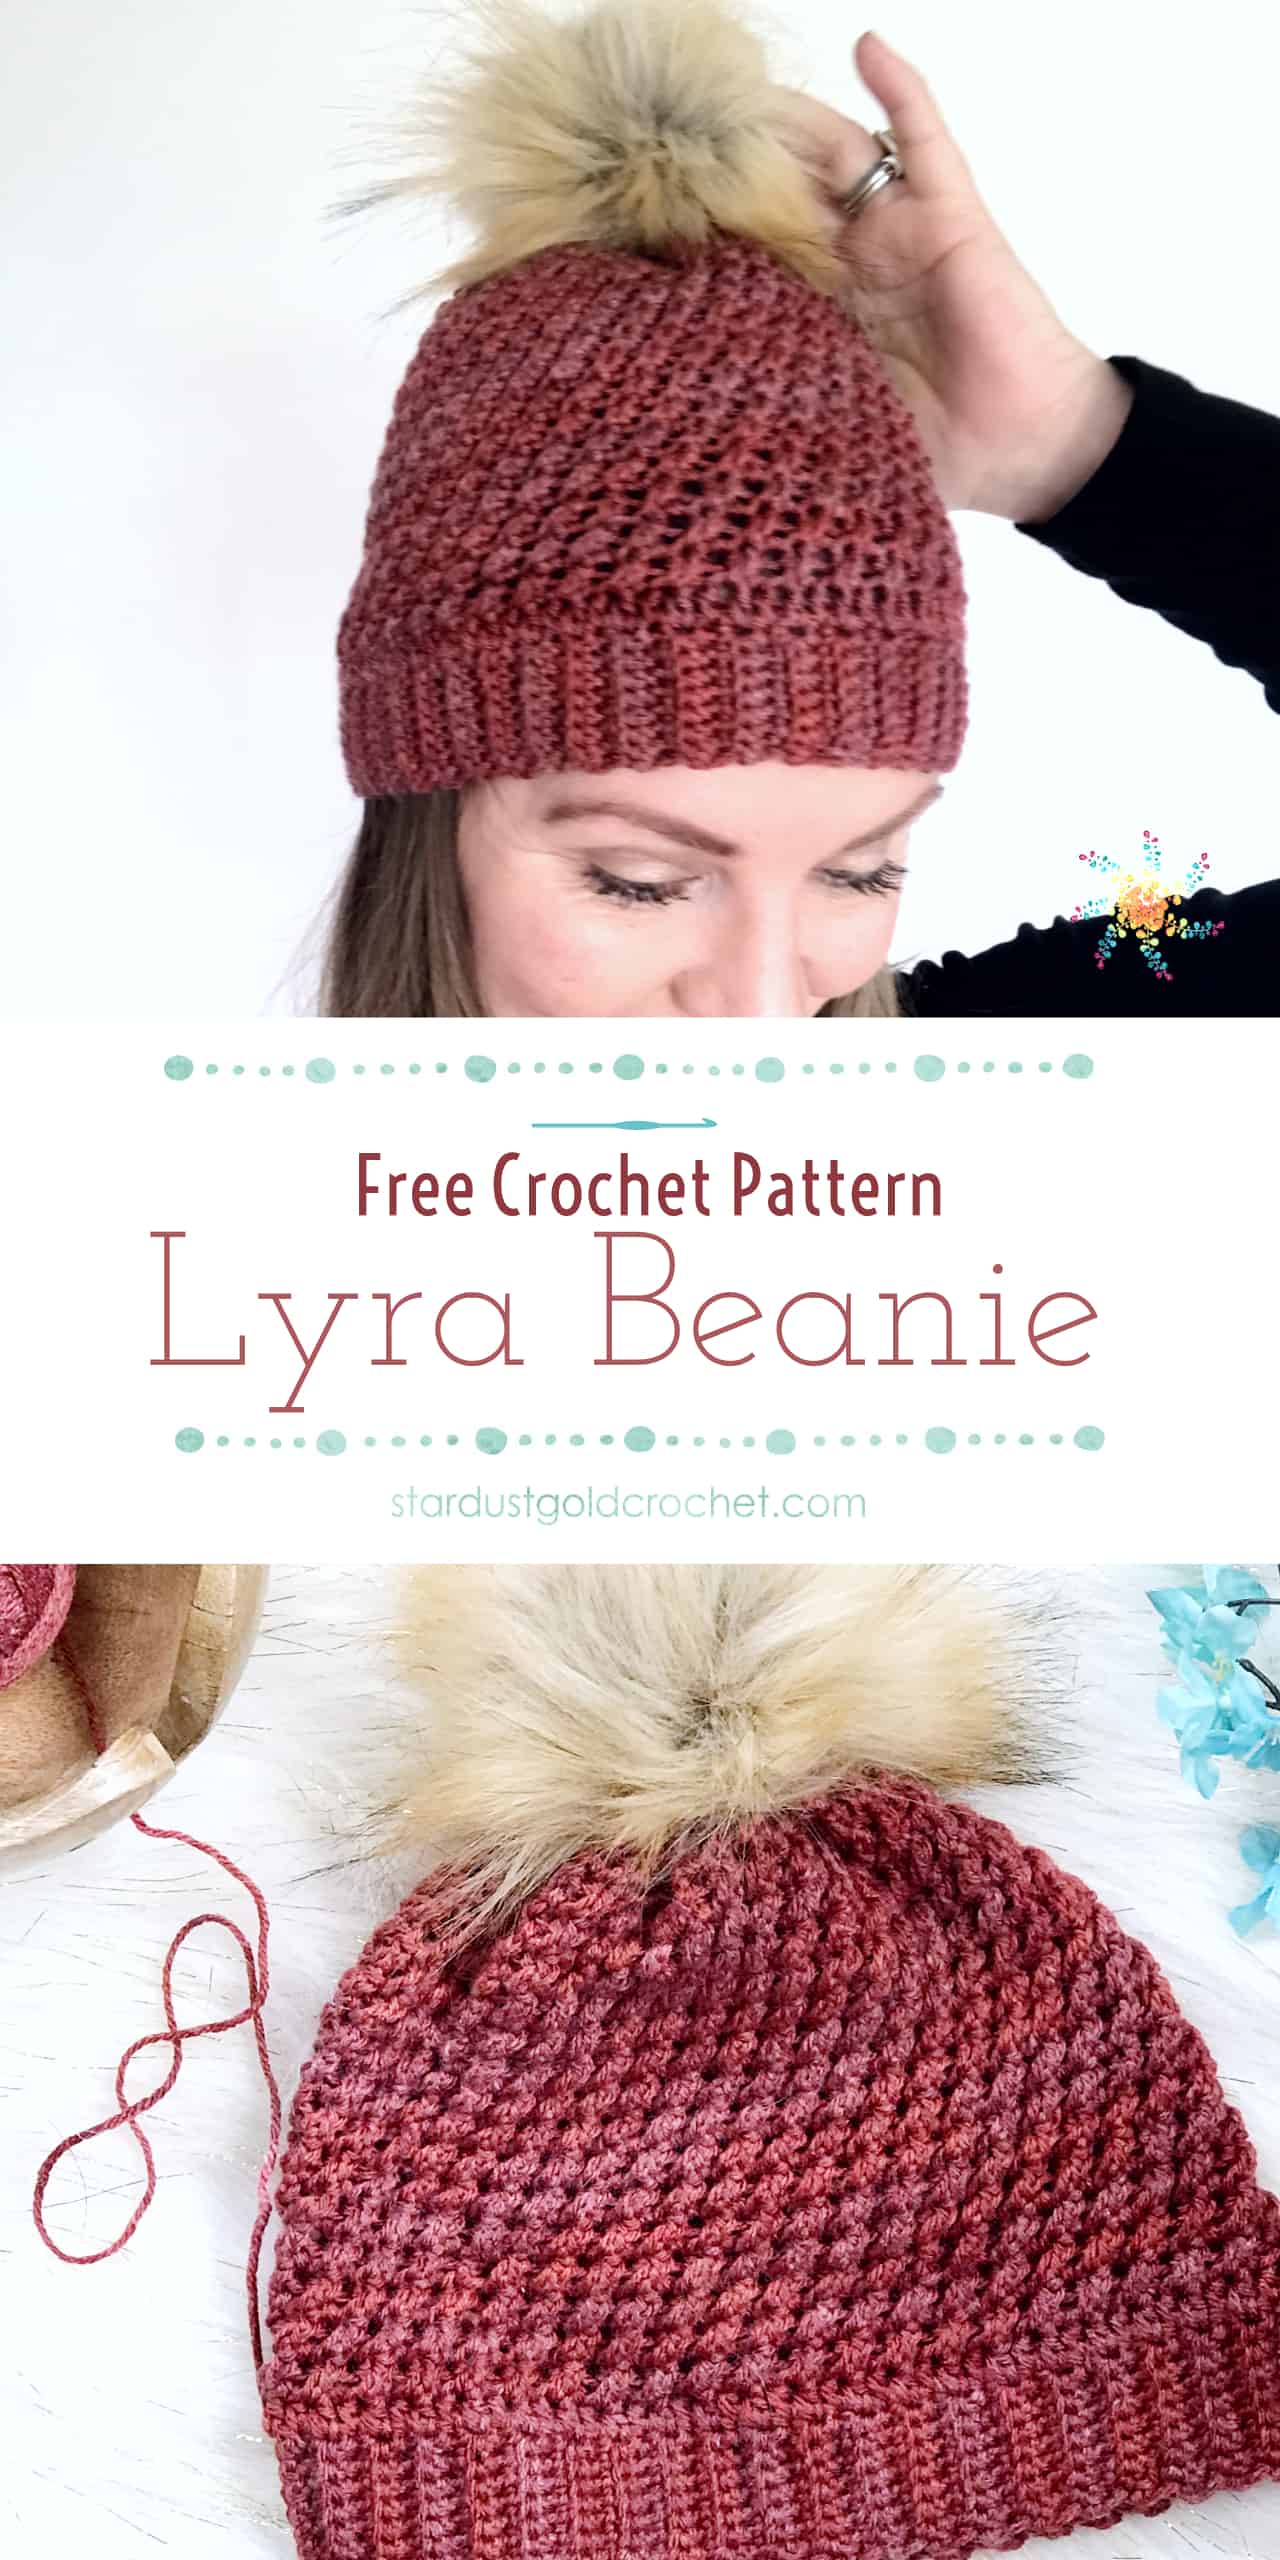
Pin It!
All photos and pattern are property of Stardust Gold Crochet.
Feel free to sell items created from this pattern, but please do not copy, distribute, or sell this pattern as your own.

such a cute hat! i just finished making one as a birthday gift and i like it so much i’m going to make one for myself 🙂
Very easy and very nice! Thanks.
So cute!! I love that color!