
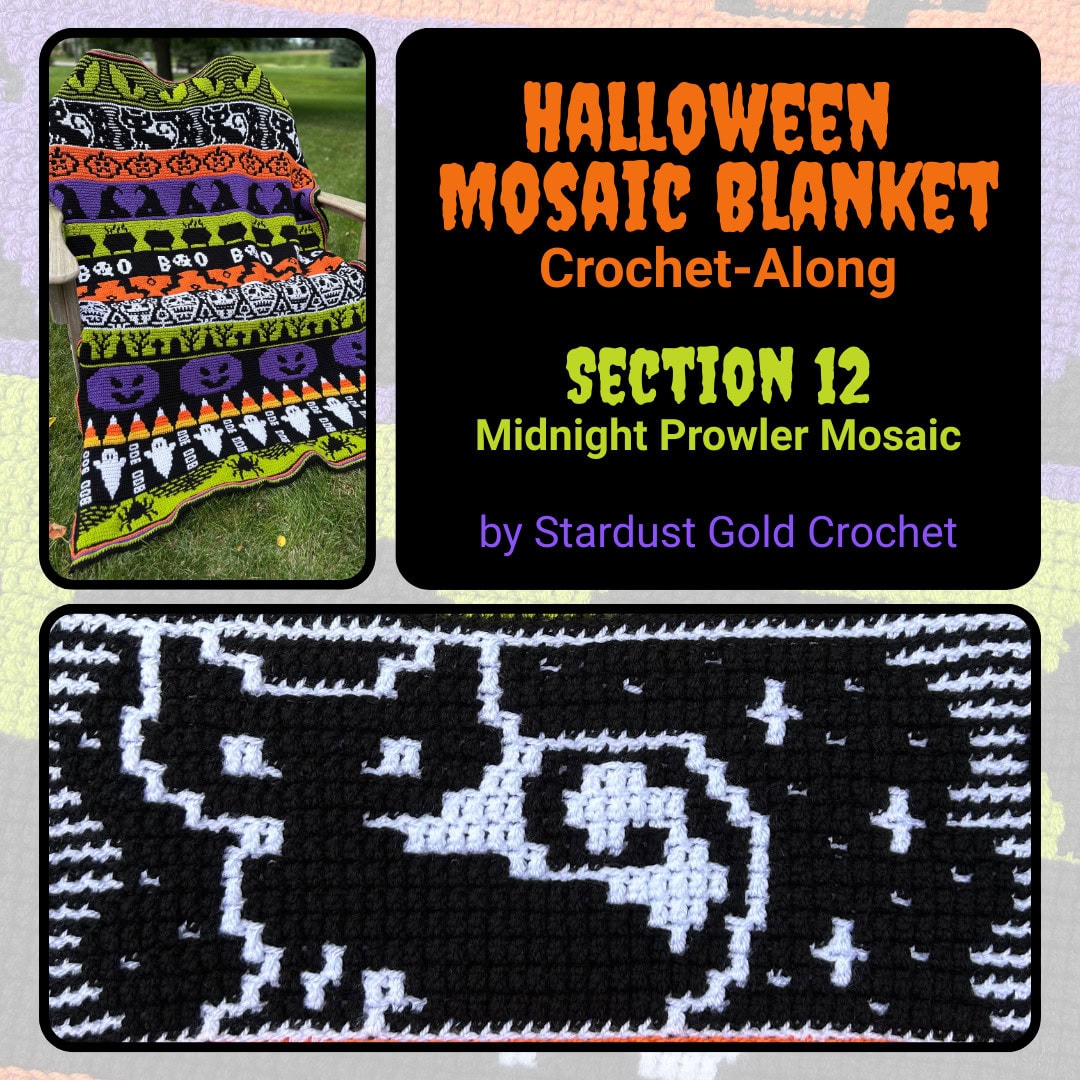
It’s officially Halloween season, and what better way to celebrate than with the Halloween Mosaic Blanket Crochet Along hosted by Remington Lane Crochet!
Read more about the CAL in this post: Halloween Mosaic Blanket CAL.
This mosaic crochet pattern works up in two classic colors—black and white – or use a dark grey like I did
Inside this blog post, you’ll find:
- Links to the full eBook 🧶
- Mosaic chart 👍
- Links to video tutorials for those new to mosaic crochet 🎥
Crochet Pattern Support
I hope you enjoy this easy pattern. Pattern support? Head over to Stardust Gold Crochet & Friends.
- If you are looking for a drama-free crochet group, check out my pattern support group, Stardust Gold Crochet & Friends
- We have fun and share crochet patterns, stories, and courses; you can ask me about any pattern in my library for support.
Get the Full Pattern

New to Mosaic Crochet?
If you are new to mosaic crochet, please scroll on down to the bottom of the post for a walk through and video link. It’s easier than you think!
Table of contents
Black Cat Mosaic Crochet Blanket Panel

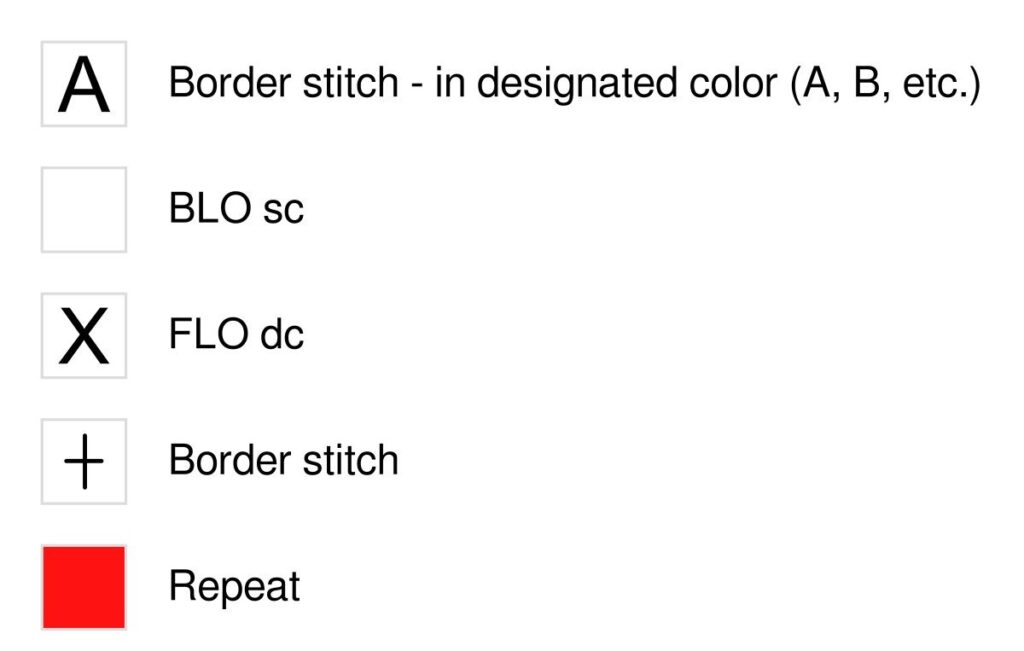
Abbreviations / Legend
Reversible Mosaic Crochet
Reversible Mosaic Crochet is created by working the back side of the work at the same time you work the front side. It may sound a little confusing at first (and it takes a little time to get used to it) but it creates a mirror image of the front side and it is absolutely beautiful!
I used this reversible mosaic crochet tutorial to learn how to do reversible mosaic crochet and it worked great!
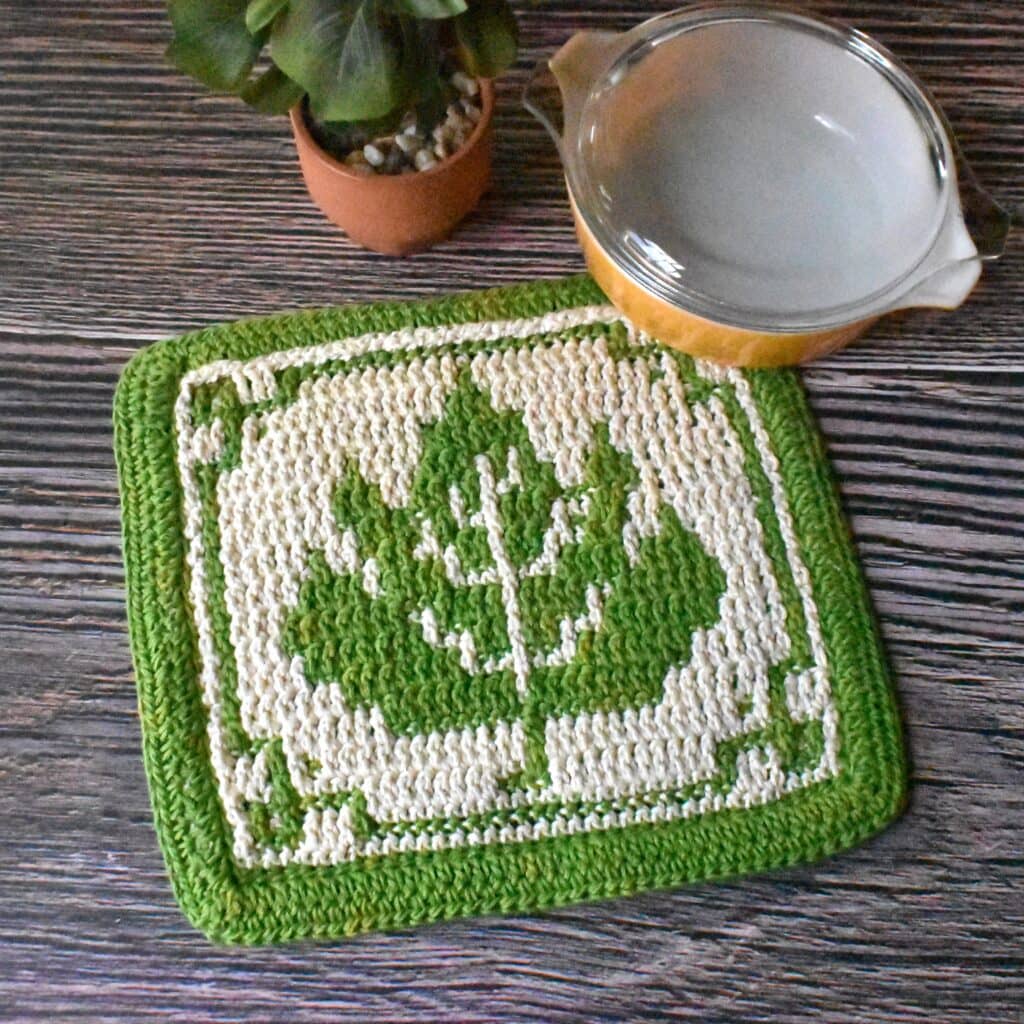
Maple Leaf Reversible Crochet Trivet
If you want to make something fun for fall, head over to this free maple leaf trivet free crochet pattern.

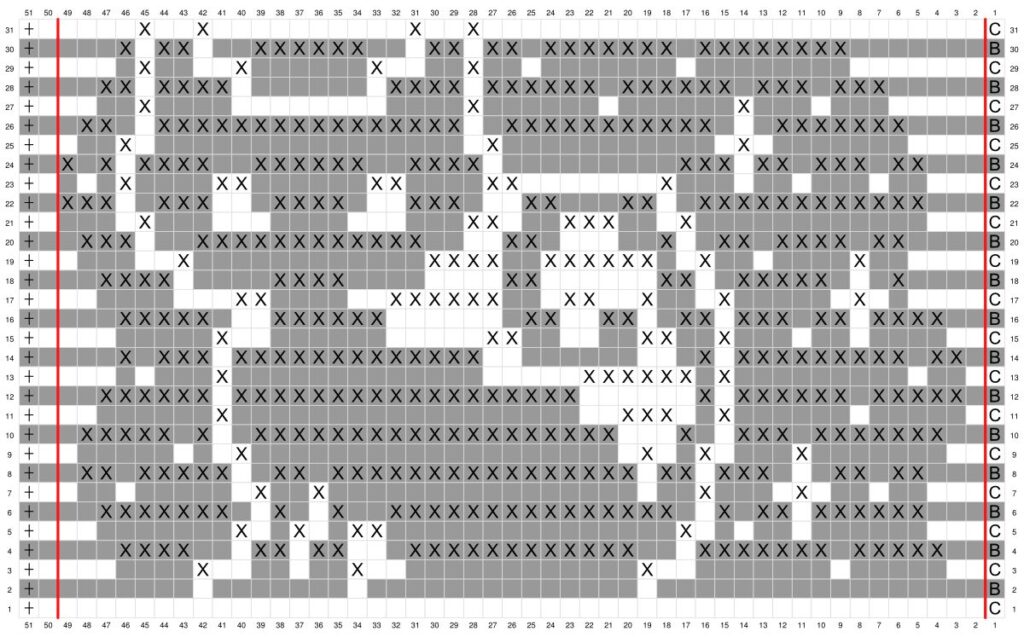
Black Cat Mosaic Crochet Chart
Graph
Envelope Border Instructions for Blankets
🌸 Step 1: Create the Surface Stitch Border
- Follow the Envelope Border technique (below) to add a surface stitch along both sides of your project.
- Side 1: I start in the top right corner and work through two loops of 36. Side 2: Work into the ch 1 spaces created at the end of each row. Side 3 (bottom): Work through 2 loops of foundation row. Side 4: Same as Side 2.
- Turn your piece as needed to work along the edges.
🌸 Step 2: Work Half Double Crochets
- After making the surface stitch, work half double crochets (hdc) into the back loop only of the surface stitch around – do 3 hdc in the corner stitches to round it out.
🌸 Step 3: Side 2
- Flip your project over.
- Repeat Steps 1 & 2.
- When creating the surface stitch on the second side, align it directly underneath the stitch from the first side to keep the border neat and uniform.
🌸 Step 4: Finish the Sides
- Once both sides are bordered with hdc in the back loops, tie off the yarn and weave in any loose tails.
🌸 Step 5: Join and Close the Borders
- Join a Color A or Color B (your choice – I used ecru for my join on this one) in the stitch just to the left of your corner stitches along the top right edge.
- Holding the front and back of the envelope border together, work half double crochets through both layers to join them — this also encloses any yarn tails inside.
🌸 Step 6: Final Touches
- Tie off and weave in all remaining tails.
- You’re done!
Enclosing the Tails
This pattern contains an envelope border to enclose the tails. I recommend tying and securing the tails before creating the envelope border, but it’s not necessary – picture tutorial is below for how to create the border. It’s easier than you think!
Envelope Border Pattern
Watch the tutorial video on YouTube here >>> Easy Envelope Border Tutorial to get you up to speed on creating this fun border to hide those pesky crochet tails! Then come back here and follow the written instructions.
- Follow instructions in the stitch guide to begin working the surface stitch, then…
- Work surface stitch around the entire pattern, join into the first surface stitch, cut & tie off.
- Round 1: (RS) Insert hook in any surface stitch (BLO). Hdc (BLO) in each surface stitch around, creating 3 hdc in each corner, join with a slip stitch in 1st hdc.
- Flip to the WS and repeat Steps 1 – 2, work your surface stitch just below the horizontal surface stitches from Round 1..
- After both sides are complete, insert hook in 1st stitch to the left of any corner, ch 1, hdc through the top two loops of each WS & RS all the way around, tucking tails in as you go.
- Join with invisible join, tie off and weave in any leftover tails.
Go back to the CAL
Click the image to go to the crochet along – tap twice on the image on mobile.

Thanks friends!
Thanks for crocheting the Halloween Mosaic Blanket & share your finished patterns with me! Tag me #stardustgoldcrochet

