Last updated: September 6, 2023
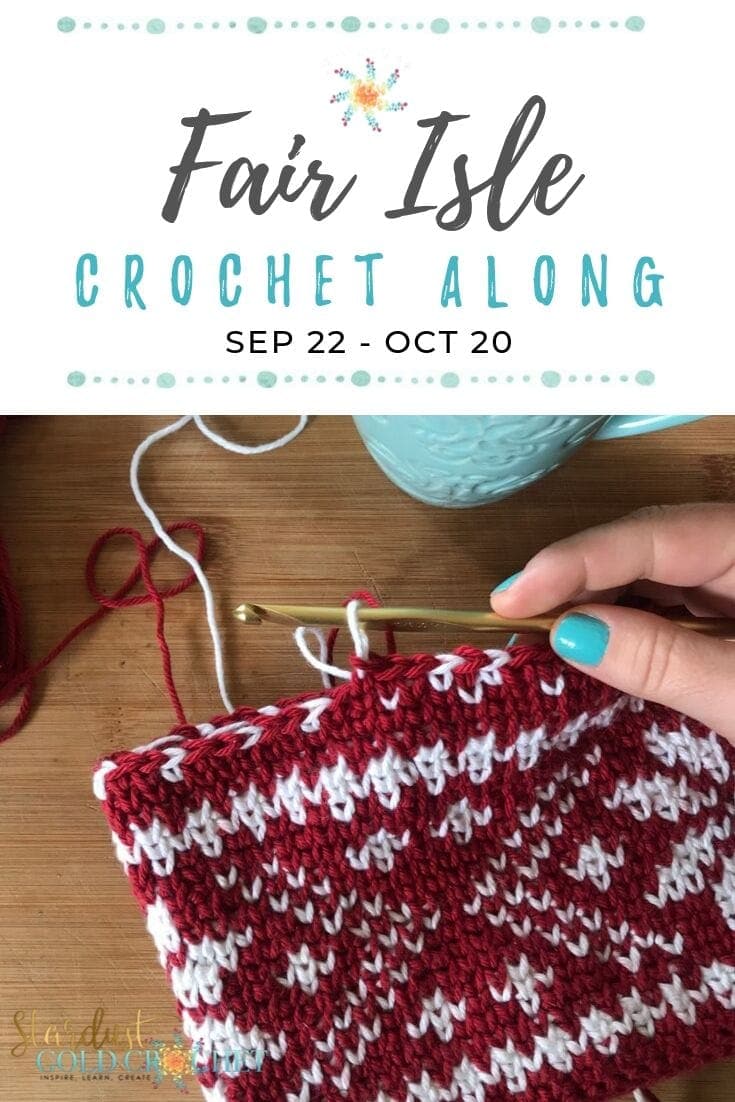
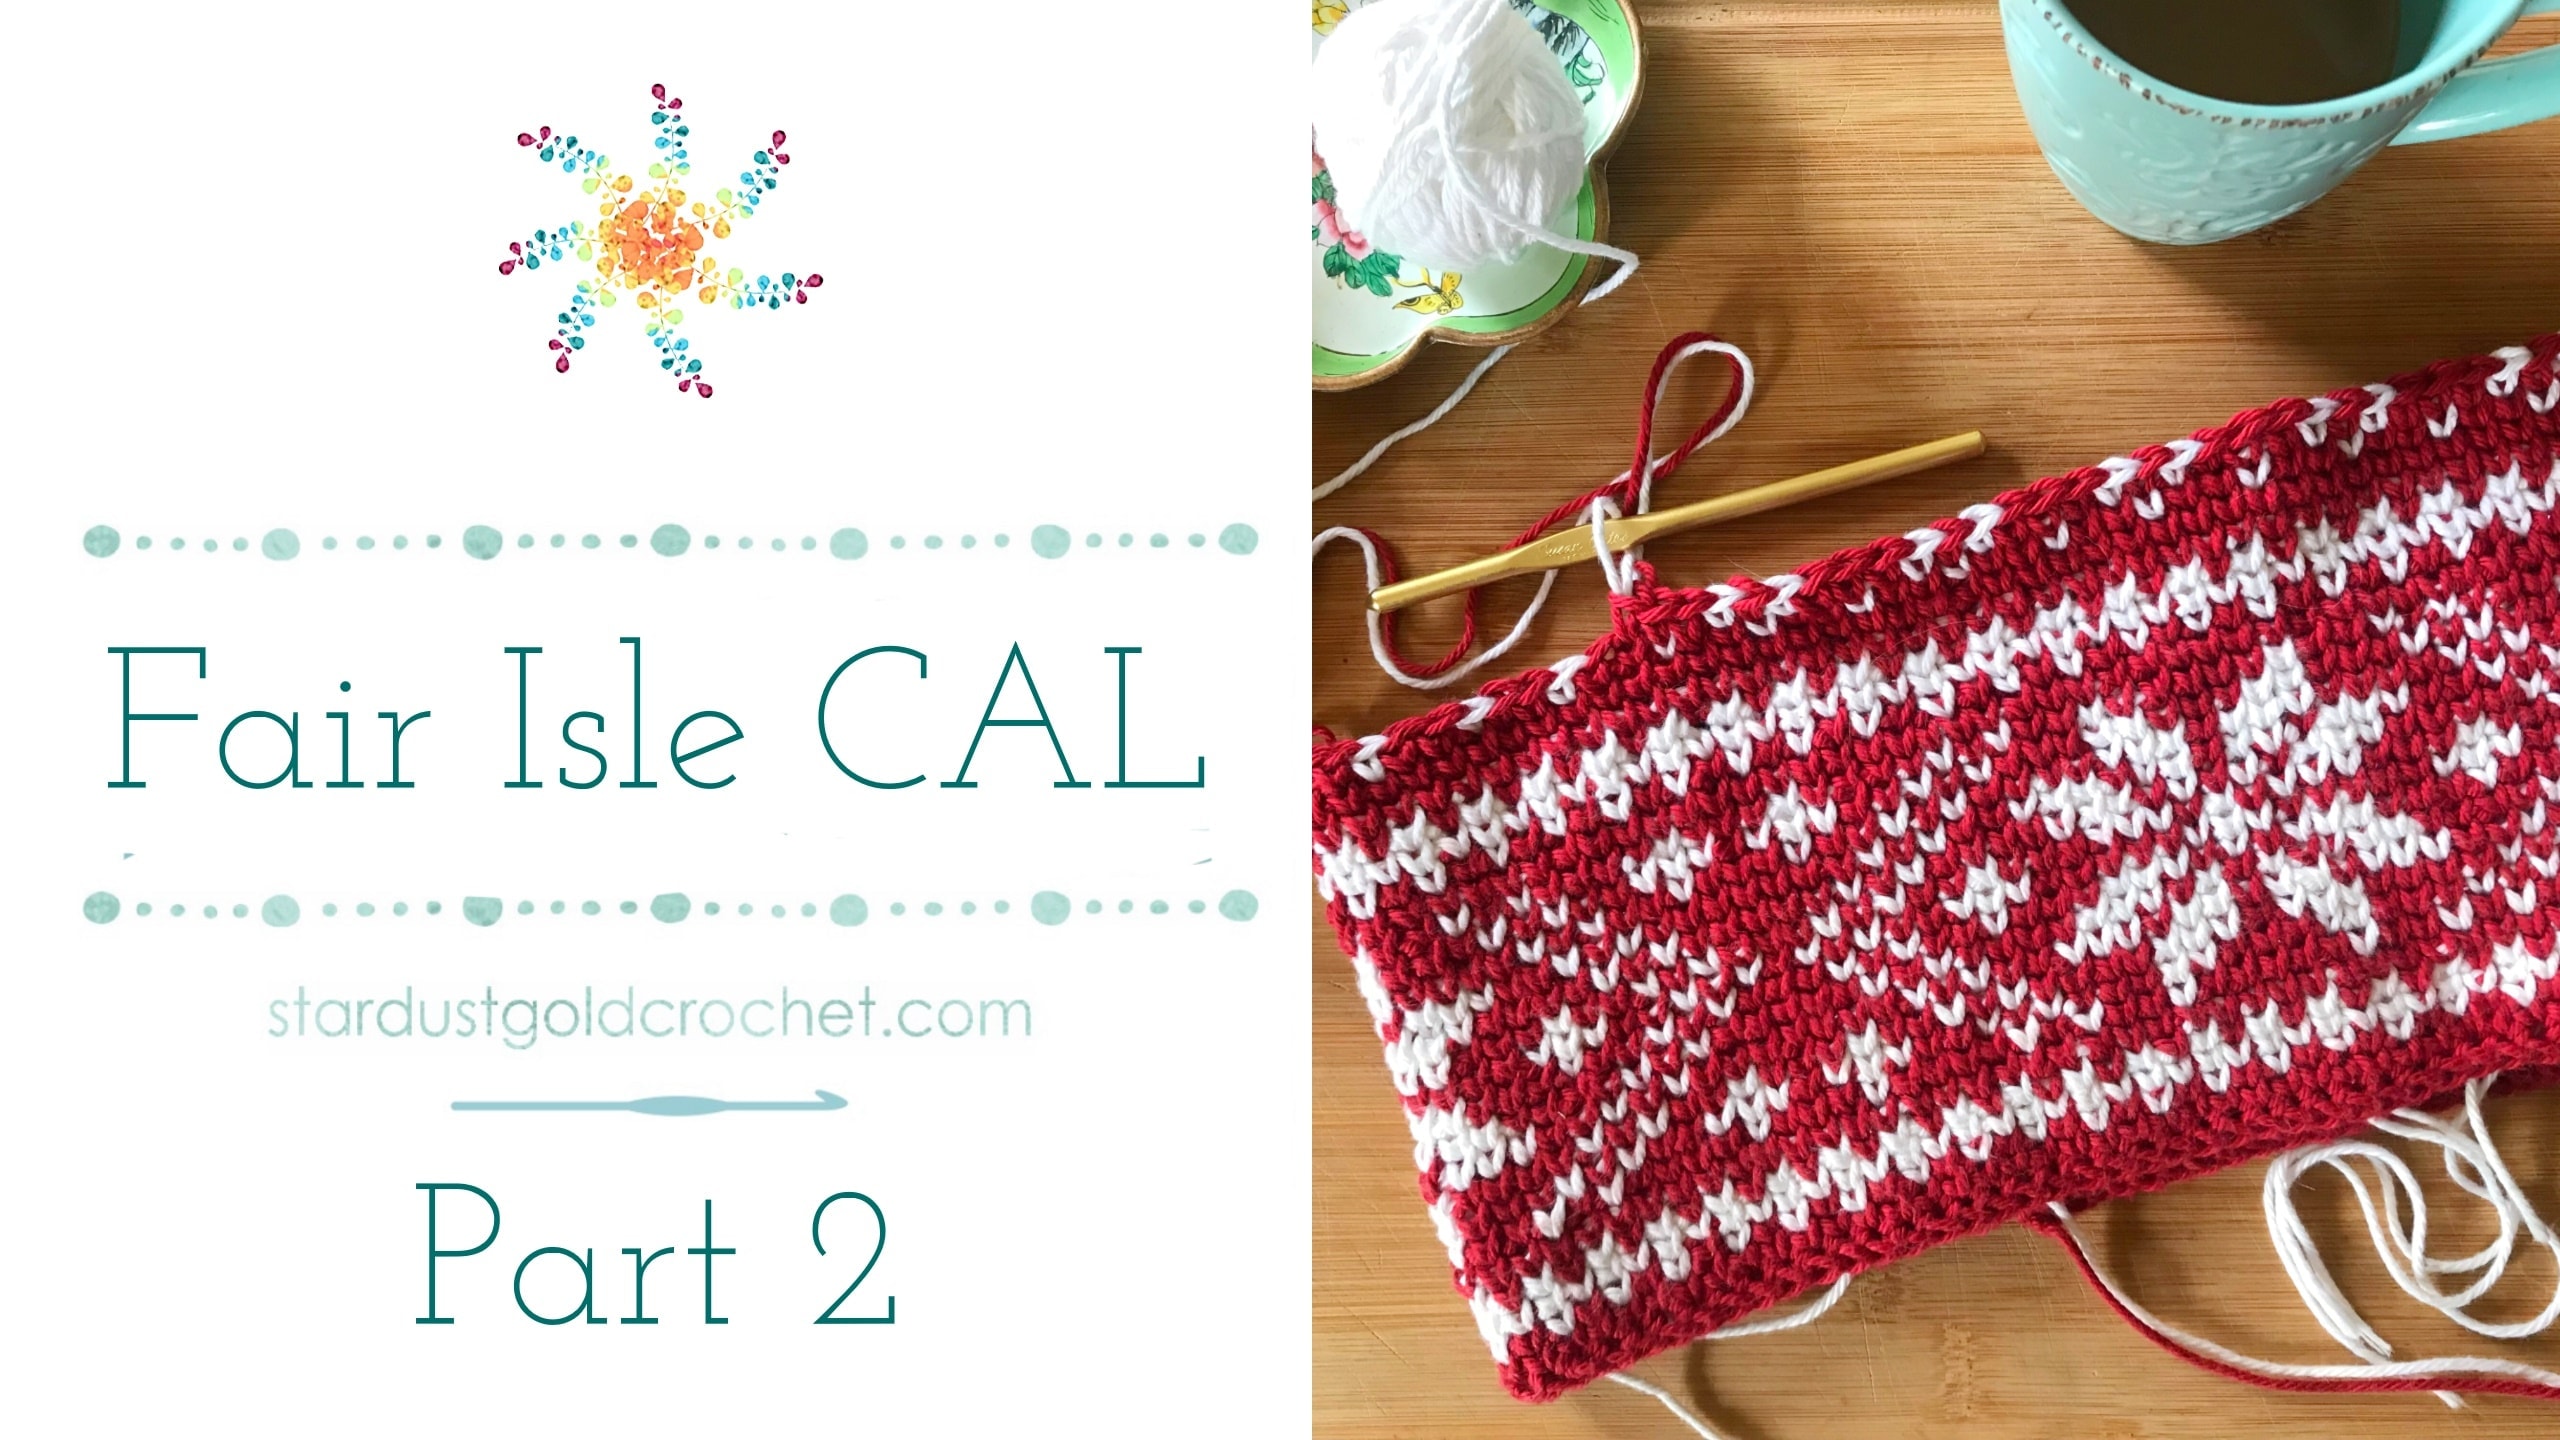
Welcome to the Fair Isle CAL Week 1 – Part 2! I’m so glad you are here with me today! In Part 1, I introduced myself and gave you an idea of what Fair Isle is.
We also talked about the materials you need, yarn details, yarn subs, and getting the proper gauge.
In Part 2, we will cover what hooks work best for this project, and how to read the graph. I am also doing a short video on how to create your own graphs using WinStitch or other great graphing software out there.
There are also a few great apps. I wrote this post dedicated to finding the best graphing programs for C2C, and these programs are also great for row-by-row, like we are using today.
The WinStitch Video Series is in its infancy and I’ve discovered I love Stitch Fiddle more! But if you do have WinStitch, these tutorials are great to learn.
Grab the FREE PDF download here:
Nordic Fair Isle Crochet BeanieIf you are landing here and want to start from the beginning, please visit the CAL page below where you will find all posts related to this CAL.
 In this post we will talk about
- Why hook choice matters!
- How to read a crochet graph
The video (jump to the video) at the bottom of the post goes over how to read a graph & the hooks too, however, I will break it down here too!
 It’s all about dem hooks…
For the Fair Isle crochet technique, your hook will make a difference. I am quite an experienced crocheter and had so much trouble with this stitch until I learned I was using the wrong hook.
I’m a Susan Bates hook kinda girl. I LOVE inline hook for many reasons. So here I will go over the difference between the two types of hooks, and why it makes a difference in this pattern.
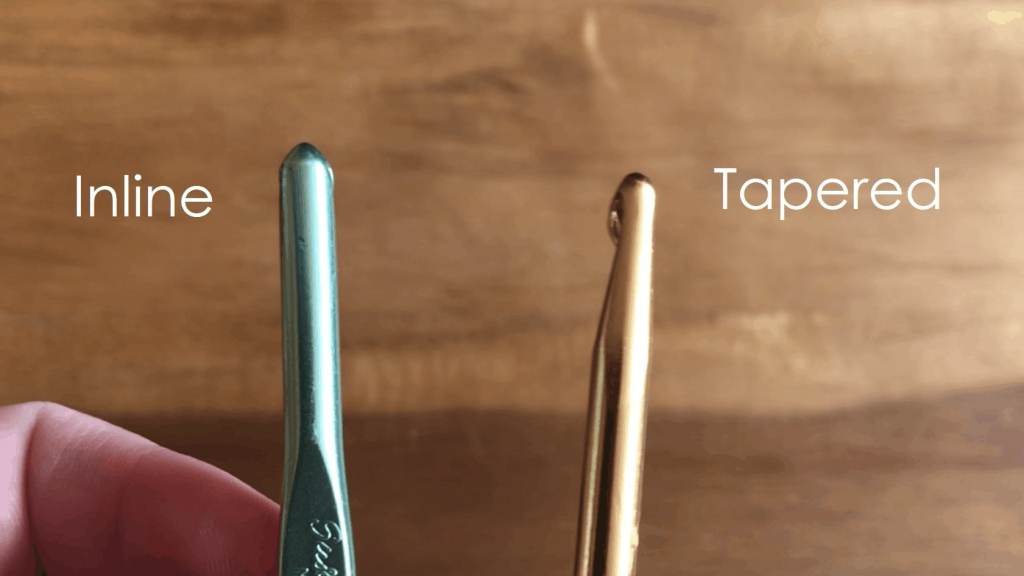
Here is a sample of two hooks. The one on the left is called an in-line hook, and the one on the right is a tapered hook.
A little Bit About In-line Hooks  :
:
- In-line hooks (aka Susan Bates hooks) are the same width from base to tip.
- This is helpful because if you have issues with tension, they keep your tension the same throughout without thinking too much about it.
- Which is fabulous for beginners!
I prefer in-line or this reason.
- They also have a deeper grooved tip which holds the yarn better (in my opinion) than a tapered hook.
- In-lines are also good if you like to crochet fast, the slippage and snagging is virtually eliminated using an inline hook.
All About Tapered Hooks  :
:
- Tapered hooks are not the same width from base to tip.
- They taper up at the top, which means in order to maintain tension you need to either push the yarn back to the widest part of the hook, or push the hook forward a bit to get the hole of the loop on your hook the proper size.
Different strokes for different folks right!? 
Why I use a tapered hook for this project :
:
The advantage to using a tapered hook for this project and other projects that require a the waistcoat stitch is they have a pointer tip, and it is easier to get the hook through the center V of the single crochet to create the waistcoat stitch.
 How to Read a Graph:
I cover this in the video below as well, and for a more in-depth lesson on reading graphs for row-by-row & C2C, check out the post titled How to Read a Crochet Graph, which has a longer video tutorial.
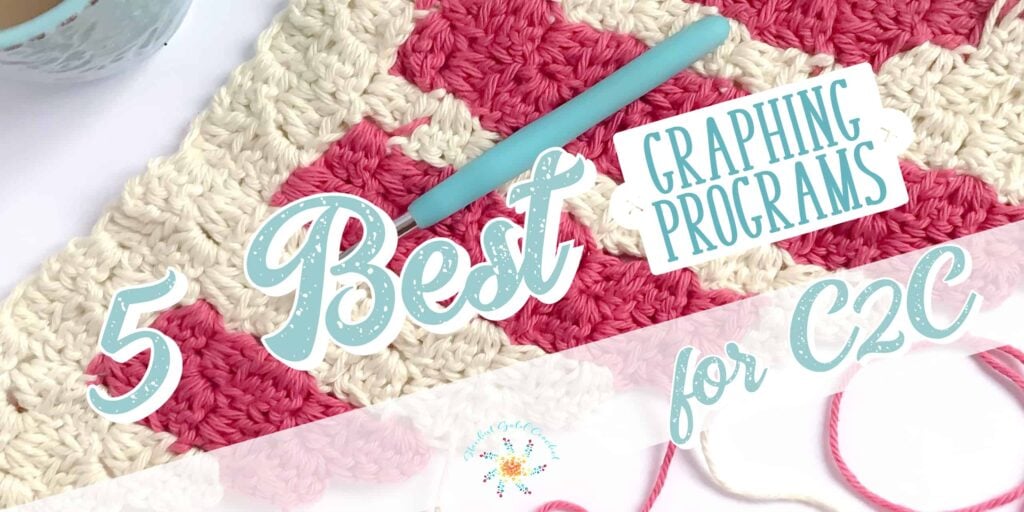
In the video below I mention graphing programs, and what programs are best to use, here is a link to the post about the 5 best graphing program.
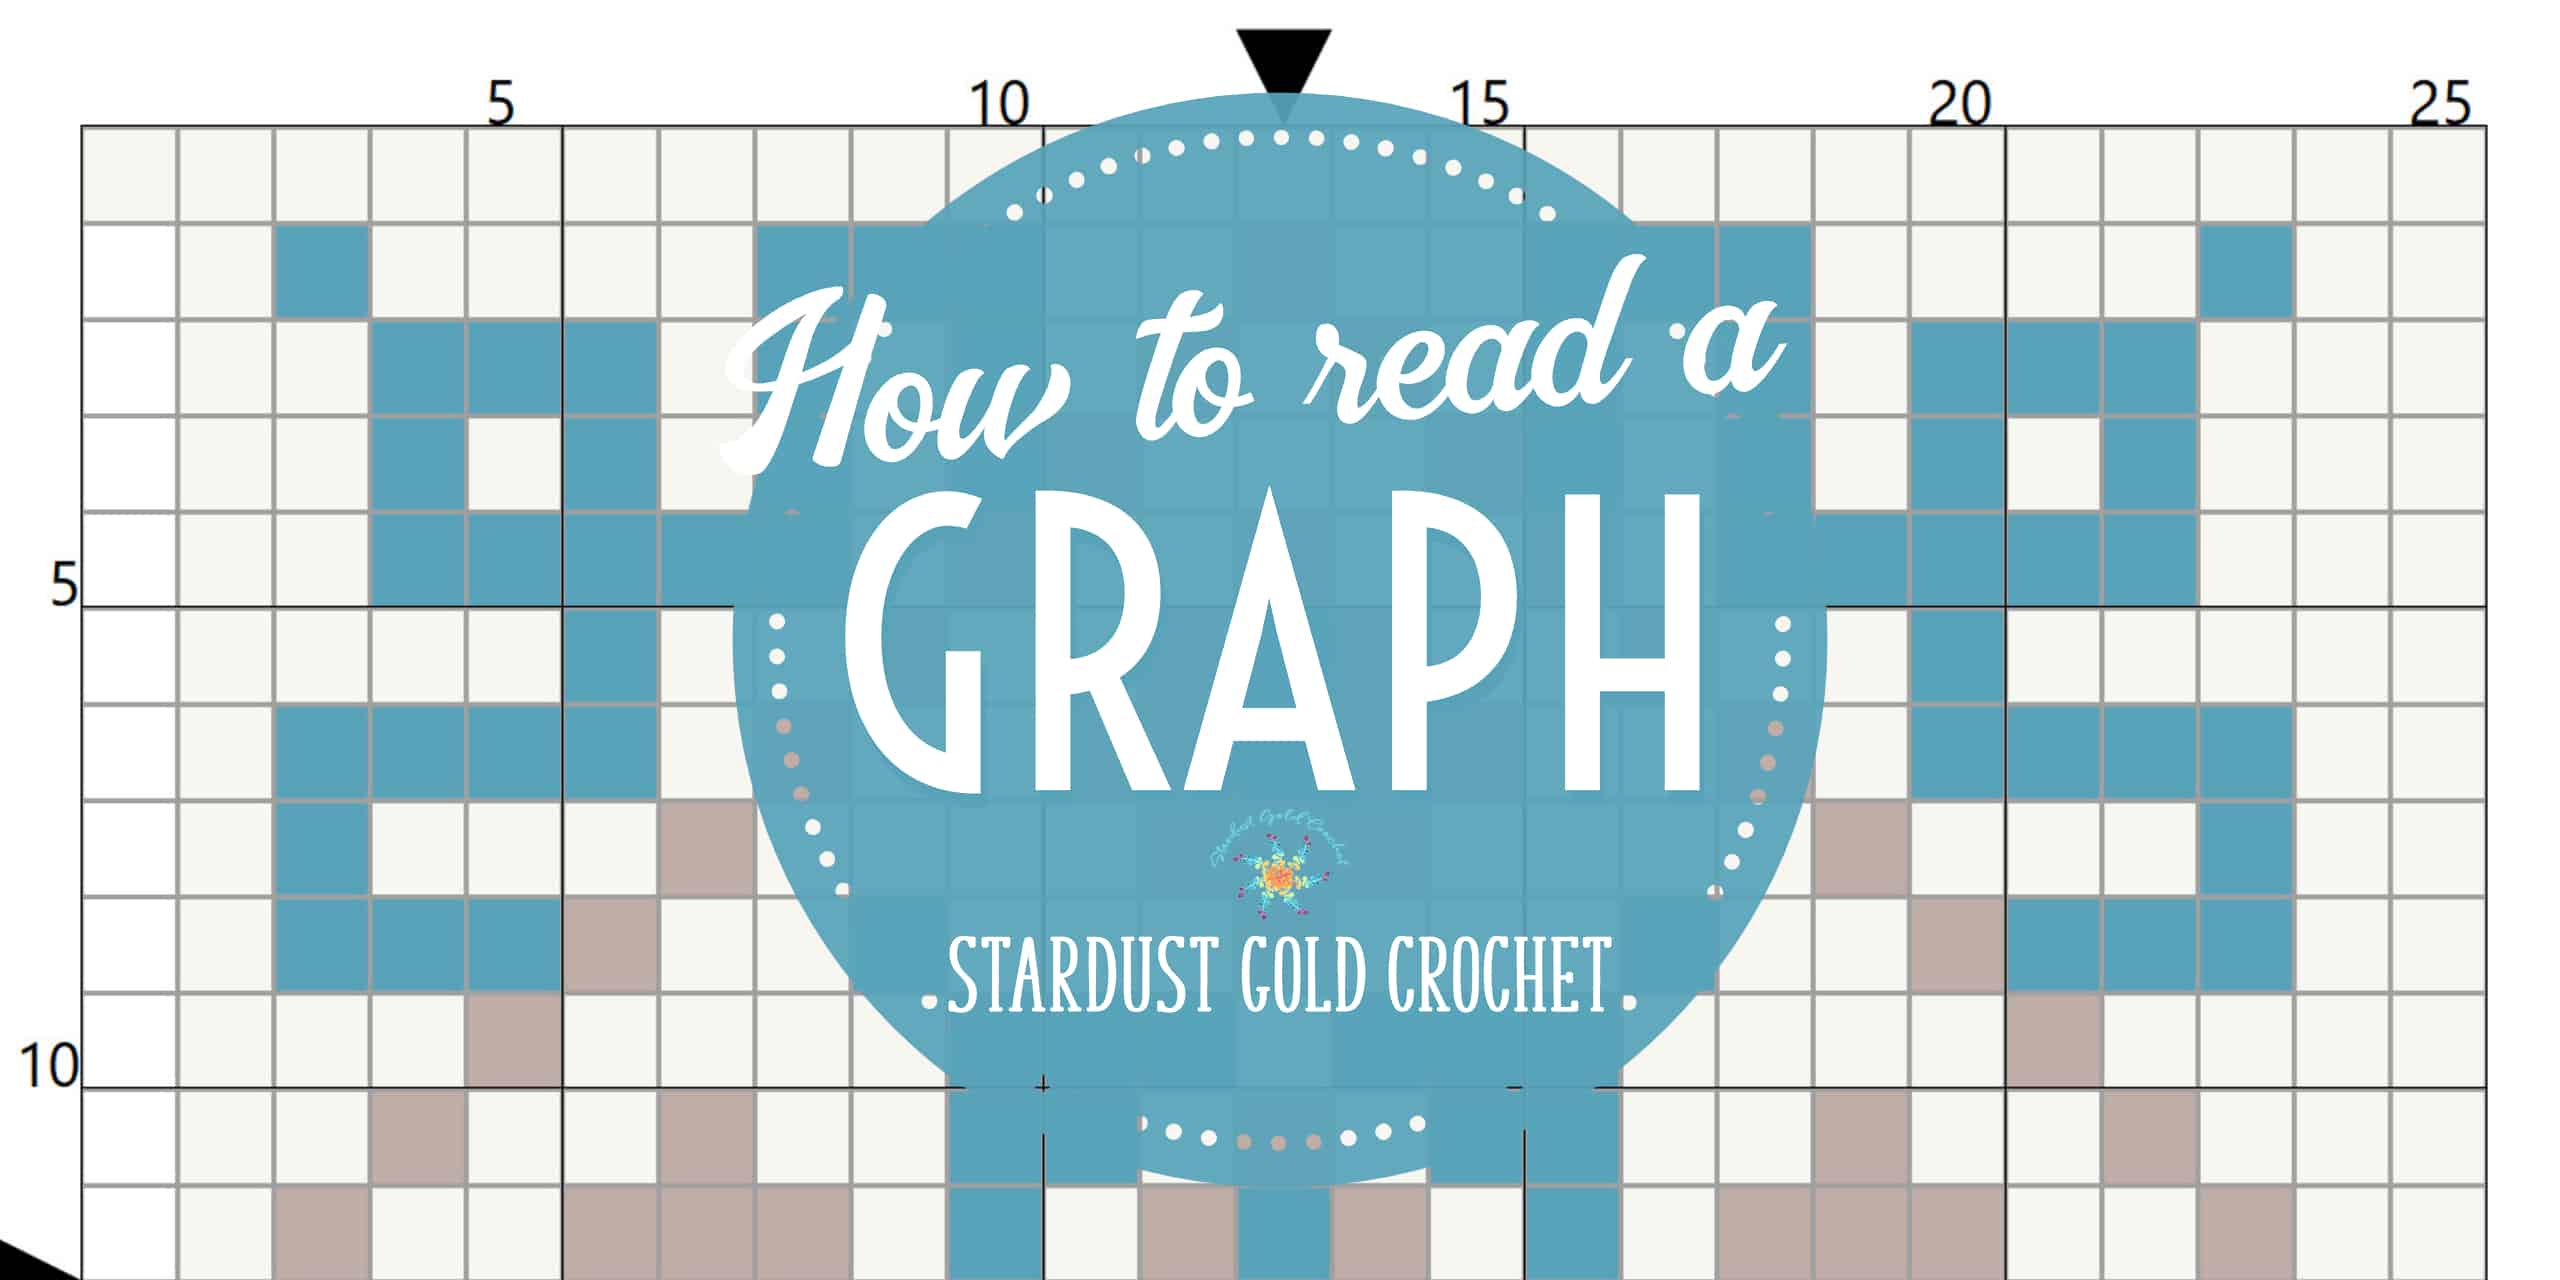
For this pattern, we will be reading the graph from the bottom – up, and from right to left.
- Graph is read bottom up
- Graph is read Right to Left (if you are left handed, it is okay to work the graph left to right if that is easier for you, just make sure that you continue to repeat it that way for all 90 stitches)
- Each square represents 1 stitch.
- After you complete your 30 stitches of the graph, you will repeat from Right to Left until you complete 90 stitches.
- Joins are made into the Ch 1.
- 1st stitch of each round is created in the 1st stitch from previous round.
What happens in Part 3:
- Creating the foundation single crochet row
- Changing colors
- Troubleshooting, i.e. frogging fair isle (which is a pain!)
- Fixing mistakes
- Working first few rounds of the pattern!
Reading the Graph & Hooks Full Tutorial
If this video does not play properly, please click here and it will take you to YouTube.
Other cute crochet beanie patterns you may enjoy



 In this post we will talk about
 It’s all about dem hooks…
 :
:  I prefer in-line or this reason.
  :
:  How to Read a Graph:
Just want to check in and give your blog some comment love, LOL! I read all your responses on FB today — thank you! Daughter had cross-country practice and homework tonight, but hopefully we can both get to working on this project tomorrow!