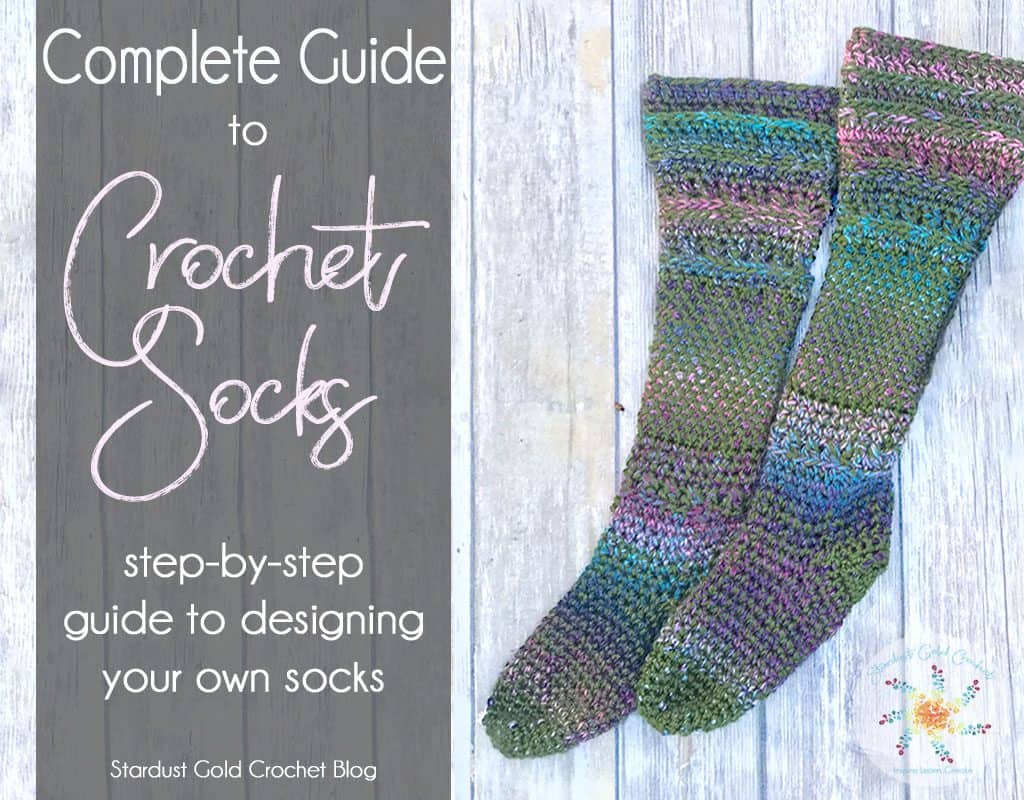
Recently, I endeavored to learn how to crochet a sock. Through this endeavor I discovered just how difficult it was….there is nothing out there that told me how and only patterns of finished socks. That’s all fine and dandy, but I like to create my own designs! I love to dissect and break it down – most of all I want it simple and easy to follow.
Anatomy of a Sock
This is what I learned…
Socks have anatomy. I noticed there were varying versions depending on if someone is knitting or crocheting, but here is the gist of it.
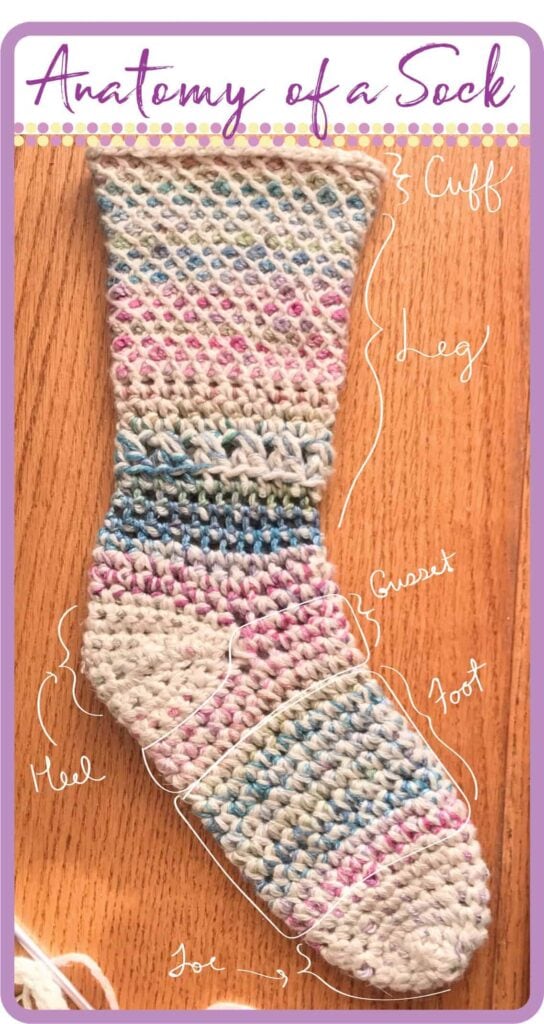
Have you heard the term “top-down” or “toe-up?” Those are the directions you normally work a sock. Have you heard the term “heel flap” or “heel turn?” Here we will explore the two styles of working crochet socks from Cuff (Top) down and Toe-Up. There are several ways to shape heels and I’ve included the various ways throughout both versions of the socks below. Several can be applied to both directions, so I hope it isn’t too confusing.
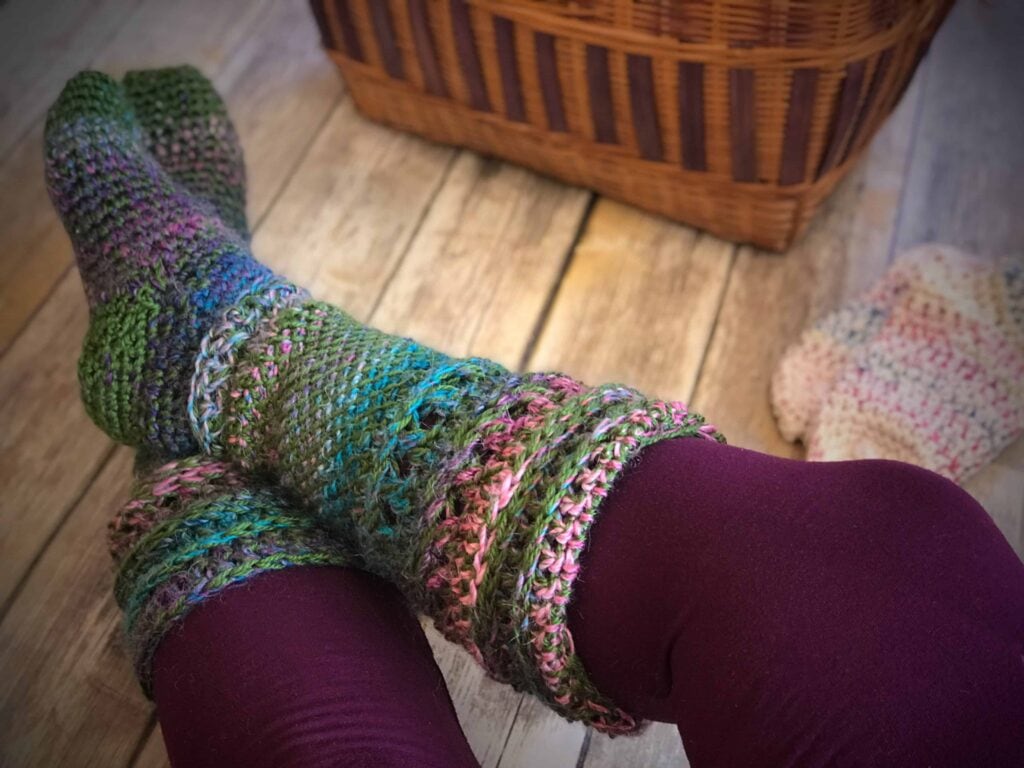
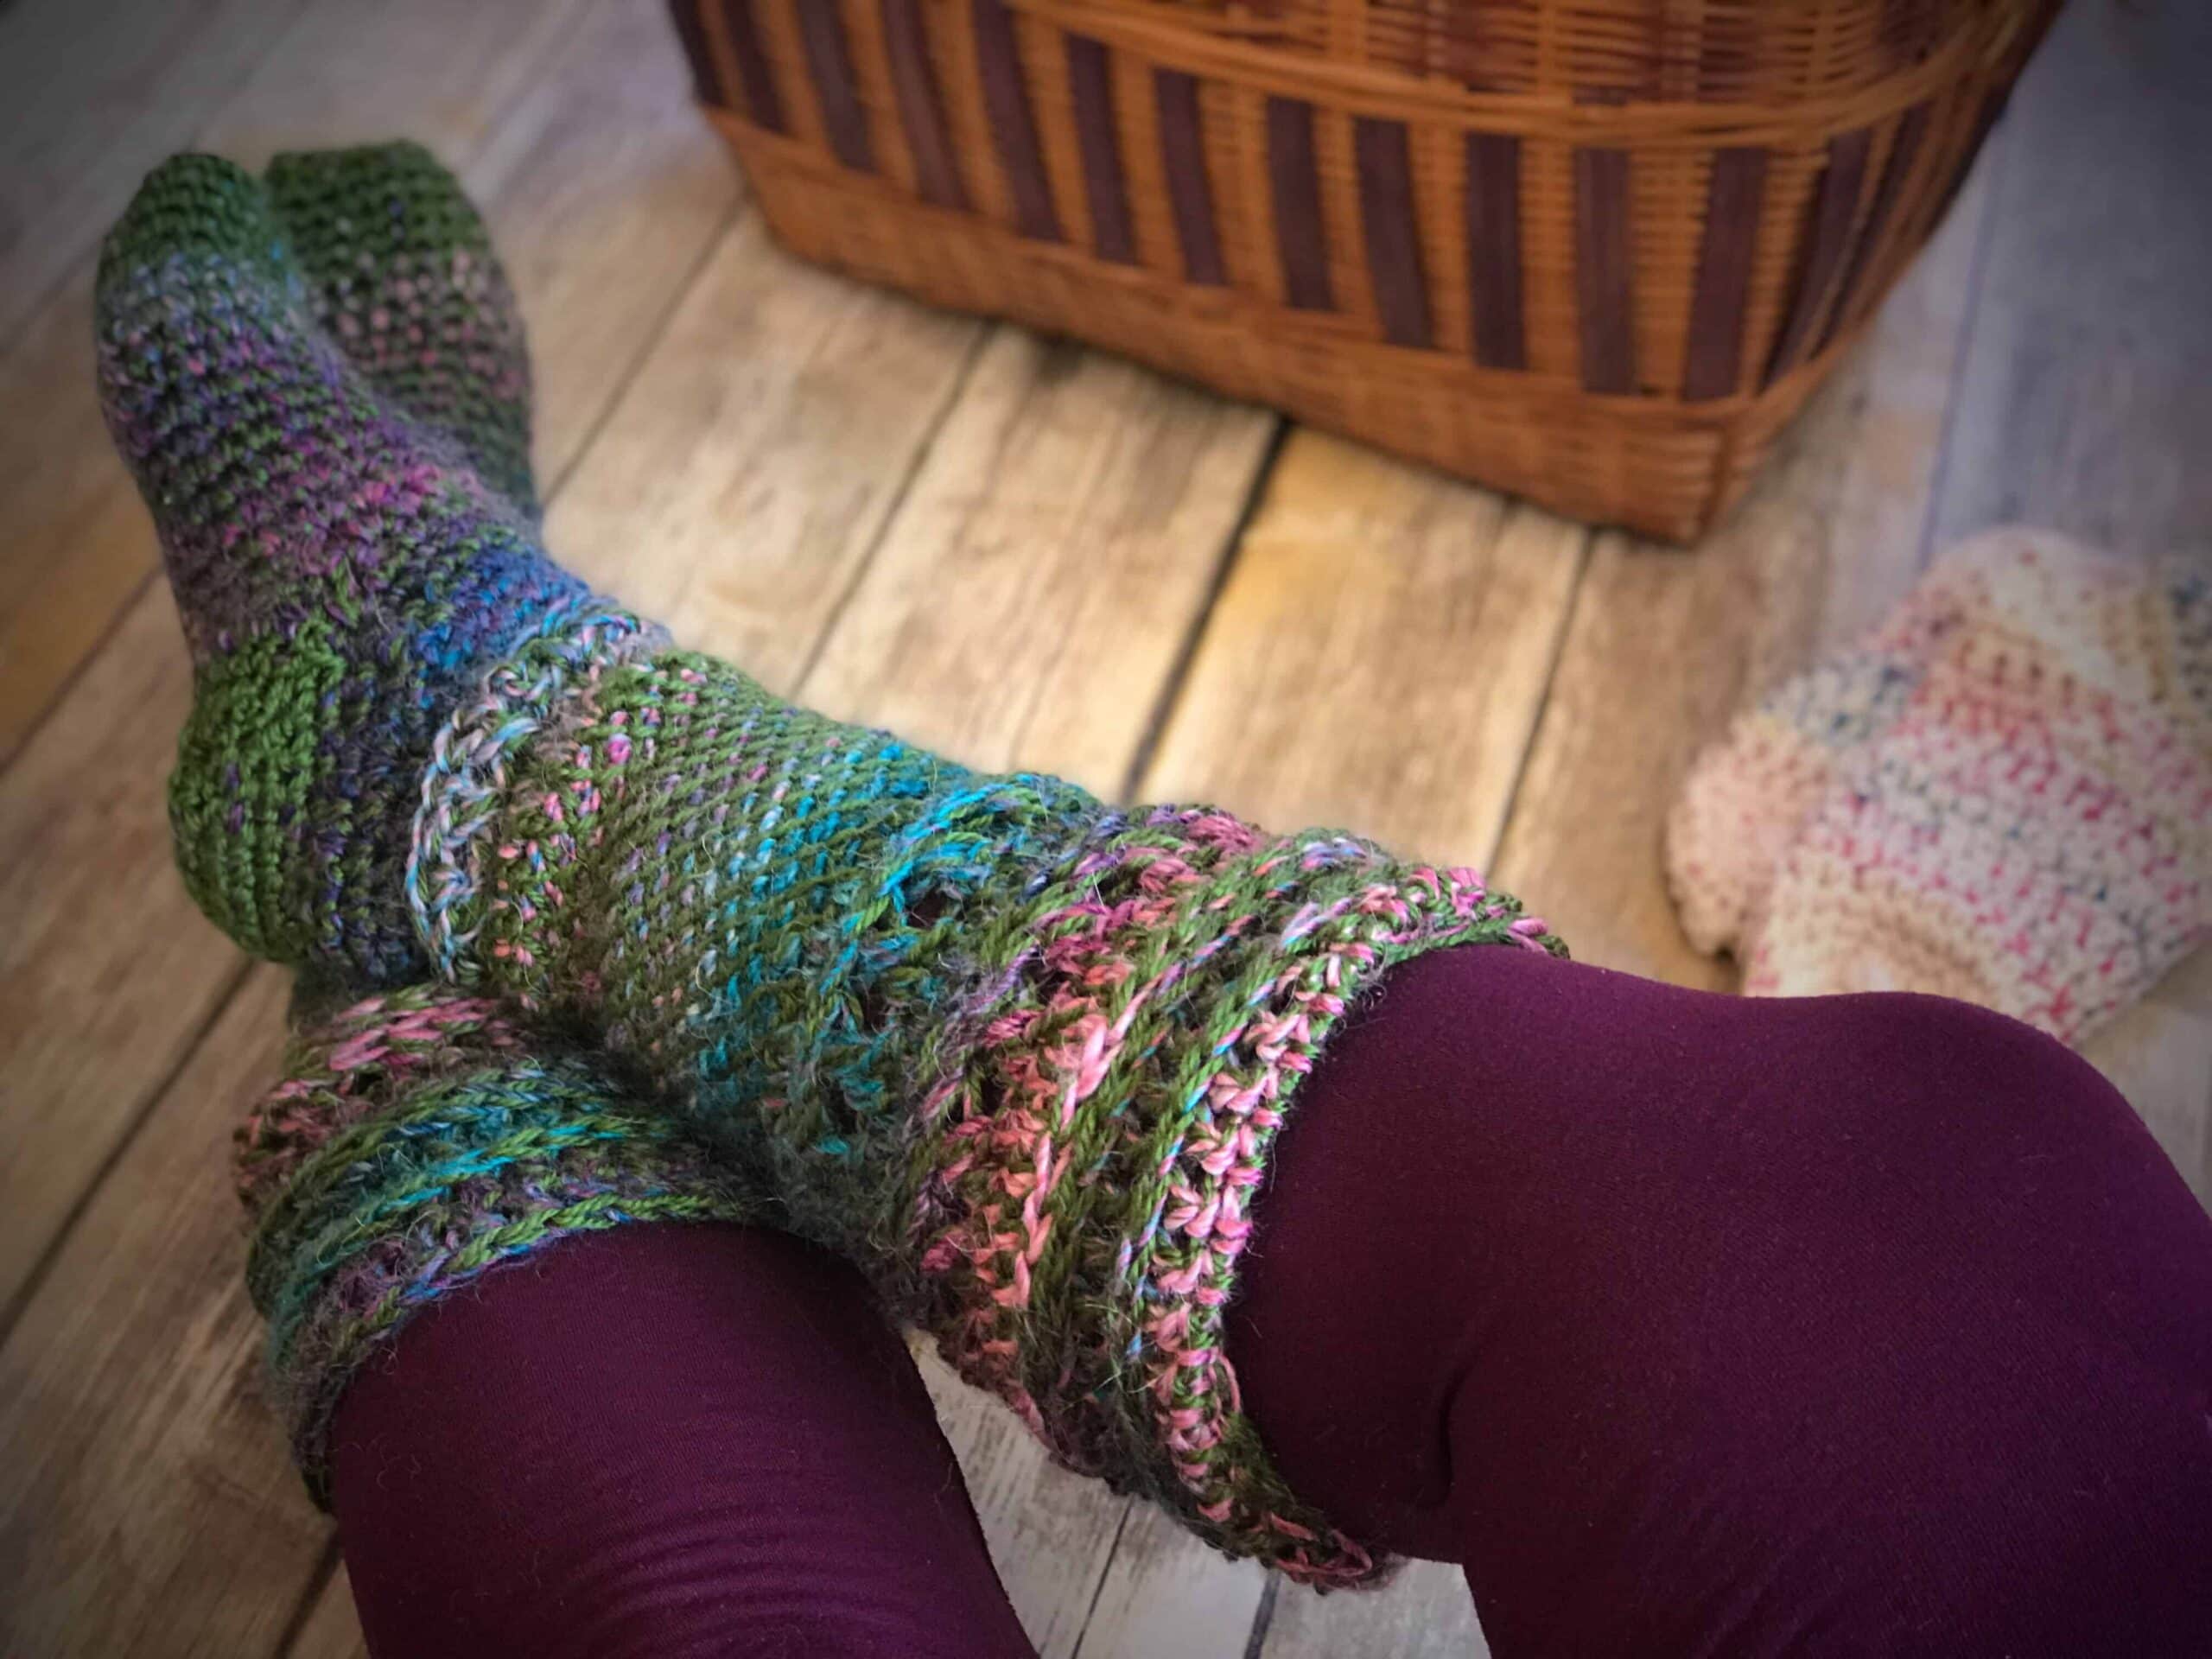
If you want a fun pattern to make after you’ve learned to create socks, here is one I created called the Rainbow Fish Socks/ Booties. Clicking the photos will take you to the pattern.
Let’s break these socks down…
Top (Cuff)-Down Crochet Sock:
The top-down version starts with the cuff, and works toward the toe. The order of working a top-down sock goes like this: cuff, leg, heel, gusset, foot, toe. Digging deeper…
Creating the Cuff
The cuff is the top few inches of the sock. You can use a ribbed pattern, or add a fun picot border to the top after the first row is worked. I wrote a blog post that covers 5 simple ribbing patterns – here. Explore and be creative. You want to measure the circumference of your leg where you want the cuff to land. i.e., below the knee, middle of the calf, above the knee, or around the ankle. Depending on where you choose depends on how you will work the leg of the sock and how many stitches you will begin with. Remember that the cuff is normally a ribbing so it has a little stretch to it., but you can work a fancier stitch or a picot border for the cuff too. After you complete your cuff, you will move on to the leg.
Transitioning to the Leg
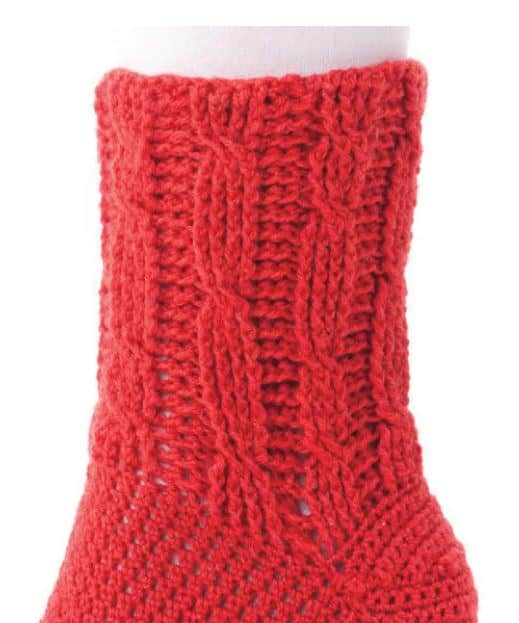
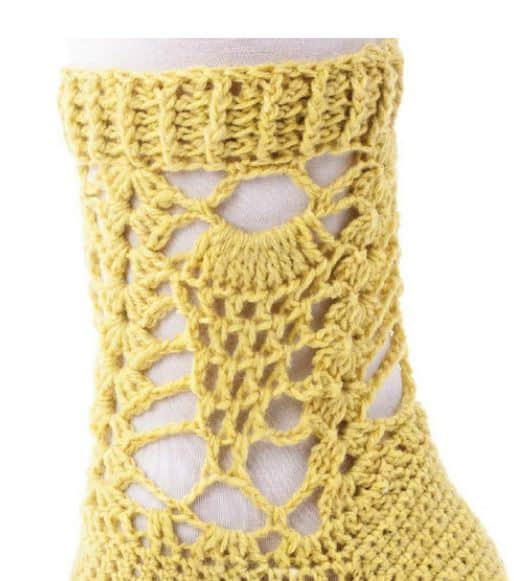
The leg is self-explanatory – it is the region worked between the cuff and the heel/gusset, although working the heel often comes before working the gusset. Designing a pattern for the leg is completely up to you. Some people design cable patterns, others choose more simple designs like using single crochet or double crochet. Here are a couple examples from Annie’s Crochet by Rohn Strong. The red is a cable pattern and the one below is a pineapple pattern.
You can make the leg as long or as short as you would like. For my Rainbow Fish booties, I used two different sizes and worked most of the leg using the diagonal lattice stitch, then I attached the cuff after that, working up again.
Although traditionally, you will work the cuff, then the leg, and onto the heel, then the gusset….so let’s talk about different ways to shape a heel working from the top down.
TIP: The calf is larger than the ankle region, so if you want your sock to fit properly, be sure to add increases the higher you go. You can also use a stitch that has a little give to it. Another way to achieve that is to work a ribbing pattern vertically instead of working in the round.
Different ways to shape a Heel
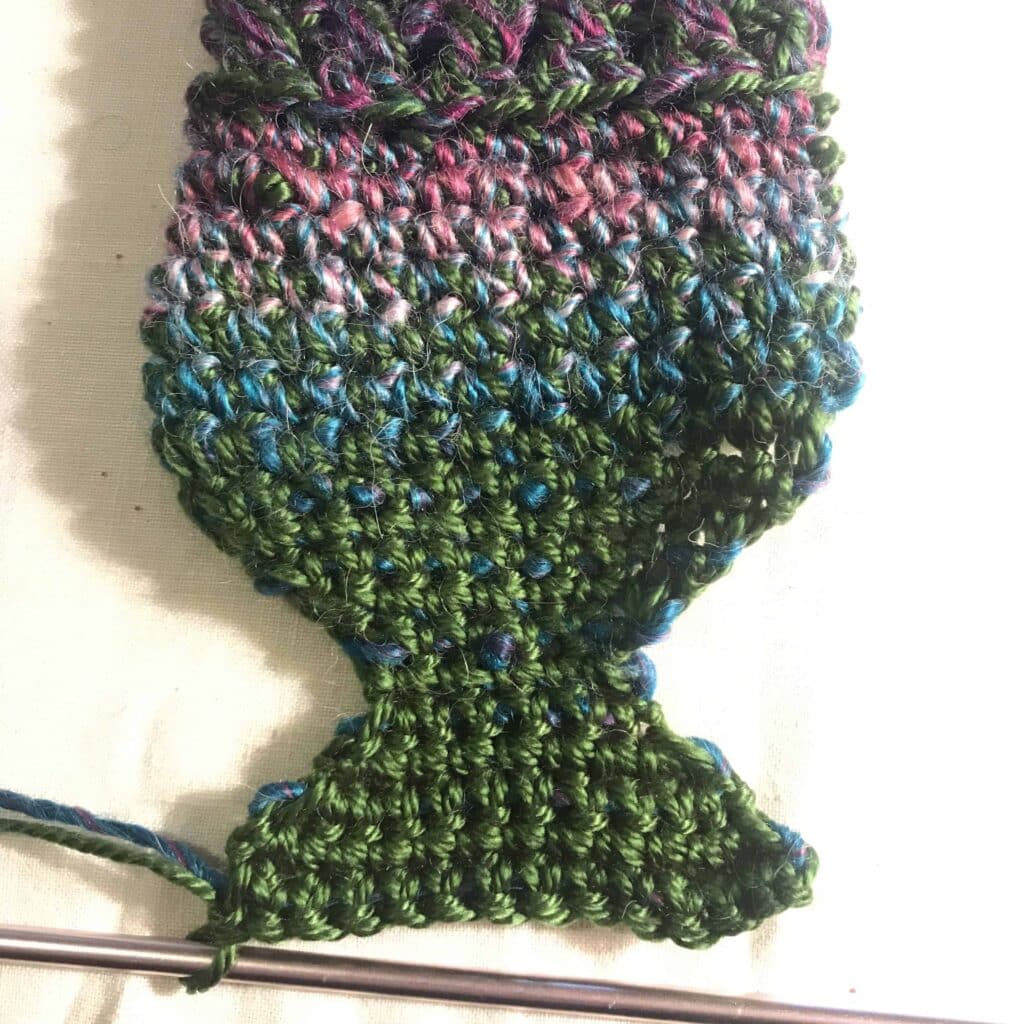
There are so many ways to shape a heel. The socks I created here were created using simple back and forth rows called a short row heel, decreasing using sc2tog at the end and beginning of each row, then increasing by single crocheting 2 stitches in the same stitch and then sewing the sides together.
TIP: Work your increase into the second stitch – it leaves a cleaner edge.
Other methods include creating a heel flap, that leads into a heel turn. The photo below is knitted, but the idea is the same. You can see how the heel is worked in rows, then the heel turn is where you make a number of decrease rows, then merge the ends together to form the heel.
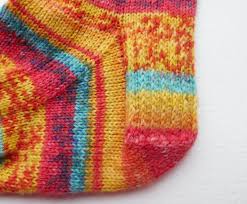
The version in the photo above I find a little too complicated and not sure how I feel about how it looks, but that is what is great about all the different ways you can create them. It’s your preference and the stitches you choose will make a big difference in the look and feel of your sock.
While designing the Rainbow Fish socks, I searched everywhere to find how to work a heel ~ again ~ nothing really laid it out. As a designer, I just want to know how to create it and leave the stitch count up to me ya know? So let’s break down that too.
Top-down heels:
Single Crochet Heel Flap
This heel flap is worked in all single crochet with a heel turn. The rows are worked without decreasing or with decreasing – it’s preference. It’s a little confusing because with crochet there are so many different terms people use for the same thing. Although, similar to the photo above, and when you reach the point of the project you’d like to make the heel turn is when you begin shaping the turn of the heel by decreasing.
To work this heel:
Count the number of stitches you have around the base of your leg. Divide it in half and that is the number of stitches you will use to create your heel. Let’s say 20 stitches. When you are ready to create your heel (around mid ankle or just below the ankle) – Begin by working in rows from around mid ankle to mid ankle. So you will create 20 single crochets (or whatever stitch you are using). Chain 1, turn your work and work several rows in the same number of stitches. When you reach the point you would like the curve to begin, that’s where you will begin to shape the heel by decreasing every row or every other row (decrease on both sides) until it shapes the round of the heel. You join the decreased rows to the flap by sewing them together now – or later. Begin working the gusset by using your stitch and going around the entire circumference.
Double/Single Crochet Heel Flap
This heel flap is created the same method heel flap above, but has alternating rows of single and double crochet and this one uses a heel turn too.
After-thought heel
The after-thought heel is added after you have created the sock. You will add the heel by attaching the yarn in the far most corner of your opening (more details on how to create this below).
Heels for toe-up or cuff-down:
Afterthought Heel (how to create the heel)
The afterthought heel is added after the rest of the sock is worked up. Below is a photo from crochet designer Pam Daley. These are yoga socks, but a great example of what your sock will look like before adding the afterthought heel.
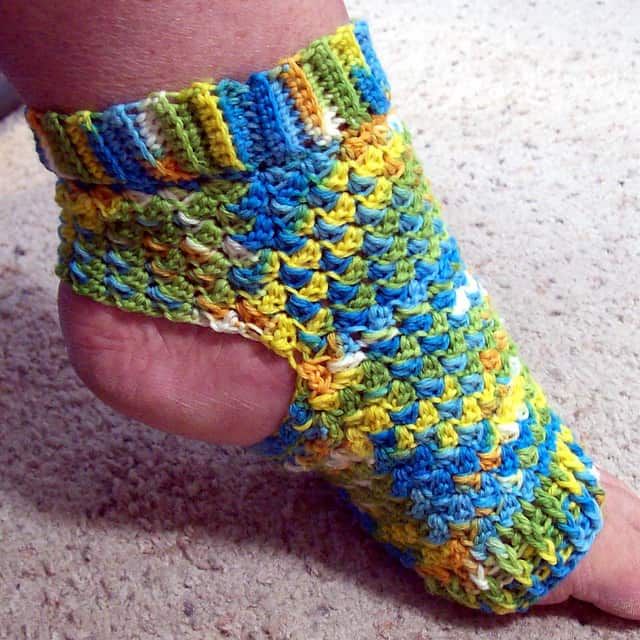
To create a sock that has a hole for an afterthought heel – work the cuff and leg of the sock. Again, count the number of stitches you have at the bottom of the leg, then divide it by two. Don’t break yarn, but make a chain of that number. Let’s say our stitch count was 40 – so we will create a stopping point, and chain 20. Then skip 20 stitches below, in the 21st stitch, work your first stitch and continue working in rounds. This will create a hole for you to add a heel later.
The easiest way to create an an afterthought heel is using the short-row style. Attach the yarn in the far-most corner to begin your row. The description below is the same as for working toe-up pattern so I copied it here, except for the afterthought you will be attaching the yarn to the opening instead of working straight off the leg.
Short-Row Heel
The short row heel (like I created for the Rainbow Fish pattern is a short-row heel). The short-row heel is composed of stitches worked over half of the stitches of the entire foot section. So if you have 30 stitches around for your foot, work 15 single crochets to start the base of your heel. Then create rows decreasing at the beginning and end of each row, or every other row until you have about 7-10 stitches left. Then chain and turn, work one row of single crochet, chain, and turn, then work increase rows until you reach your starting stitch count (for this sample that would be 15). You can stitch up the ends later….then move on to the gusset and leg.
Heel shaping:
Following a general pattern for shaping a heel, this is what one style looks like:
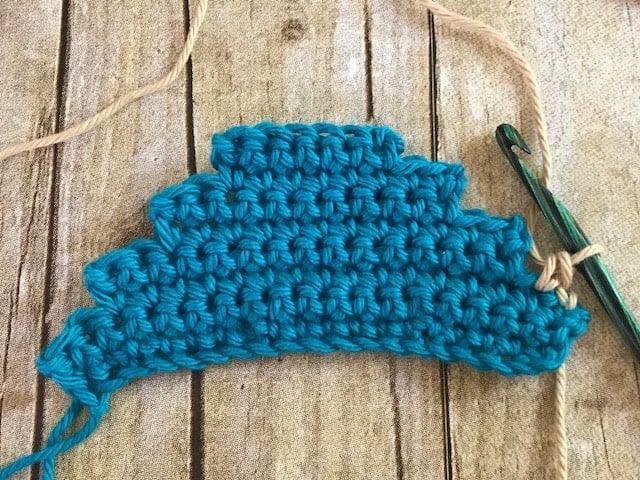
This pattern (just pretend there is a leg attached to the bottom lol), works the number of stitches you need for your heel (remember the formula – take the number of stitches in the bottom of your leg, and divide it by 2), chain and turn, then work your stitch across the row leaving the last two stitches unworked (see the left side of row 2 above). Chain and turn, and repeating that until you have around six stitches (see the top row in the photo). Cut the yarn. “Right side” facing you, attach new yarn in the first unworked stitch (the photo above shows the attached yarn, I chained 1, and made 1 sc in next stitch), make your next stitch in the next unworked stitch, and in each unworked stitch up the pyramid, and across the top six stitches, then down the other side. I hope that makes sense. It will draw it in and create the heel shape (see photo below). You can use this method on both top-down and toe-up socks as well as with the afterthought heel style. This is just one way to create a heel, you can work another pyramid like this and piece it together to create one large heel.
Moving on to the gusset….
The Gusset & Instep area:
In knitting, this area is a little more prominent than what I’ve seen in crochet, the gusset is the few rows that attach to the heel over the top of the foot, but not yet reaching the middle of the foot. The picture at the beginning of the blog gives a good idea of locating it. Although, also, in knitting, some people work an area called the instep. For the socks I created, I used a simple top-down method with a simple heel, no instep or gusset per say and they fit amazing.
Foot
The foot area is the region you create after the heel and gussets are finished and you begin to work in the round “connecting” the two. You then work the rounds until you reach your desired length, generally, about until you reach the base of your toes.
Toe
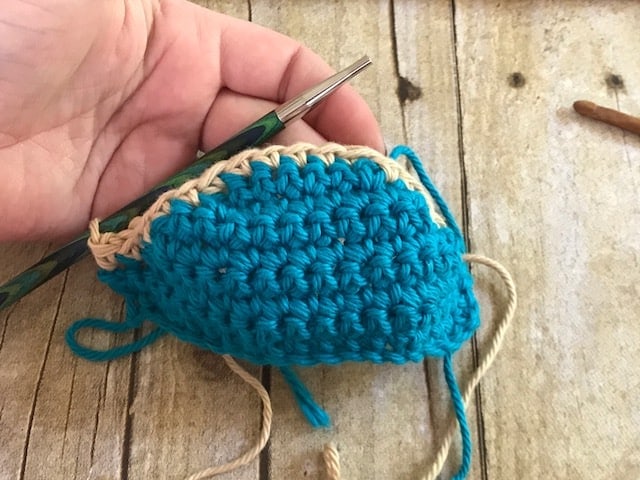
When you complete the foot region, begin your rounds with making decreases until you have a small slit opening, which you will sew together. When you sew it together, turn your sock inside out, so the seam is on the inside.
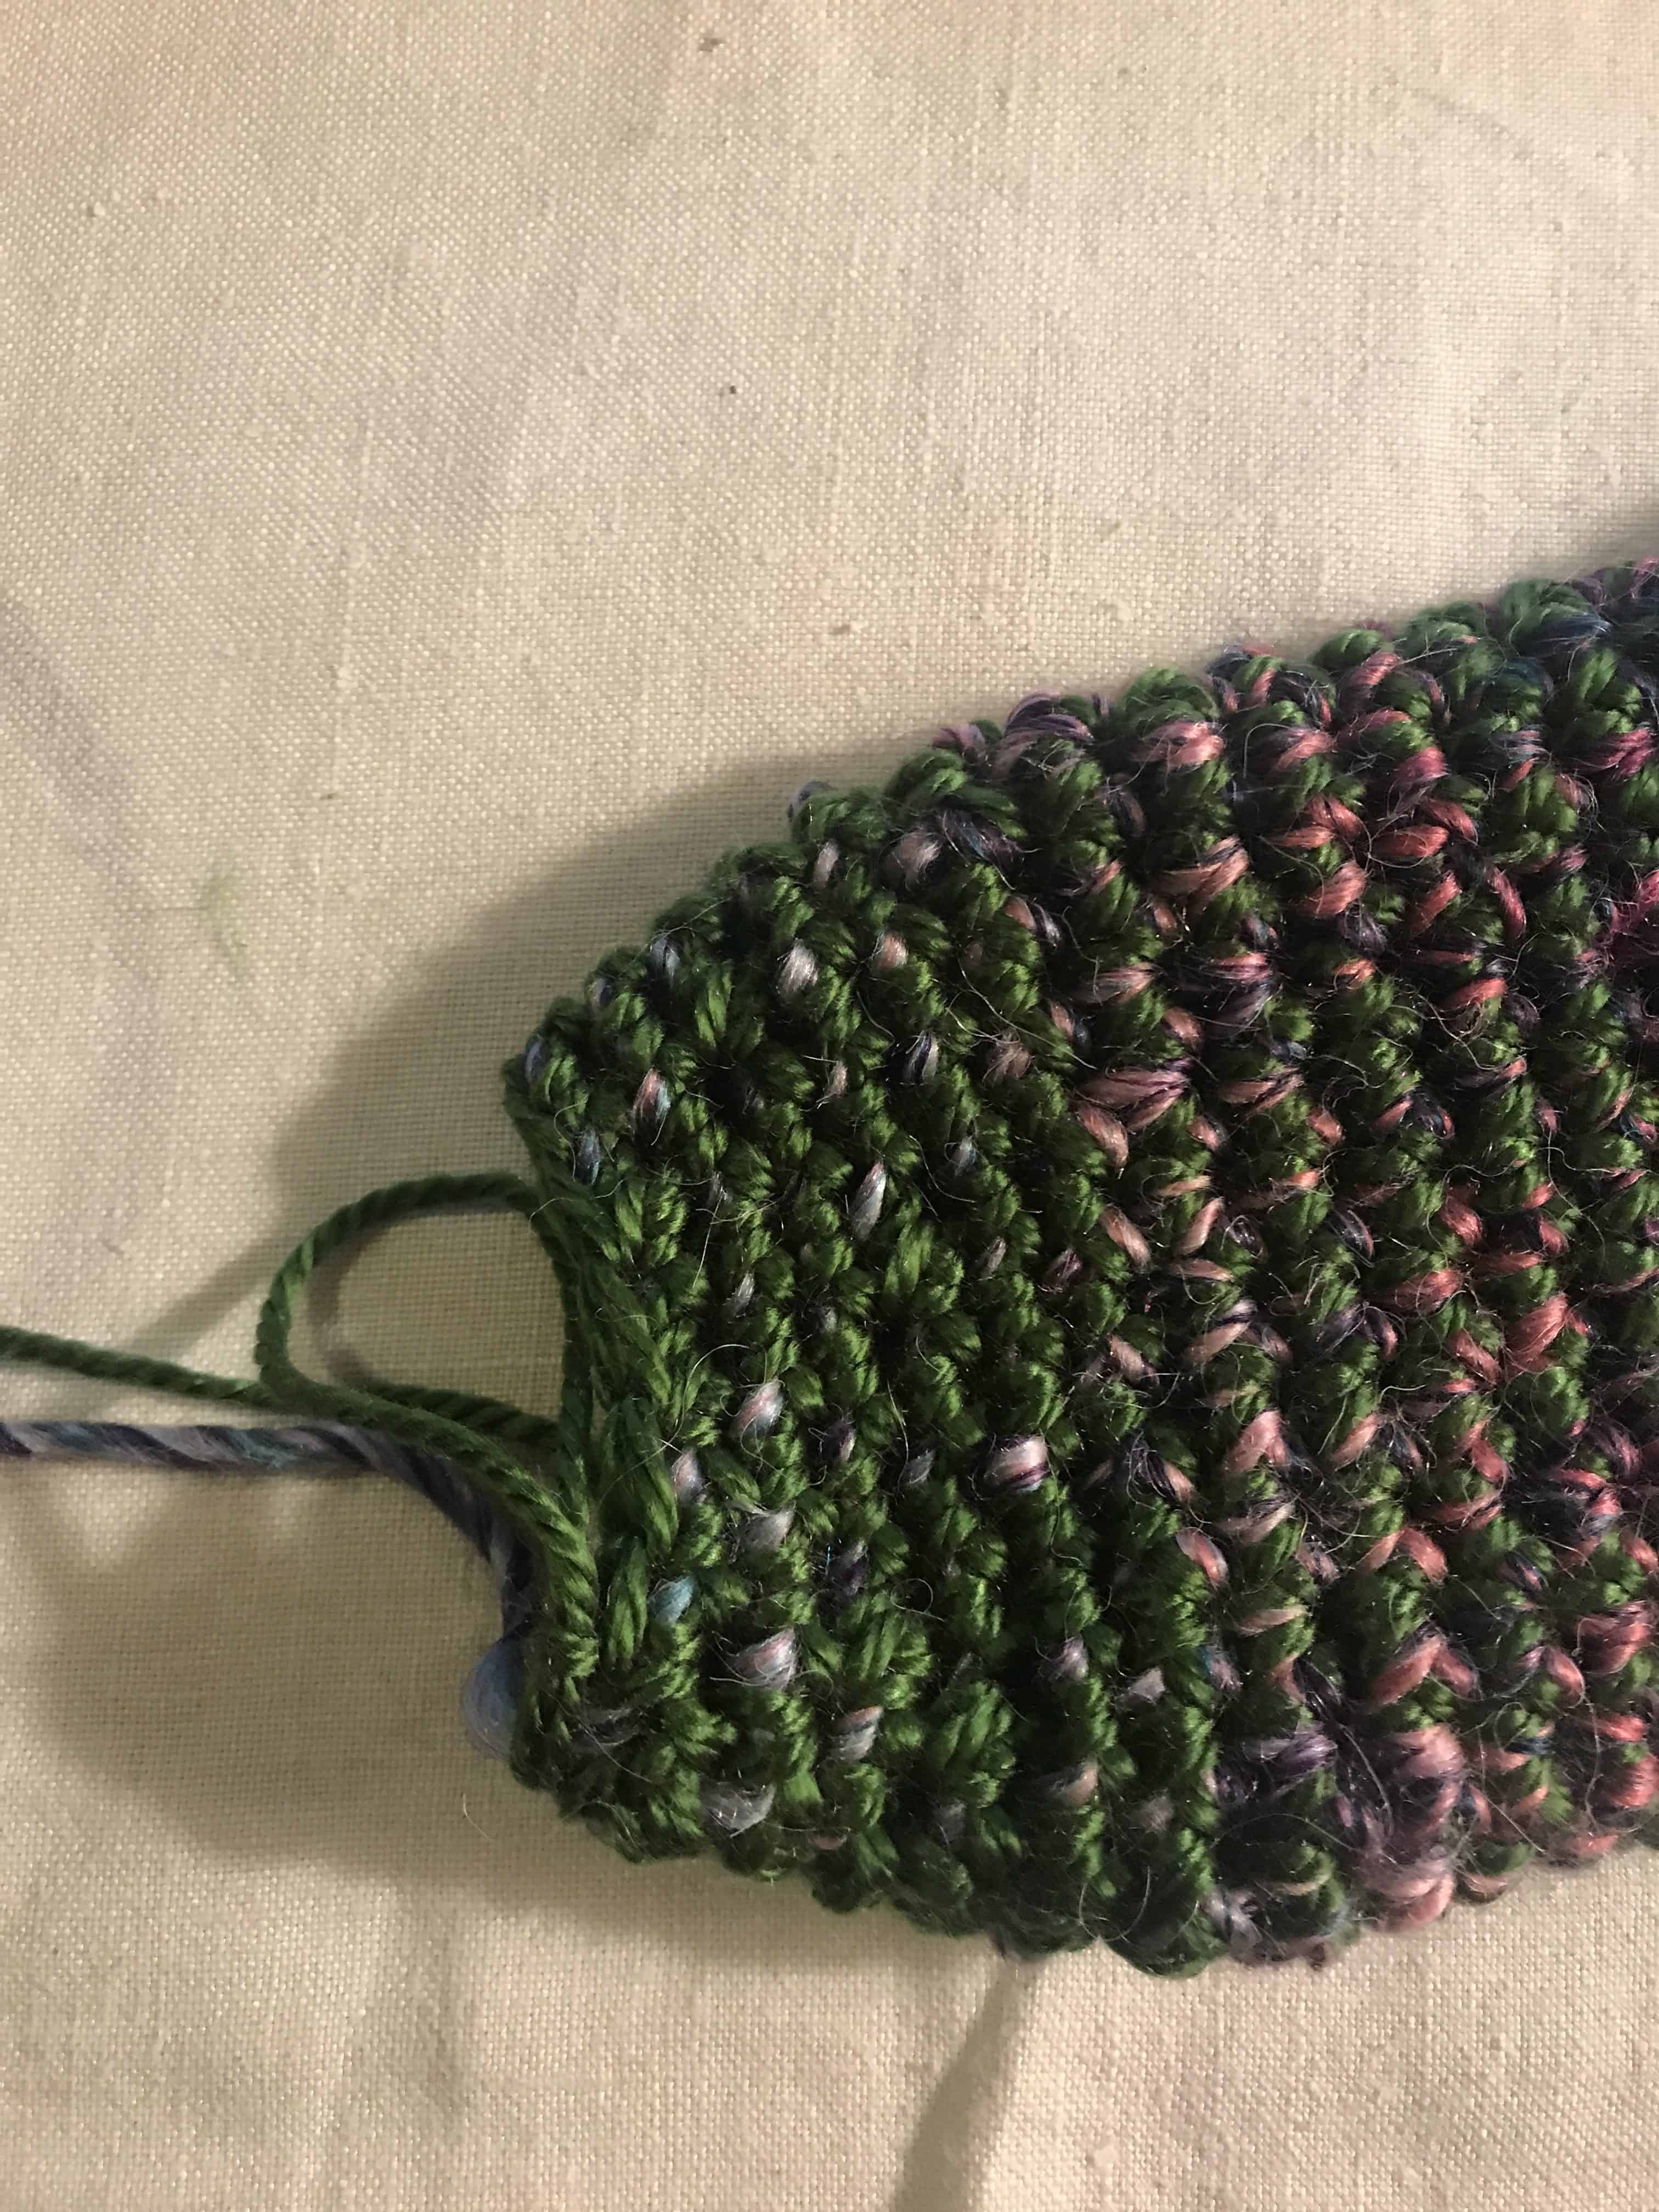
And of course, when working the Toe up version is worked opposite, like this…there are aspects that cross over from toe-up and cuff-down.
Toe – Up Crochet Sock:
Start with the Toe
When you begin a sock with the toe, I must admit it takes a little more thought and planning. Toe-up socks start by making a foundation chain measuring about 2-3″ (5-8cm), then working in rounds. Use a stitch marker to mark the beginning and end of each round, so you can keep track of your increases. For instance, you create a foundation chain. work a row of single crochet in each chain (mark the last stitch). Single crochet around the bottom side until you reach the beginning (place a stitch marker in that stitch). Continue working your stitches around until you reach the next stitch marker and make two stitches in that place. Replace the stitch marker in the first of those two stitches. Continue around until you reach the next stitch marker and make two stitches in that place. You get the gist of it?
Continue making rounds where the increases are made at each end where you place your stitch marker, and when it fits nicely around your toes, you stop increasing and begin working the “foot” area in rounds until you reach the gusset, or where you’d like the heel to start.
You can also make a toe using a method that looks like this:
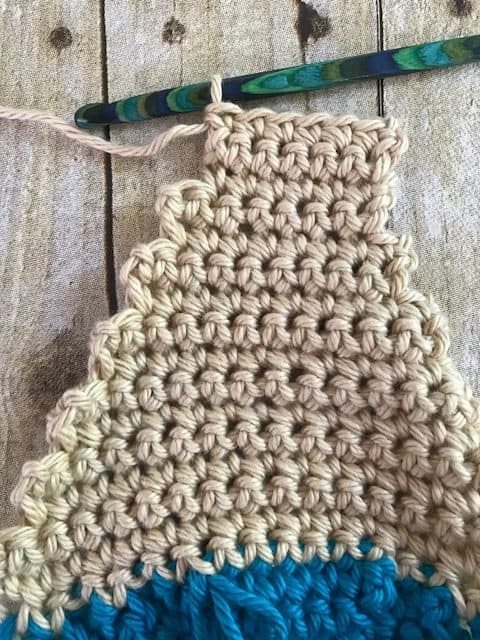
This pattern starts off with a row of single crochet. Measure around the widest part of your foot about the ball. Then reduce that measurement a little to account for stretching. Then work another single crochet row.
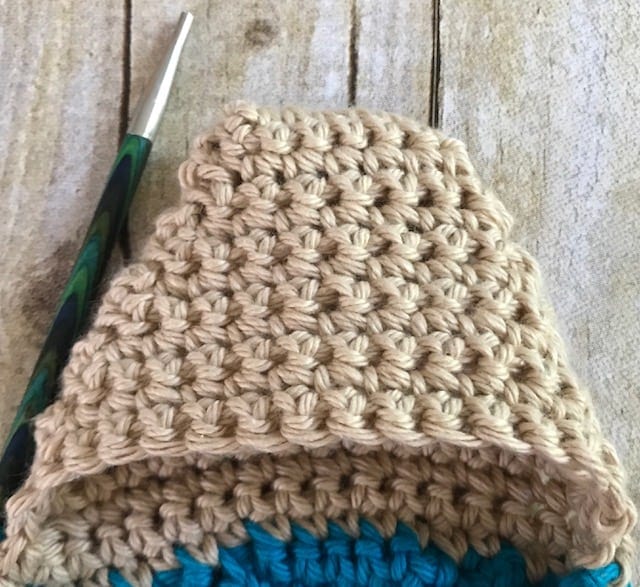
Then with each new row, single crochet across each row, but leave the last single crochet unworked (as seen in the photo above). Continue like that until you have 6-10 stitches (depending on your size). *Make a single crochet in the unworked stitch below (see photo above, it may be a few rows below, but don’t worry), then work a slip stitch into the side of the row below that. Turn, and single crochet across to the other side* and repeat from * to *. Repeat this pattern until the toe closes and it will look like this:
To the Foot
Once you complete the toe, you’ll begin working rounds to complete the foot. Make it as long or as short as you’d like, but make sure it fits around and the right length. The standard for women size 7 (39 euro) shoe is about 5″ (12cm).
Toe-up Heels:
Short-Row Heel
The short row heel (like I created for the Rainbow Fish pattern is a short-row heel). The short-row heel is composed of stitches worked over half of the stitches of the entire foot section. So if you have 30 stitches around for your foot, work 15 single crochets to start the base of your heel. Then create rows decreasing at the beginning and end of each row, or every other row until you have about 7-10 stitches left. Then chain and turn, work one row of single crochet, chain and turn, then work increase rows until you reach your starting stitch count (for this sample that would be 15). You can stitch up the ends later….then move on to the gusset and leg. You can also use any of the other heel methods lists as toe-up and cuff-down.
Gusset
The gusset area is where you draw the heel to the foot and begin working up. The gusset for a crochet sock is just a few rows, but some people like to shape or tighten this area to fit. It may require an increase or two to fit as this is the widest part of the foot.
Leg
As you work up the leg, you can work in rows or create interesting patterns or use a special stitch. Be creative! Just remember to increase accordingly if you decide to make a very tall sock that will go over your calf. You can also use the ribbing styles below to create a vertical ribbing pattern as your leg of the sock and use a picot as a cuff!
Cuff
When you reach the length you want (you can create extra tall socks or over the knee socks too!) then begin working a cuff. Here are a few ways to create crochet ribbing – you can use these or use front and back post crochet to create ridges too. Picot stitches make for a fun edge too. Again, be creative! Click photo below to see the blog post about ribbing.
I hope you’ve learned something new today! Please leave any comments or questions – I’m happy to answer as best I can.
Please share if you love it!
<3 Tasha
~Inspire, Learn, Create


Wow, I didn’t realize how much mechanics are involved!
Yes! They can be intense, but always fun when you finish them up and get to wear the coziness they are!