

In this post you will learn how to make an Easy Crochet Magic Circle Tutorial. The magic circle is used to create so many projects, including beanies, toques, I used the magic circle to create so many crochet projects including the Sequoia Ridge Slouchy Beanie.
There are so many ways to create a magic circle. Even after all these years, crocheters are coming up with new ways to create the magic circle. I recently watched a tutorial from Toni Lipsi and she found an even easier way! I love how as crocheters we innovate our craft and it’s ever evolving.
The magic circle is fabulous for all projects worked in the round because it creates the option to tighten or loosen the center hole – with ease. I hope you enjoy this video tutorial, please share if you love it!
Easy Crochet Magic Circle Tutorial
Written Instructions on How to Make a Magic Circle in Crochet
Although for me, watching a video is the easiest way to learn this crochet technique, you may find written instructions easy too.
Easy Magic Circle Tutorial
Create a Magic circle the easy way with this simple step by step tutorial.
Materials
- Crochet Hook
- Yarn
Instructions
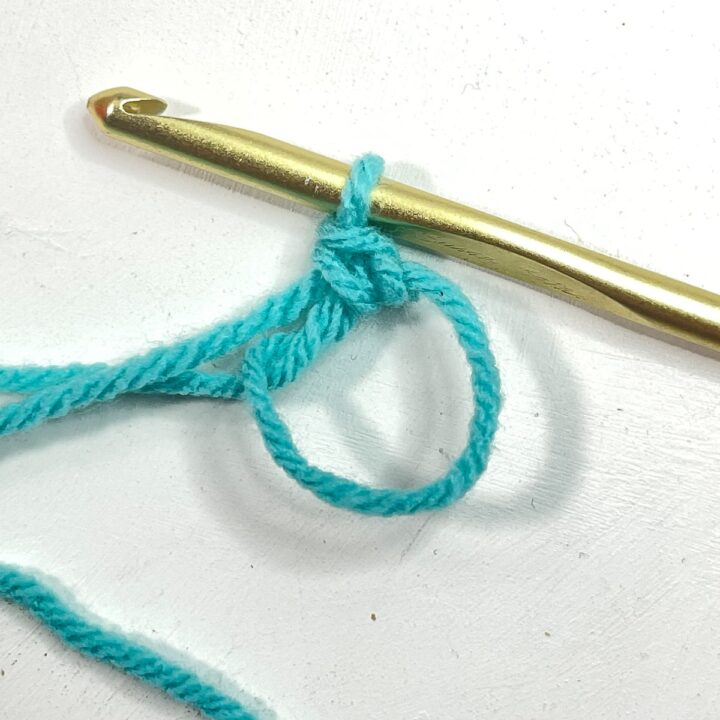
- Using your left hand (or right if you are a lefty) wrap your yarn around your index, middle, and ring finger - two times - creating an X.
- Insert your crochet hook under the strand of yarn closest to your thumb.
- Grab the strand of yarn closest to your pinky.
- In one motion, pull that strand through and twist it up.
- Chain 1 to secure it.
Notes
That'ss it!
If you are looking for some fun crochet patterns to practice your new crochet skills, try these:
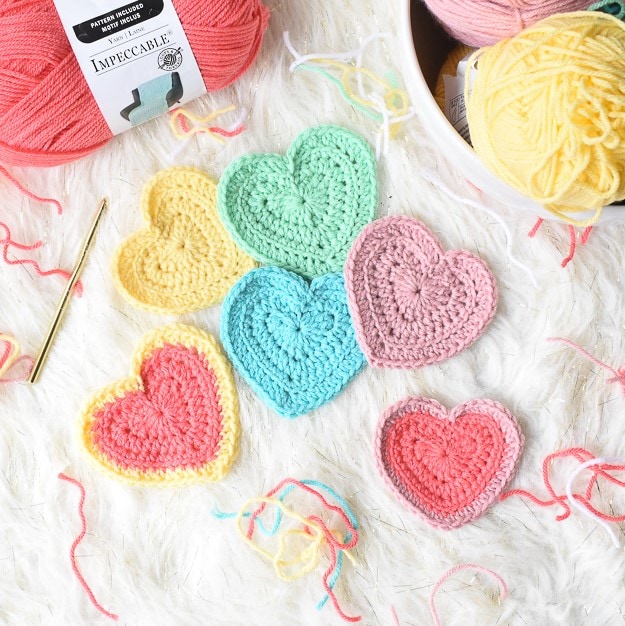
This easy tutorial will make you a pro at crocheting hearts!


This is amazing! Thank you much! 😊
You’re so welcome!
You’re welcome! Please share if you can, I don’t think it’s been seen by many 🙂
I am a beginner and I can understand the video so much better than other tutorials. Thank you so much.🐝🐝