

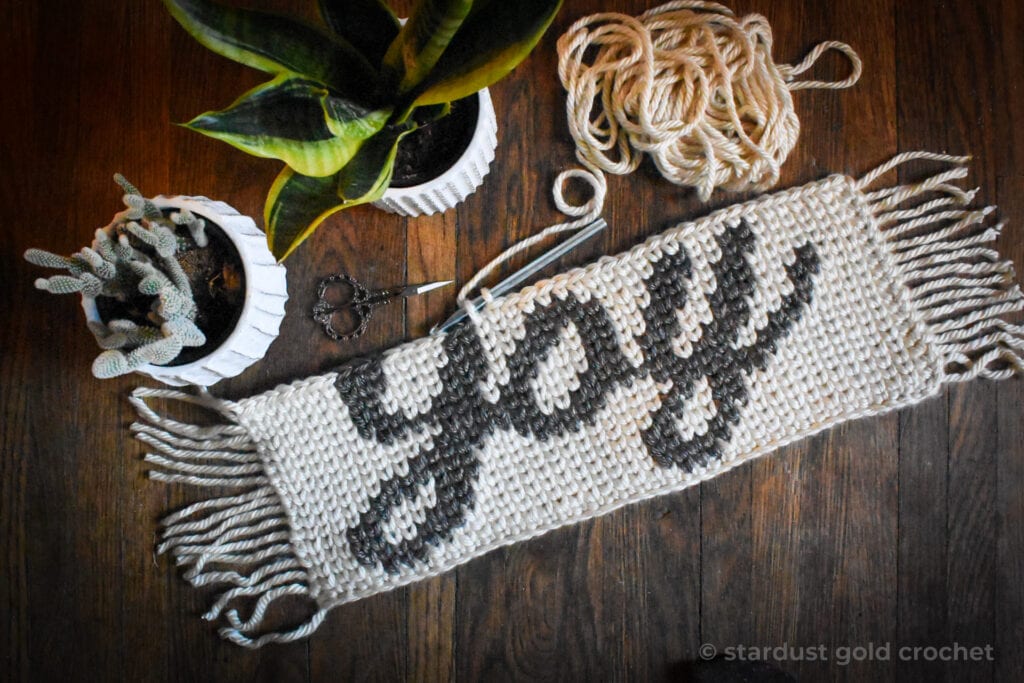
The Joy Crochet Throw pillow pattern is a wonderful crochet project to spice up your holiday decor. I’m excited to work this up in different color this season.
I need to modify it a little too, so keep an eye out for an updated version.
This is the premiere of the FREE pattern too! How exciting!
Joy Crochet Pillow Perks
- Minimal sewing!
- 1 Stitch, so perfect!
- Endless color combos!
Inspiration for the Joy Crochet Pillow Pattern
The inspiration for this pillow came from a dear friend who passed this year. Her name was Joy. I miss her and love her so much.
Autumn Harvest Blog Hop – Day 26
The Crochet Joy Throw Pillow is Day 26 of the Autumn Harvest Blog Hop.
And I am so thankful to be hosting this blog hop, and thank you so much for being a part of it.
If you want the PDF version of all the patterns, you have 5 more days to get it before it’s gone forever!
Click the photo below to grab the bundle of 31 patterns or purchase the individual PDF of the Joy Crochet Throw Pillow here.

joy Crochet throw pillow Pattern TIPS
The Pure Joy crochet throw pillow pattern is a fast work up, and uses a unique crochet stitch that resembles a knit stitch.
If you need help working this stitch, I have created a tutorial for the crochet knit stitch, also known as the waistcoat stitch.
I also created a wonderful crochet tutorial about how to change colors properly while working the waistcoat crochet stitch. It can be a tad tricky, but not if you have these tips!


Lifetime Membership to Stardust Gold Crochet
My pattern library is getting biiiiig! I have a wonderful lifetime membership and community called the Infinite Yarniverse!
One and done, lifetime membership price is $35 – see what you get here.
Included in the Infinite Yarniverse Crochet Community
- My entire pattern library for download TODAY!
- All future patterns
- Crafty graphics
- Courses (coming in 2022)
You get my ENTIRE crochet pattern library at your fingertips – today… + all courses (coming soon) and fun graphics and downloads.
Crochet Pattern Support
I hope you enjoy this easy pattern. Pattern support? Head over to Stardust Gold Crochet & Friends.
- If you are looking for a drama-free crochet group, check out my pattern support group, Stardust Gold Crochet & Friends
- We have fun and share crochet patterns, stories, and courses; you can ask me about any pattern in my library for support.
Pure Joy Crochet Pillow Pattern
A little bit about the yarn…
Hometown USA is a nice yarn, thick and easy to work with. There are tons of great colors to match any home decor. 100% acrylic makes
it easy to throw in the wash too.
Skill Level: Easy to Intermediate (color- work)
Gauge: Not important for this project.
Materials
Suggested Yarn: Lion Brand Hometown USA or any Super Bulky 6 weight yarn. 100% Acrylic, 81 yds/74 m per skein (5 oz/142g), Color A: Los Angeles Tan, Color B: Little Rock Granite – 2 skeins of each.
Hook & Other Materials:
- 9 mm crochet hook
- Darning Needle
- Scissors
- Pillow Stuffing
Sizes/Finished Measurements
Approximately 21” wide and 11” tall
Stitch Guide:
how to create the stitch:
The waistcoat stitch is a single crochet – but you are inserting your hook in between the V’s. Please visit this post for video tutorials.
Wc – waistcoat stitch: Insert hook between V of single crochet, yo, draw up a loop, yo draw through 2 loops.
Sc – single crochet: Insert hook in indicated stitch, yo, draw up a loop, yo draw through 2 loops.
Abbreviations
sc – single crochet, wc – waistcoat stitch, st(s) – stitch(es), ch(s) – chain(s)
Pattern Notes – Please Read
- Keep your tension loose while crocheting the waistcoat stitch.
- Loose tension makes it easier to insert your hook in between the V’s of your single crochet.
- This is crocheted in one panel and folded over.
- Read all of the instructions.
Resizing
If you want to make the pillow larger, add rows before Row 2 and after Row 24, in multiples of 2.
Instructions
- Rows are worked from R to L – cut your yarn at the end of each row.
- Right side (RS) is always facing you.
- Attach yarn for next row in the 1st sc of previous row.
- Ch 1 and make 1st sc in same space at beginning of each row.
- The 1st and last stitch of each row is regular sc.
- Leave a 4-5” tail at begin- ning and end of each row.
- Carry non-working color inside stitches.
Pattern
With a 9 mm hook and 6 weight yarn…chain 44.
Begin working the graph or use written pattern below:
Row 1: (RS) Sc in 2nd ch from hook and in each chain across, leave a 4-5” tail, cut yarn – 43 sc.
Row 2: (RS) Sc in 1st sc, A x14, B x3, A x16, B x3, A x5, sc in last st – 41 wc, 2 sc.
Row 3: (RS) Sc in 1st sc, A x13, B x5, A x13, B x6, A x4, sc in last st – 41 wc, 2 sc.
Row 4: (RS) Sc in 1st sc, A x12, B x2, A x2, B x2, A x12, B x3, A x2, B x2, A x4, sc in last st – 41 wc, 2 sc.
Row 5: (RS) Sc in 1st sc, A x11, B x2, A x3, B x2, A x11, B x3, A x3, B x2, A x4, sc in last st – 41 wc, 2 sc.
Row 6: (RS) Sc in 1st sc, A x11, B x2, A x2, B x2, A x12, B x2, A x3, B x2, A x5, sc in last st – 41 wc, 2 sc.
Row 7: (RS) Sc in 1st sc, A x9, B x4, A x1, B x2, A x12, B x3, A x1, B x3, A x6, sc in last st – 41 wc, 2 sc.
Row 8: (RS) Sc in 1st sc, A x8, B x7, A x5, B x4, A x4, B x6, A x7, sc in last st – 41 wc, 2 sc.
Row 9: (RS) Sc in 1st sc, A x7, B x2, A x2, B x5, A x3, B x6, A x2, B x5, A x9, sc in last st – 41 wc, 2 sc.
Row 10: (RS) Sc in 1st sc, A x6, B x2, A x2, B x3, A x1, B x7, A x2, B x7, A x11, sc in last st – 41 wc, 2 sc.
Row 11: (RS) Sc in 1st sc, A x5, B x2, A x2, B x3, A x2, B x2, A x1, B x3, A x3, B x6, A x12, sc in last st – 41 wc, 2 sc.
Row 12: (RS) Sc in 1st sc, A x5, B x1, A x3, B x2, A x2, B x3, A x1, B x2, A x4, B x2, A x1, B x7, A x8, sc in last st – 41 wc, 2 sc.
Row 13: (RS) Sc in 1st sc, A x4, B x2, A x2, B x3, A x2, B x2, A x2, B x2, A x3, B x2, A x2, B x3, A x2, B x3, A x7, sc in last st – 41 wc, 2 sc.
Row 14: (RS) Sc in 1st sc, A x4, B x1, A x3, B x2, A x2, B x3, A x2, B x2, A x2, B x3, A x1, B x3, A x4, B x2, A x7, sc in last st – 41 wc, 2 sc.
Row 15: (RS) Sc in 1st sc, A x8, B x2, A x2, B x2, A x3, B x2, A x1, B x3, A x2, B x3, A x4, B x2, A x7, sc in last st – 41 wc, 2 sc.
Row 16: (RS) Sc in 1st sc, A x7, B x2, A x2, B x3, A x3, B x5, A x3, B x2, A x4, B x3, A x7, sc in last st – 41 wc, 2 sc.
Row 17: (RS) Sc in 1st sc, A x7, B x2, A x2, B x2, A x5, B x3, A x3, B x2, A x4, B x3, A x8, sc in last st – 41 wc, 2 sc.
Row 18: (RS) Sc in 1st sc, A x24, B x2, A x2, B x4, A x9, sc in last st – 41 wc, 2 sc.
Row 19: (RS) Sc in 1st sc, A x23, B x2, A x2, B x4, A x10, sc in last st – 41 wc, 2 sc.
Row 20: (RS) Sc in 1st sc, A x23, B x6, A x12, sc in last st – 41 wc, 2 sc.
Row 21: (RS) Sc in 1st sc, A x22, B x5, A x14, sc in last st – 41 wc, 2 sc.
Row 22: (RS) Sc in 1st sc, A x22, B x3, A x16, sc in last st – 41 wc, 2 sc.
Row 23: (RS) Sc in 1st sc, A x21, B x2, A x18, sc in last st – 41 wc, 2 sc.
Row 24: (RS) Sc in 1st sc, A x41, sc in last st – 41 wc, 2 sc.
**Place a stitch marker on each side of pillow at the ends of Row 24.
Row 25 – 28: (RS) Continue with A for four rows, sc in first st, wc in next 41 sts, sc in last st – 41 wc, 2 sc.
Row 29 – 32: (RS) Color B, sc in first st, wc in next 41 sts, sc in last st – 41 wc, 2 sc.
Row 33 – 36: (RS) Color A, sc in first st, wc in next 41 sts, sc in last st – 41 wc, 2 sc.
Row 37 – 40: (RS) Color B, sc in first st, wc in next 41 sts, sc in last st – 41 wc, 2 sc.
Row 41 – 44: (RS) Color A, sc in first st, wc in next 41 sts, sc in last st – 41 wc, 2 sc.
Row 45 – 48: (RS) Color B, sc in first st, wc in next 41 sts, sc in last st – 41 wc, 2 sc.
If you prefer to work color blocks, you can use the blocks pattern – just remember that the first row (41) in color A starts with a sc and ends with a sc and is a total of 41 sts.
Also remember that the first and last stitch of each row is a single crochet and not included in the written blocks.
Assembly
Steam or wet block the panel before assembly. Once completely dry, follow these steps to add the finishing touches to your Joy pillow.
- Tie all loose tails in the back of your work. I did not weave in tails, I used fisherman’s knots.
- Lay panel with RS facing you.
- Fold panel at stitch markers, RS inside, with color B, sew long edge together using a whip stitch.
- Turn RS out.
- The sides are tied – not sewn.
- Match up rows, tie both strands of each row together with a knot, you can weave in tails from sewing up bottom – or tie them together with the others. I tied mine together.
- Fill pillow with as much stuffing as you’d like, and tie the tails to close it up.
- Cut tails even.
Congratulations! You Are Finished!
Joy Crochet Pillow Color Blocks

Joy Crochet Pillow Graph

Thanks for begin here for the Autumn Harvest Blog Hop! Thanks for everything, if you have any questions, please let me know.
Check out more free crochet patterns and please share if you love this pattern.
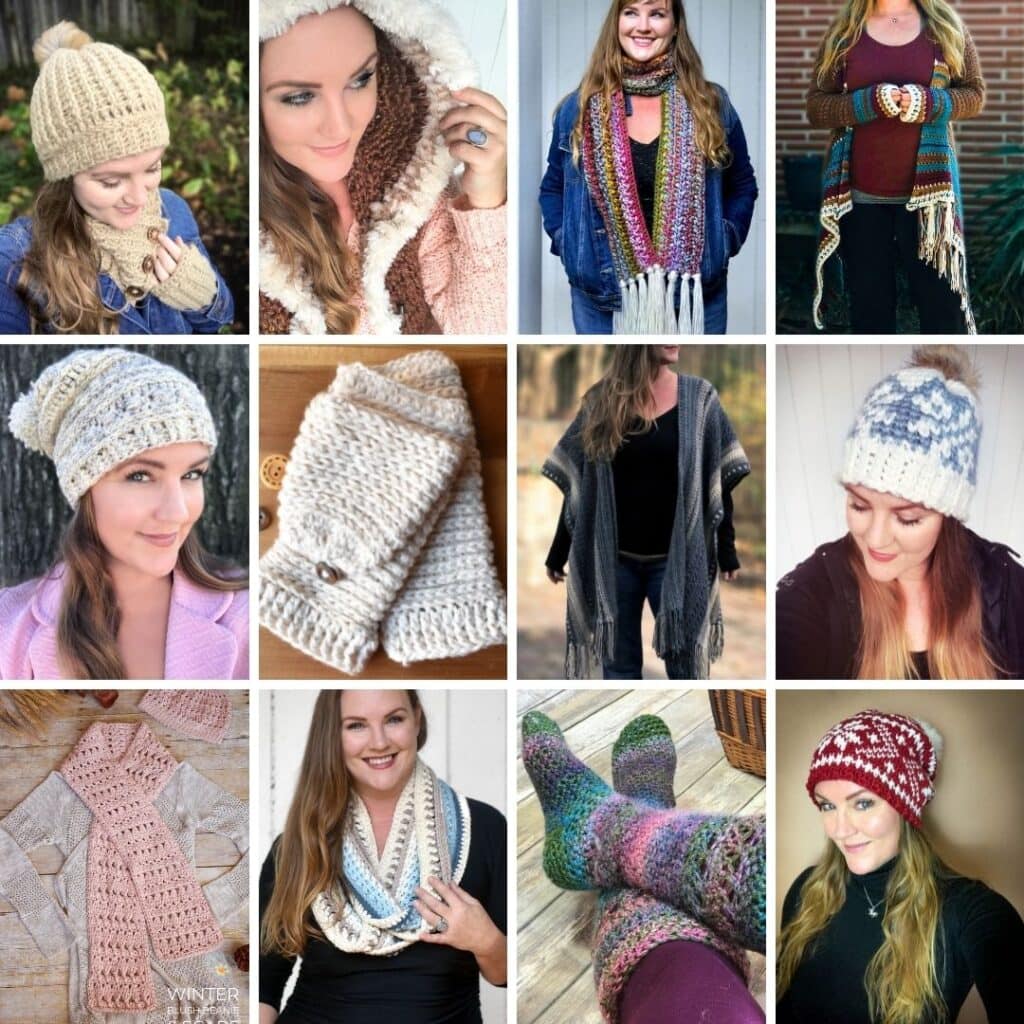
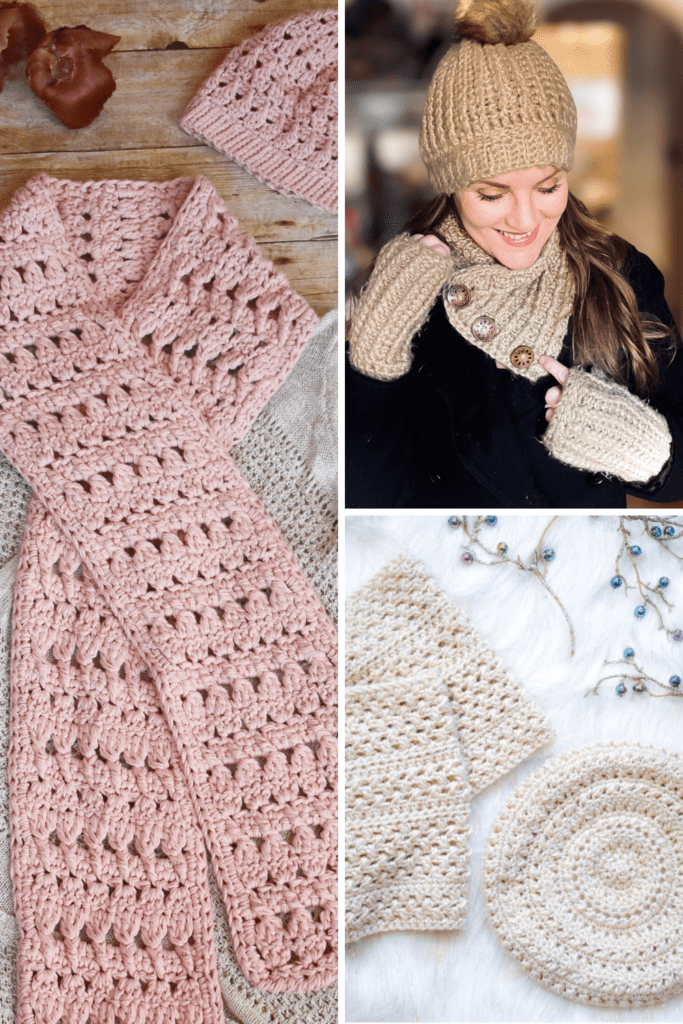
Crochet Winter Sets – Hat & Scarves Free Patterns


*any FREE pdf download participants agree to my privacy policy.
