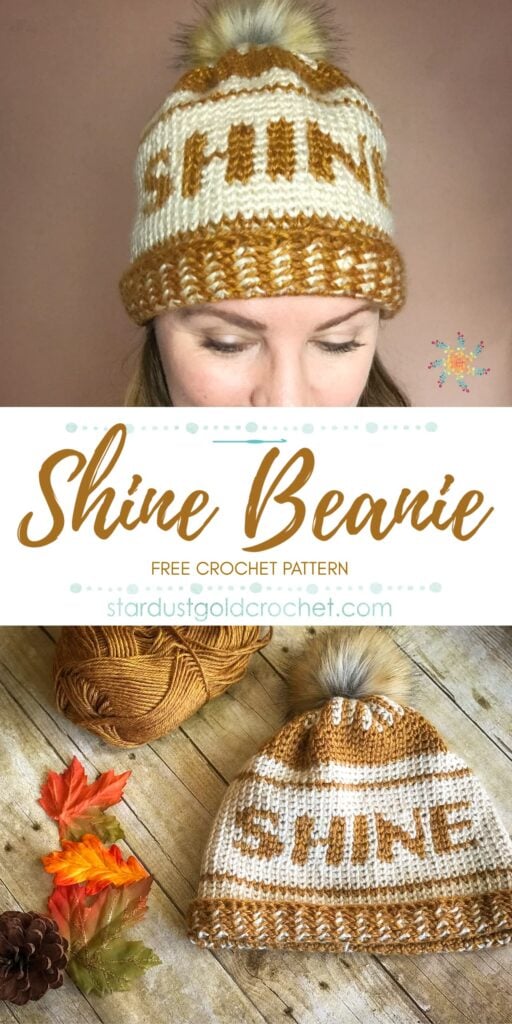
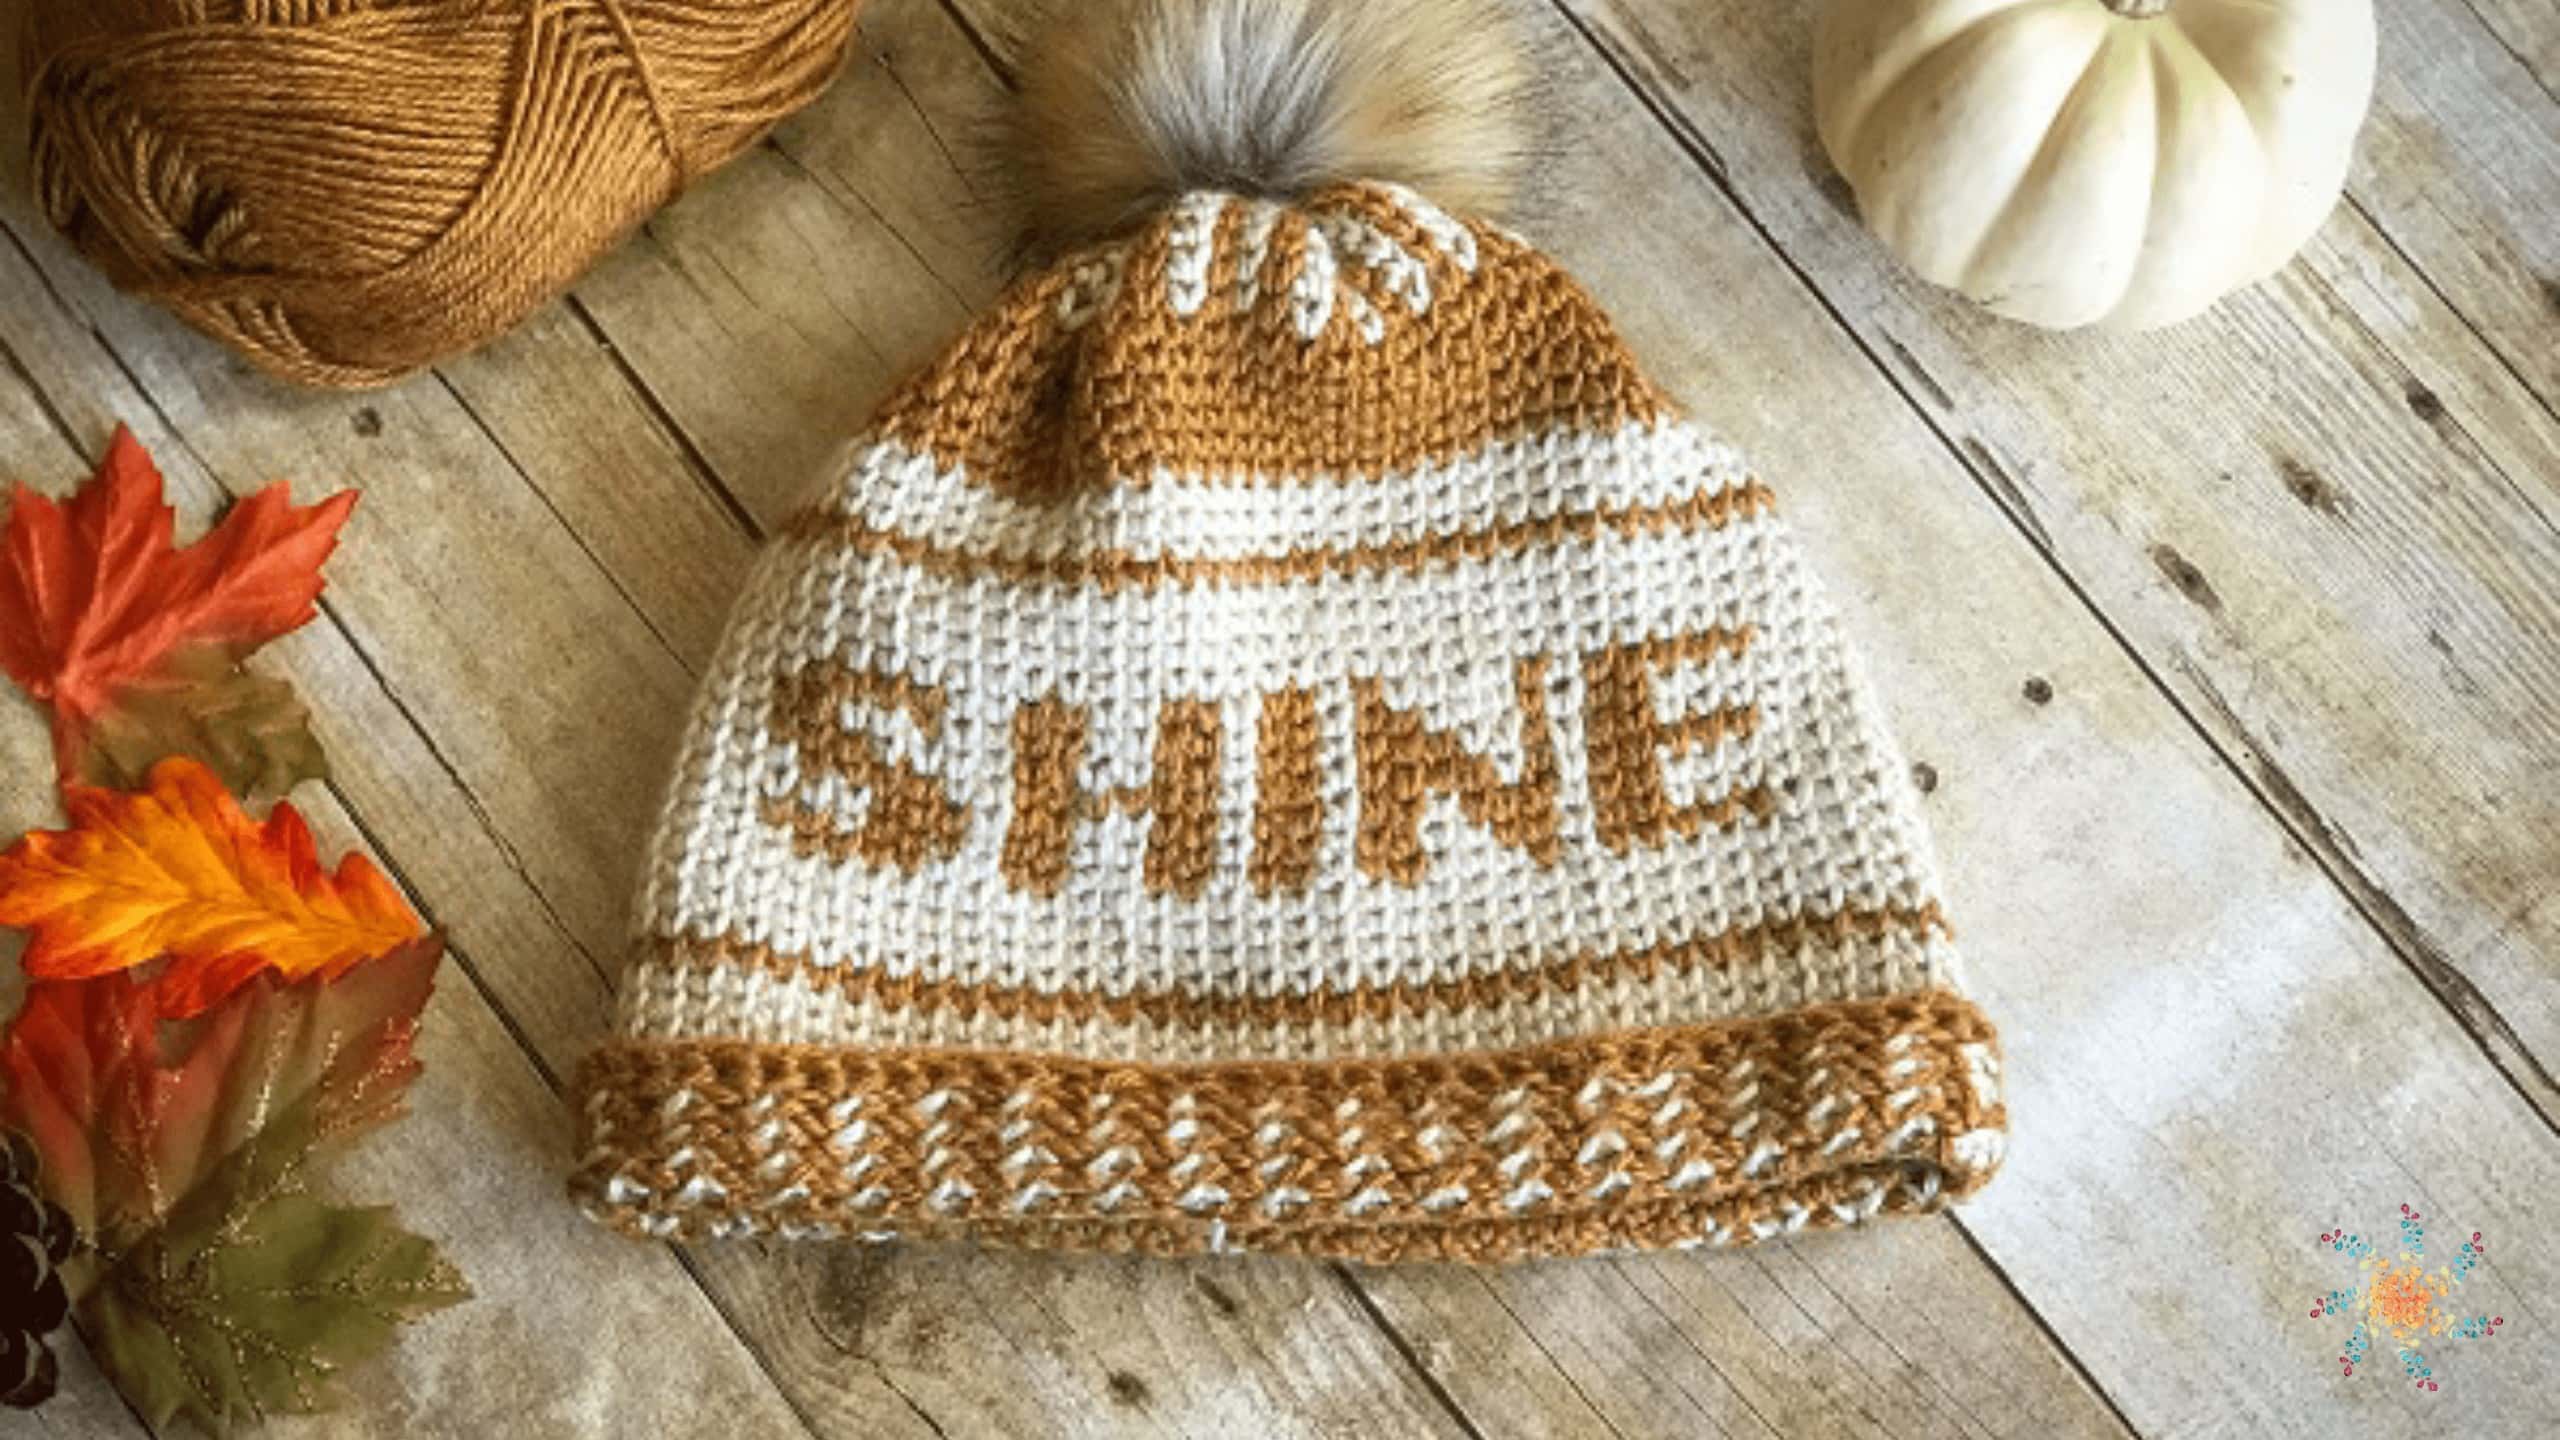
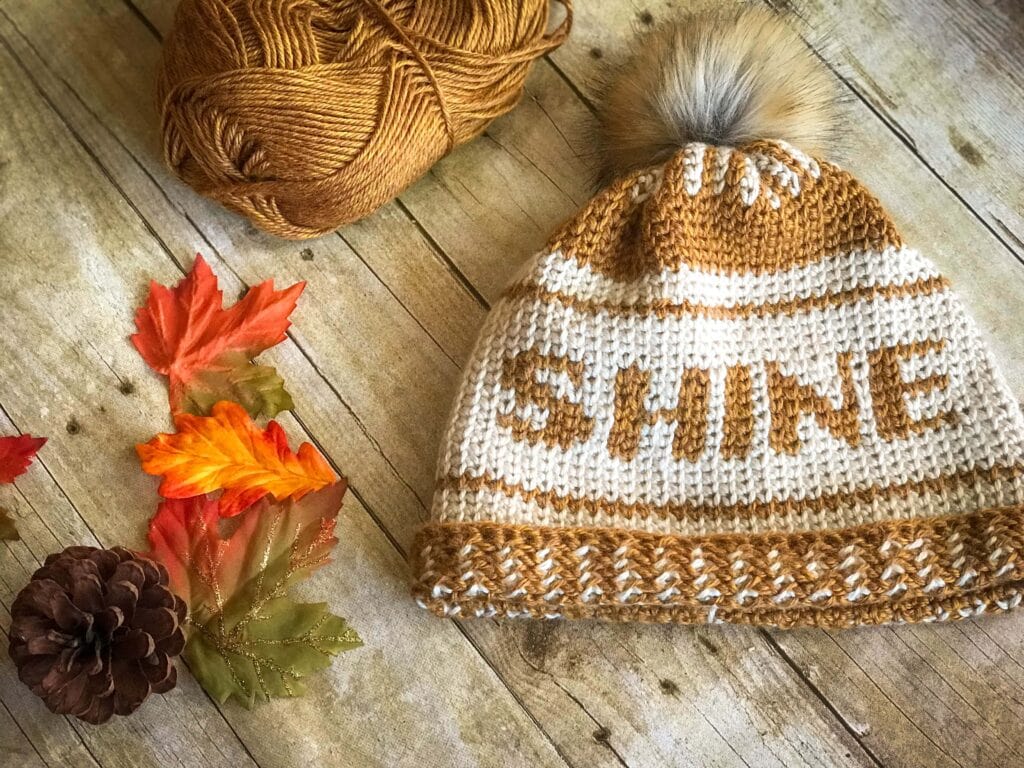
The Shine Beanie’s inspiration dates back to when I was a teenager. I acquired a beautiful 😍 shirt with the word SHINE on it. It was my favorite shirt and I wore is all the time. It made me feel good to spread some 💡 light, in a dark 🌎 world. I hope this crochet pattern brings out your shine! This pattern was created last year and I can’t believe I haven’t made it FREE yet! So here it is. Love 
What Crochet Techniques You Will Learn…
- Learn the knit stitch – this is also known as the waistcoat stitch.
- Changing colors
- Working in the round
- Seamless join
- Tension techniques (keep it loose)

I ended up gifting this one to my skate friend Elle Seven a few weeks ago, so I’m going to need to make a new one is some fresh colors for me to wear this season! I’m think teal (because it’s my favorite color). I can’t wait to see the colors you come up with! Please hashtag or just tag me so I can see, or join my pattern support group (link below) and post pics. I absolutely LOVE 
Creating That Knit Look with Crochet – Knit (Waistcoat) Stitch Tips
I use a technique in this pattern that simulates a knitted beanie or toque. The stitch is called the waistcoat stitch (aka knit stitch). I’ve created a few tutorials to teach you this crochet technique and also one that teaches you how to easily change colors using this same technique.
A whole new world opens up for you when you dive into learning this simple stitch. You will be amazed at how easy it is. Here are a few tips on keeping your stitches looking good and even.
Tension
This stitch requires you to loosen up a bit. If you are a tight crocheter, you’ll have to consciously loosen or “pull-up” on each stitch to make sure it doesn’t get too tight.
Consistency
When you make color changes using this stitch, you have to be consistent on how you work the color changes. It will make a big difference in the back of your work. This pattern requires a consistent band otherwise, when you flip up the brim, it will look messy! No one wants that :).
Patience
Learning this stitch takes time and practice. The first time I created a pattern with it, I got calluses on my fingers because my stitches were too tight! I even wore down one of my fingernails. So just be patient and take your time. This stitch is one that takes patience and as you practice more, your speed will increase.
If you would like to join my pattern support group, you can find that here or click the button below.
Shine Beanie | Free Crochet Pattern
Shine Beanie PDF Available in My Shop
A little bit about the yarn…
I have an affinity for Lion Brand as you can tell. I used Lion Brand Heartland yarn in Acadia & Yosemite, click here to see some of their fresh colors, and click here to see Michael’s stock.
I love this yarn, and most Lion Brand yarns because they’ve been doing this a while. 
It also has a nice tweed look to it, which makes for a classy look, which I love.
+ Skill Level
Intermediate
+ Gauge
13 ks x 20 rows = 4 x 4” or (10 x 10 cm)
I created my gauge swatch working in the round.
+ Materials
Suggested Yarn:
Lion Brand Heartland yarn, Acadia (ecru) and Yellowstone (gold) , medium weight #4 yarn (100% Acrylic, 251 yds/ 230 m per 3.5 oz/100 g skein)
Yardage:
- Adult: 150-200 yds (136.16 – 182.88) (approximately)
- Toddler 100-125 yds (91.44 – 114.3) (approximately)
Yarn Substitutions:
- Any 4-weight yarn with similar WPI – adjust hook size to meet gauge.
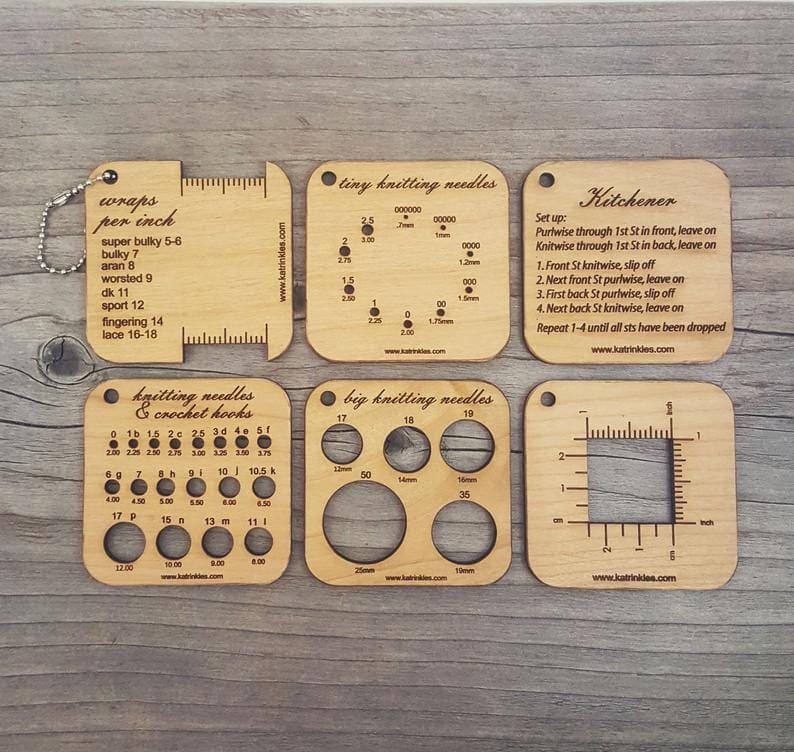
- Pick up some great WPI handmade tools here
Hook & Other Materials:
- US Size J (6 mm) crochet hook
- Measuring Tape
- Yarn Needle
- Scissors
- Faux Fur Pom Pom
+ Finished Measurements (Assembled)
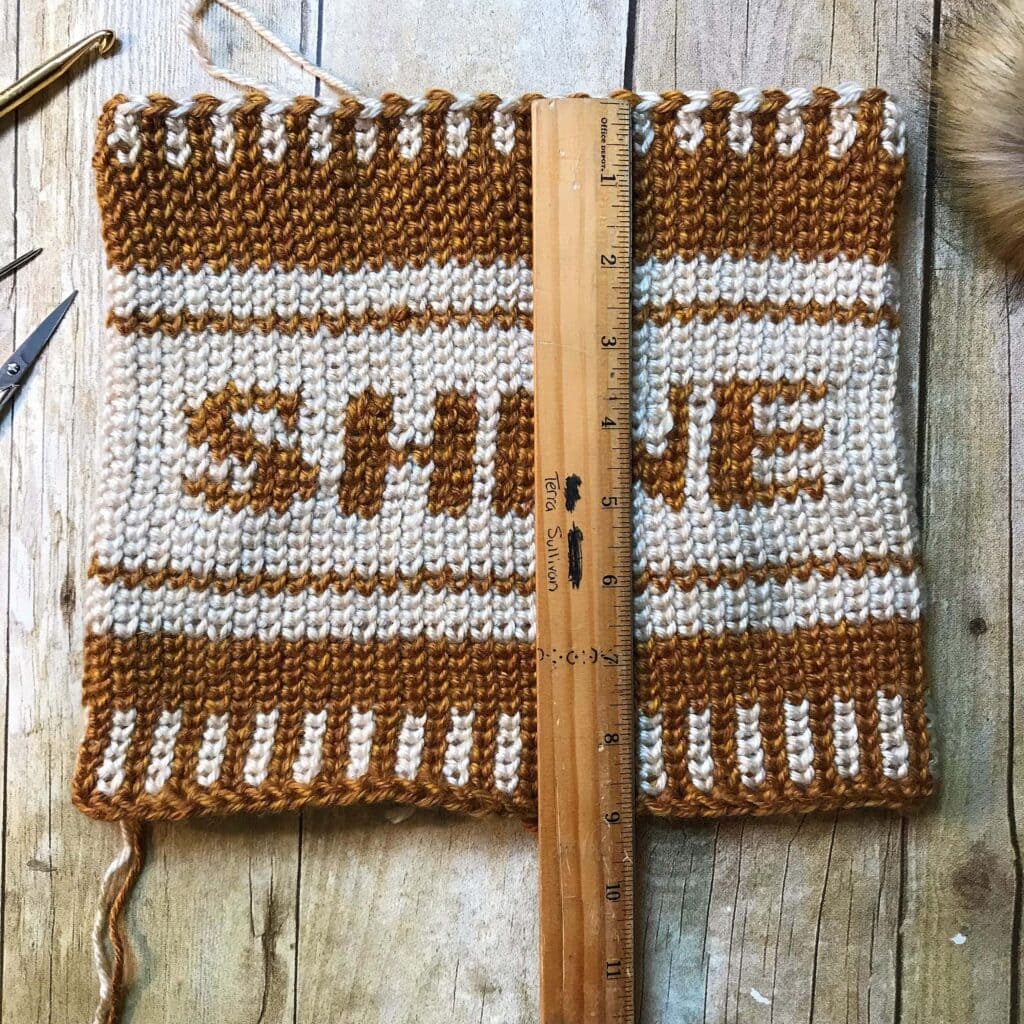
When complete and laying flat: (approximately)
Toddler:
Height = 7.5” (19.05 cm), Width = 8” (20.32 cm)
Circumference of brim = 15.5” (39.37 cm)
Adult Small, Medium, Large: (Measurements below are with negative ease and meant to stretch slightly)
Small:
Height = 9.25” (23.5 cm), Width = 10.25” (26 cm)
Circumference of brim = 20.5 (52.07 cm)
Medium (sample size in photos):
Height = 9.25” (23.5 cm), Width = 10.75” (27.30 cm)
Circumference of brim = 21.5” (54.61 cm)
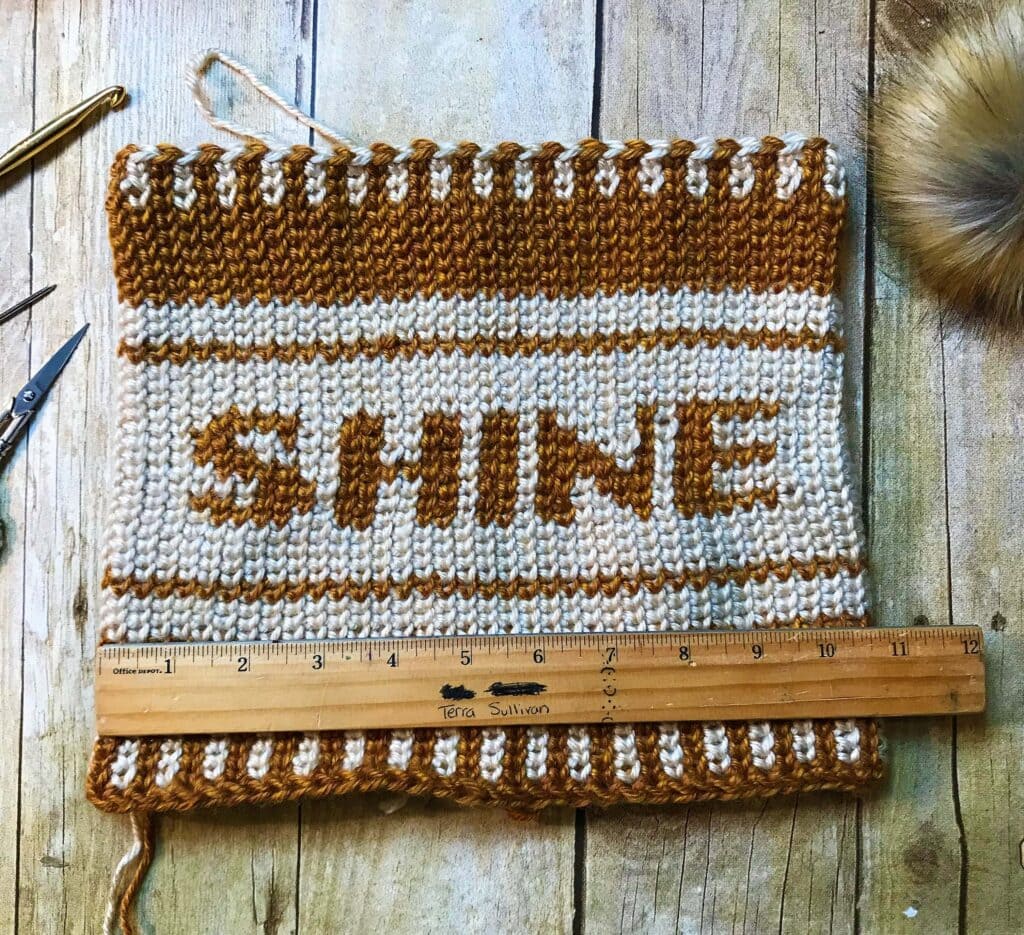
Large:
Height = 9.25” (23.5 cm), Width = 11.25” (28.57 cm)
Circumference of brim = 22.5” (57.15 cm)
+ Abbreviations:
| fsc | foundation single crochet |
| ks | knit stitch |
| sl st | slip stitch |
| ch | chain |
| MC | main color |
| CC | contrasting color |
| rnd | round |
| ch | chain |
| st(s) | stitches |
+ Stitch Guide:
fsc – foundation single crochet
Create a slip knot. Ch 2, insert hook in 1st chain, yo, draw up a loop, yo, pull through 1 loop (this is considered a ch 1, yo, draw through both loops on hook
(2nd st) Insert hook in bottom two loops of ch 1, yo, draw up a loop, yo, draw through 1 loop (this is a ch 1), yo, draw through both loops
(2 fsc created).
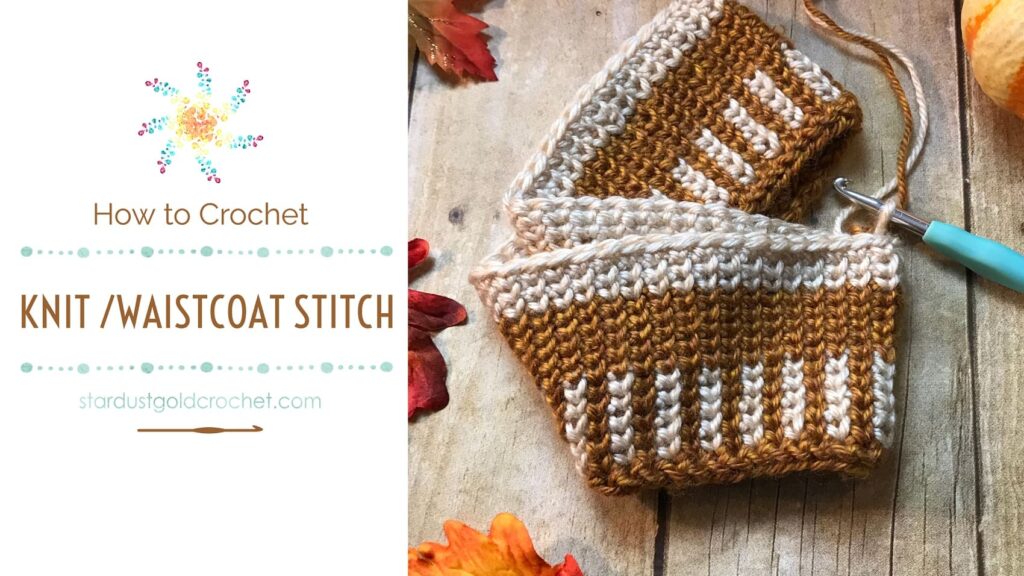
The knit stitch is a single crochet stitch that works into the center V of the stitch from the previous round, instead of the top two loops horizontal loops.
Knit Stitch Video Tutorial and changing colors can be found here
+ Pattern Notes – Please Read:
- Round 1 (fsc round) – make join in top of first fsc
- Round 2 – 1st stitch of round 2 is made in same as join.
- Remaining Joins Throughout Pattern: Are made by slip stitch into the ch 1 at end of round, unless otherwise indicated.
- Stitch count: Foundation round count is stitch count throughout.
- Remember to count your stitches 😉.
- Knit Stitch: Work very loose – they tend to get very tight.
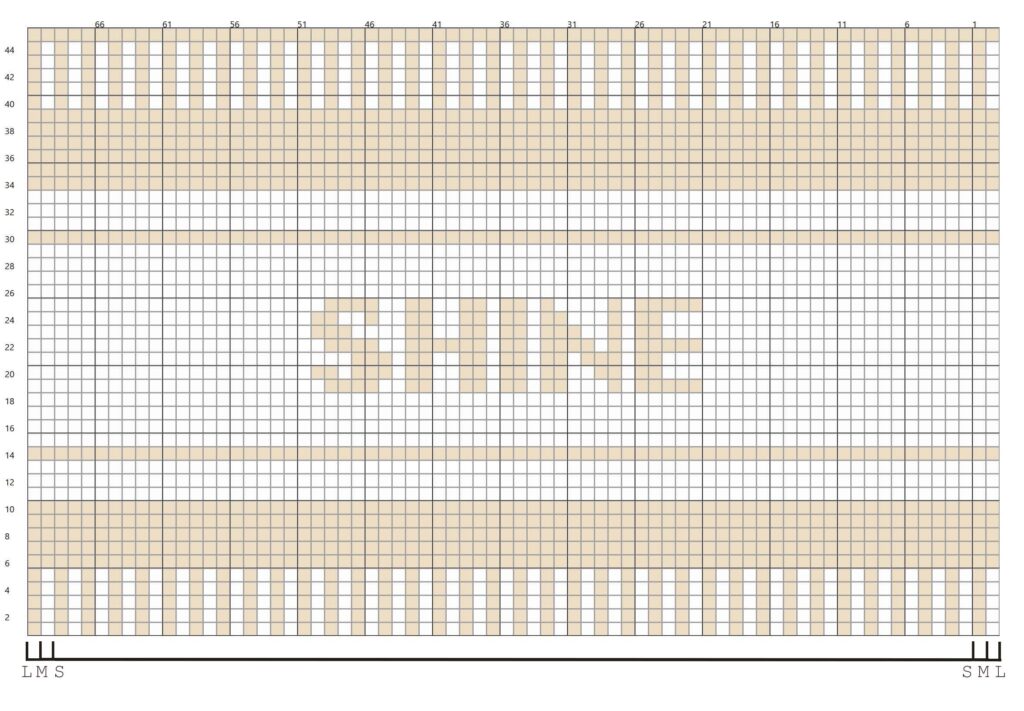
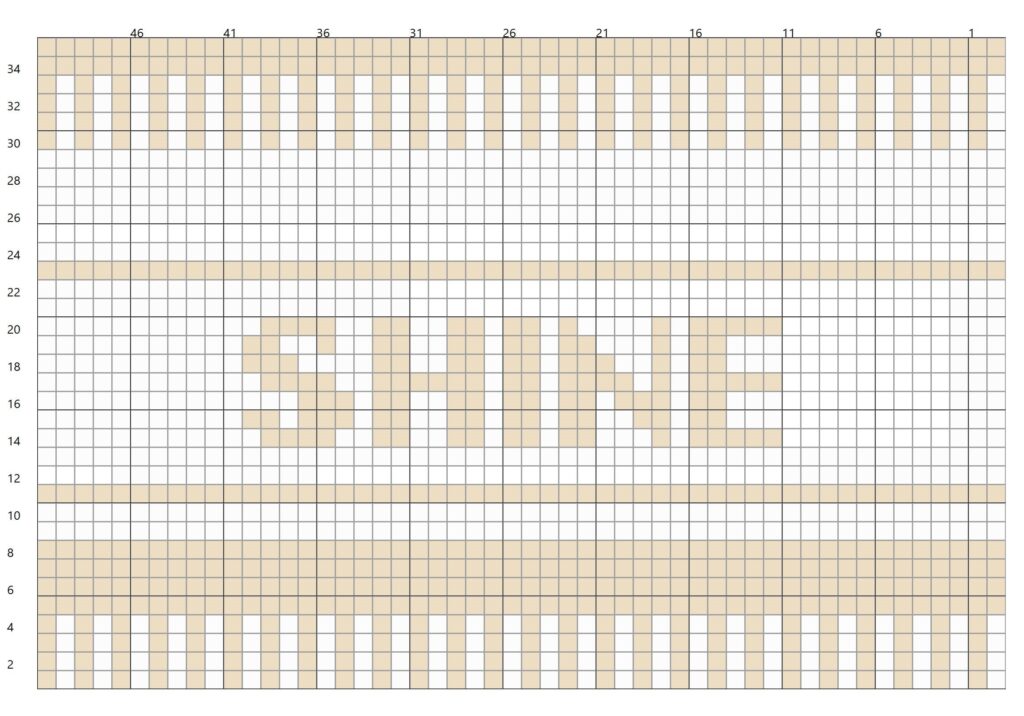
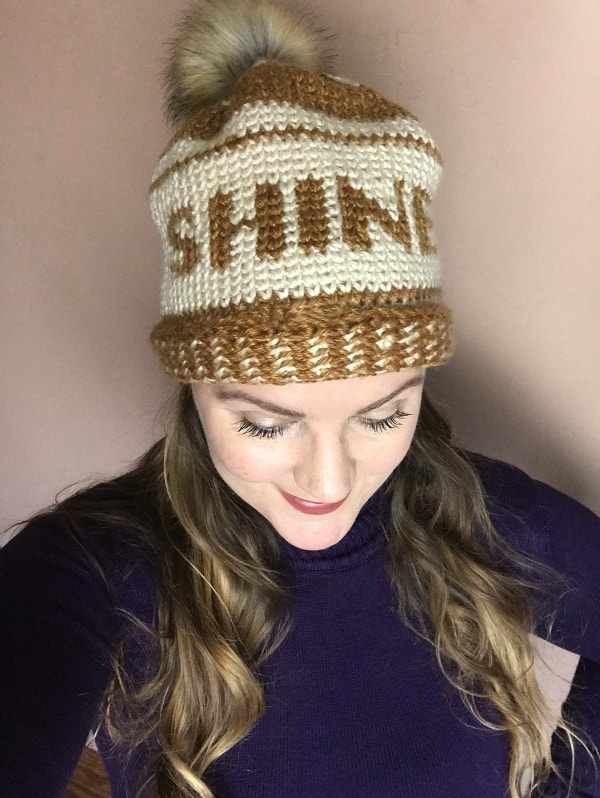
- Each square in graph represents 1 knit stitch.
+ Pattern
Using J hook and MC (I used Yosemite (rust) as main color (MC) and Acadia (white) as contrasting color (CC)).
Reminder: Joins are made by slip stitch into the ch 1 at end of the round, unless otherwise indicated
+ Pattern Adult M (S, L):
Download photo by click on it, and saving it to your PC or Mobile for printing or…
(If you have trouble saving, please download the PDF)
Sign up for Free Pattern Releases & Get Printable PDF Graphs here.
Work graph from right to left and from the bottom to the top.
(please refer to graphs for small, medium, & large) – you can customize width by adding or removing 1 row from both the left and right side of the chart (so the text stays centered).
Rnd 1: fsc 70 (68, 72). Join in 1st fsc of round, making sure the chain is not twisted.
Rnd 2: Ch 1, then begin working graph using the knit stitch (ks) – the 1st st of the round is made into the same as join.
Rnd 3 – 45: Follow graph with ks, Leave an 8-12 inch tail for sewing – sew up top according to photos in the following columns/pages.
+ Pattern Toddler:
Download photo by click on it, and saving it to your PC or Mobile for printing or…
(If you have trouble saving, please download the PDF)
Sign up for Free Pattern Releases & Get Printable PDF Graphs here.
Work graph from right to left and from the bottom to the top.
Rnd 1: fsc 52. Join in 1st fsc of rnd, making sure the chain is not twisted.
Rnd 2: ch 1, then begin working graph using the knit stitch (ks) – the 1st st of the round is made into the same stitch as join.
Rnd 3 – 35: Follow graph using ks, Leave an 8-12 inch tail for sewing – sew up top according to photos in the following columns/pages.
Assembly of Top of Hat:
Lay flat, with seam in the center. WS out and top side up.
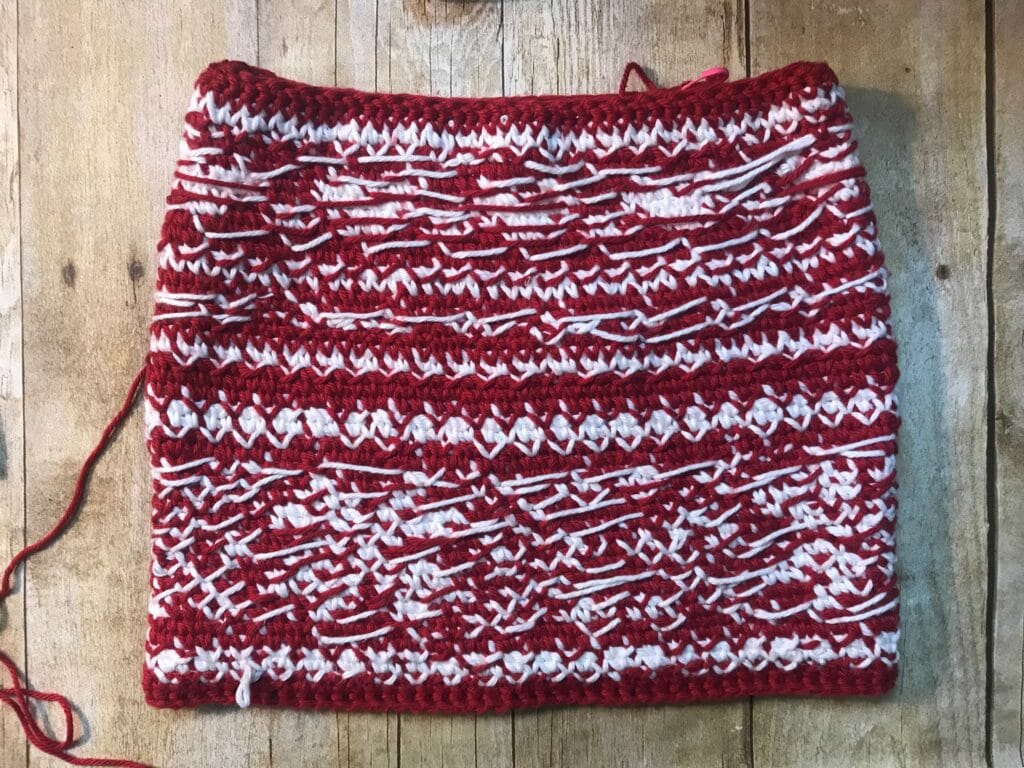
Sew together both pieces as pictured below, working through top loops of the stitches.
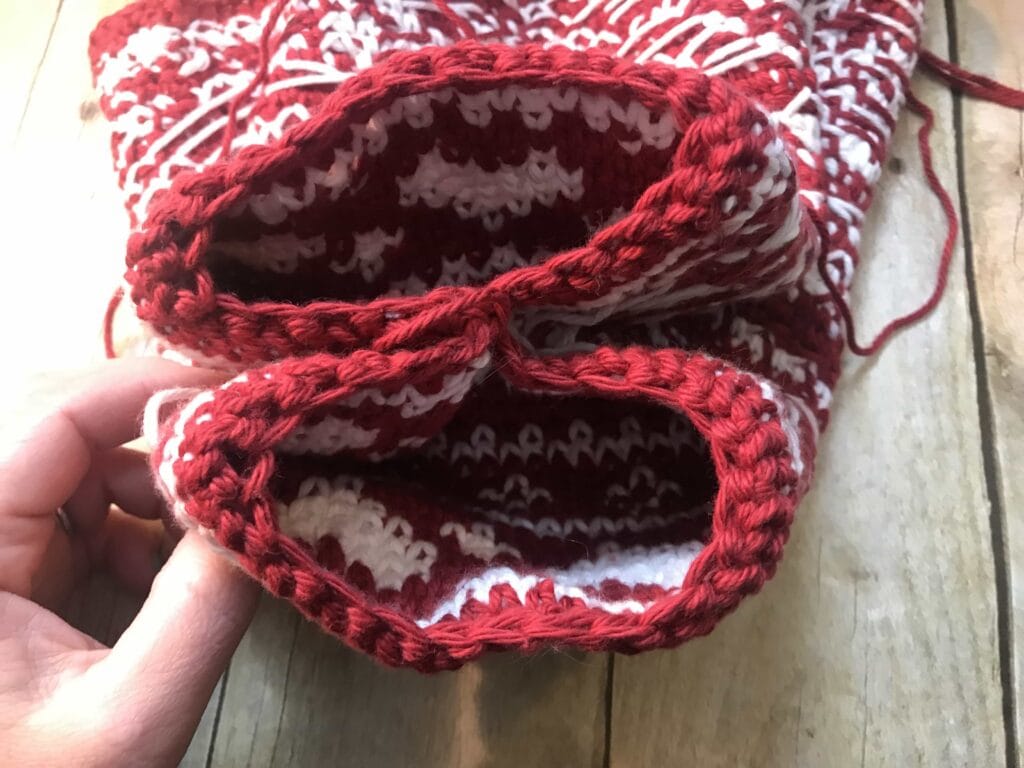
Draw in the other two corners – to create an X with four corners.
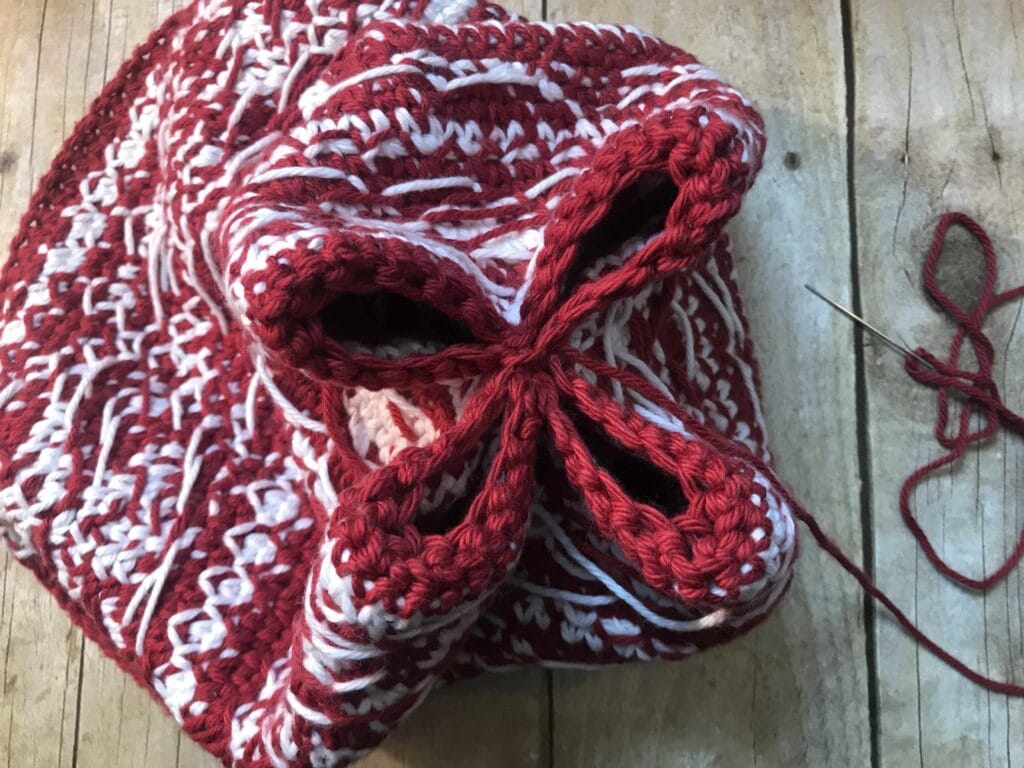
Sew together the two corner you just pulled in. Then do the same with the four corners of the X, drawing them in and sewing to the center. This creates 8 corners.
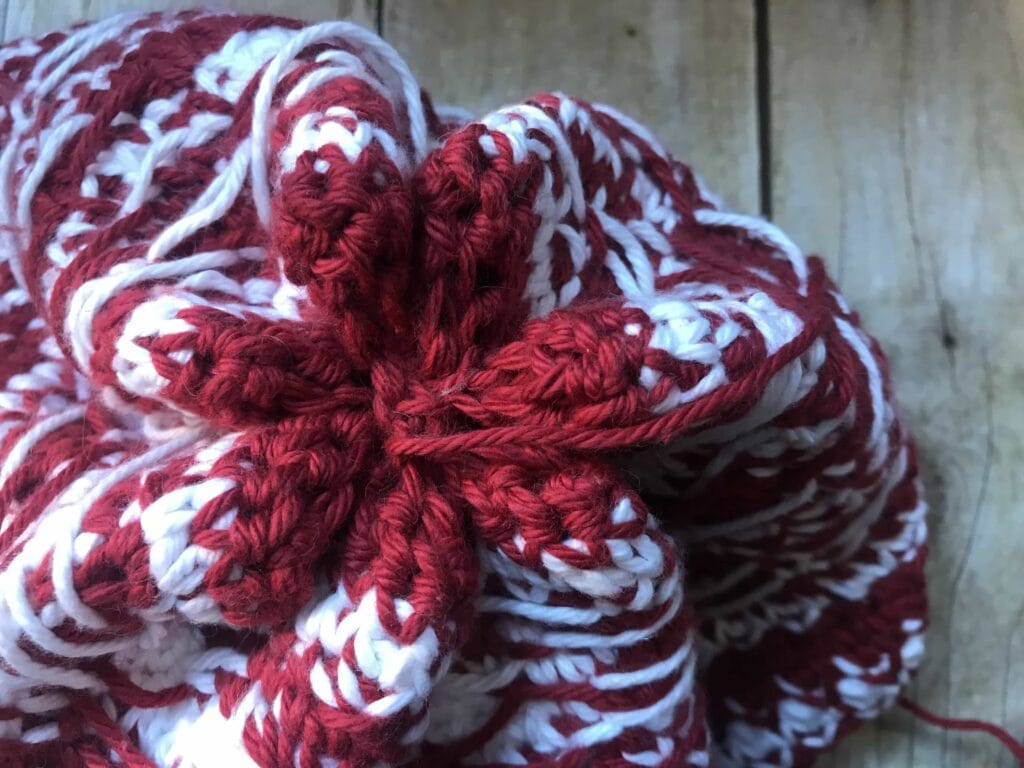
Keep pulling in and sewing corners to the center, until all the corners are sewed in. Leave a long tail for attaching pom. It kind of looks like a mish mash, but just keep sewing up all the little holes.
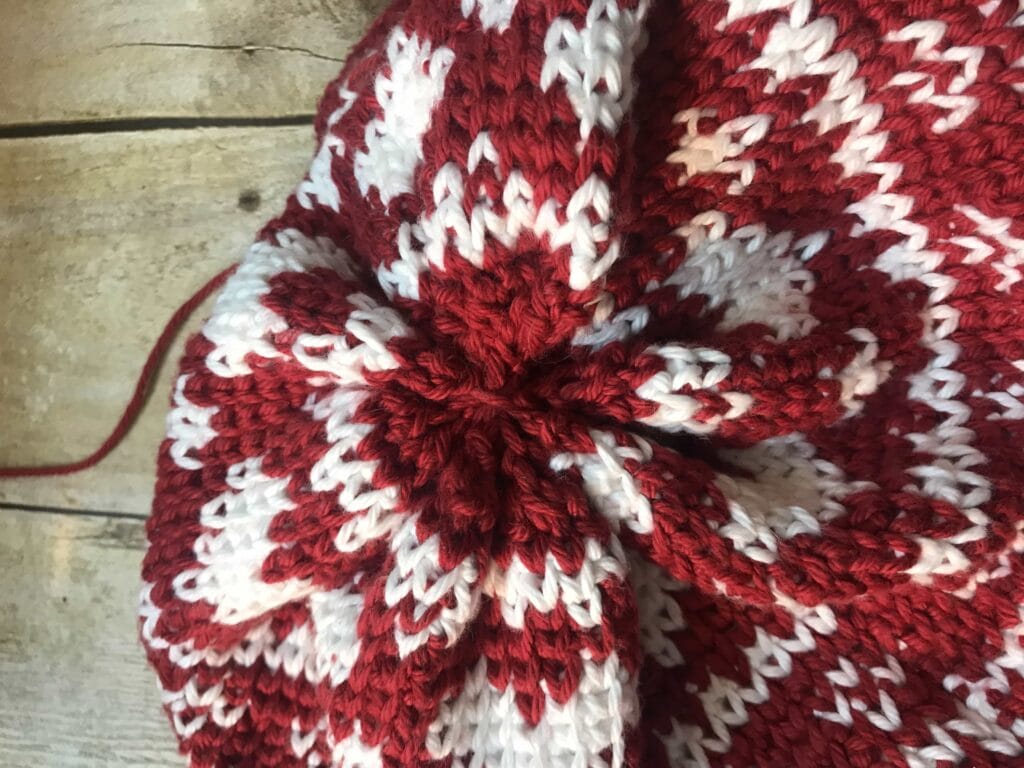
Turn RS out.
Pom Pom is optional as well! I went ahead and bought some online at Etsy that have a little loop at the bottom, so I can safety pin it when I feel like a pom pom and just take it off when I don’t want one 😉.
Congratulations! You Are Finished!
Pin it, Instagram it with #ShineBeanie or #StardustGoldCrochet
I hope you enjoyed creating this pattern! Please share your finished works with me by using the hashtags mentioned above, I would love to see them.
My socials
Facebook * Instagram * Ravelry * Etsy
Subscribe to my YouTube Channel for more great crochet video tutorials!

PIN IT
