
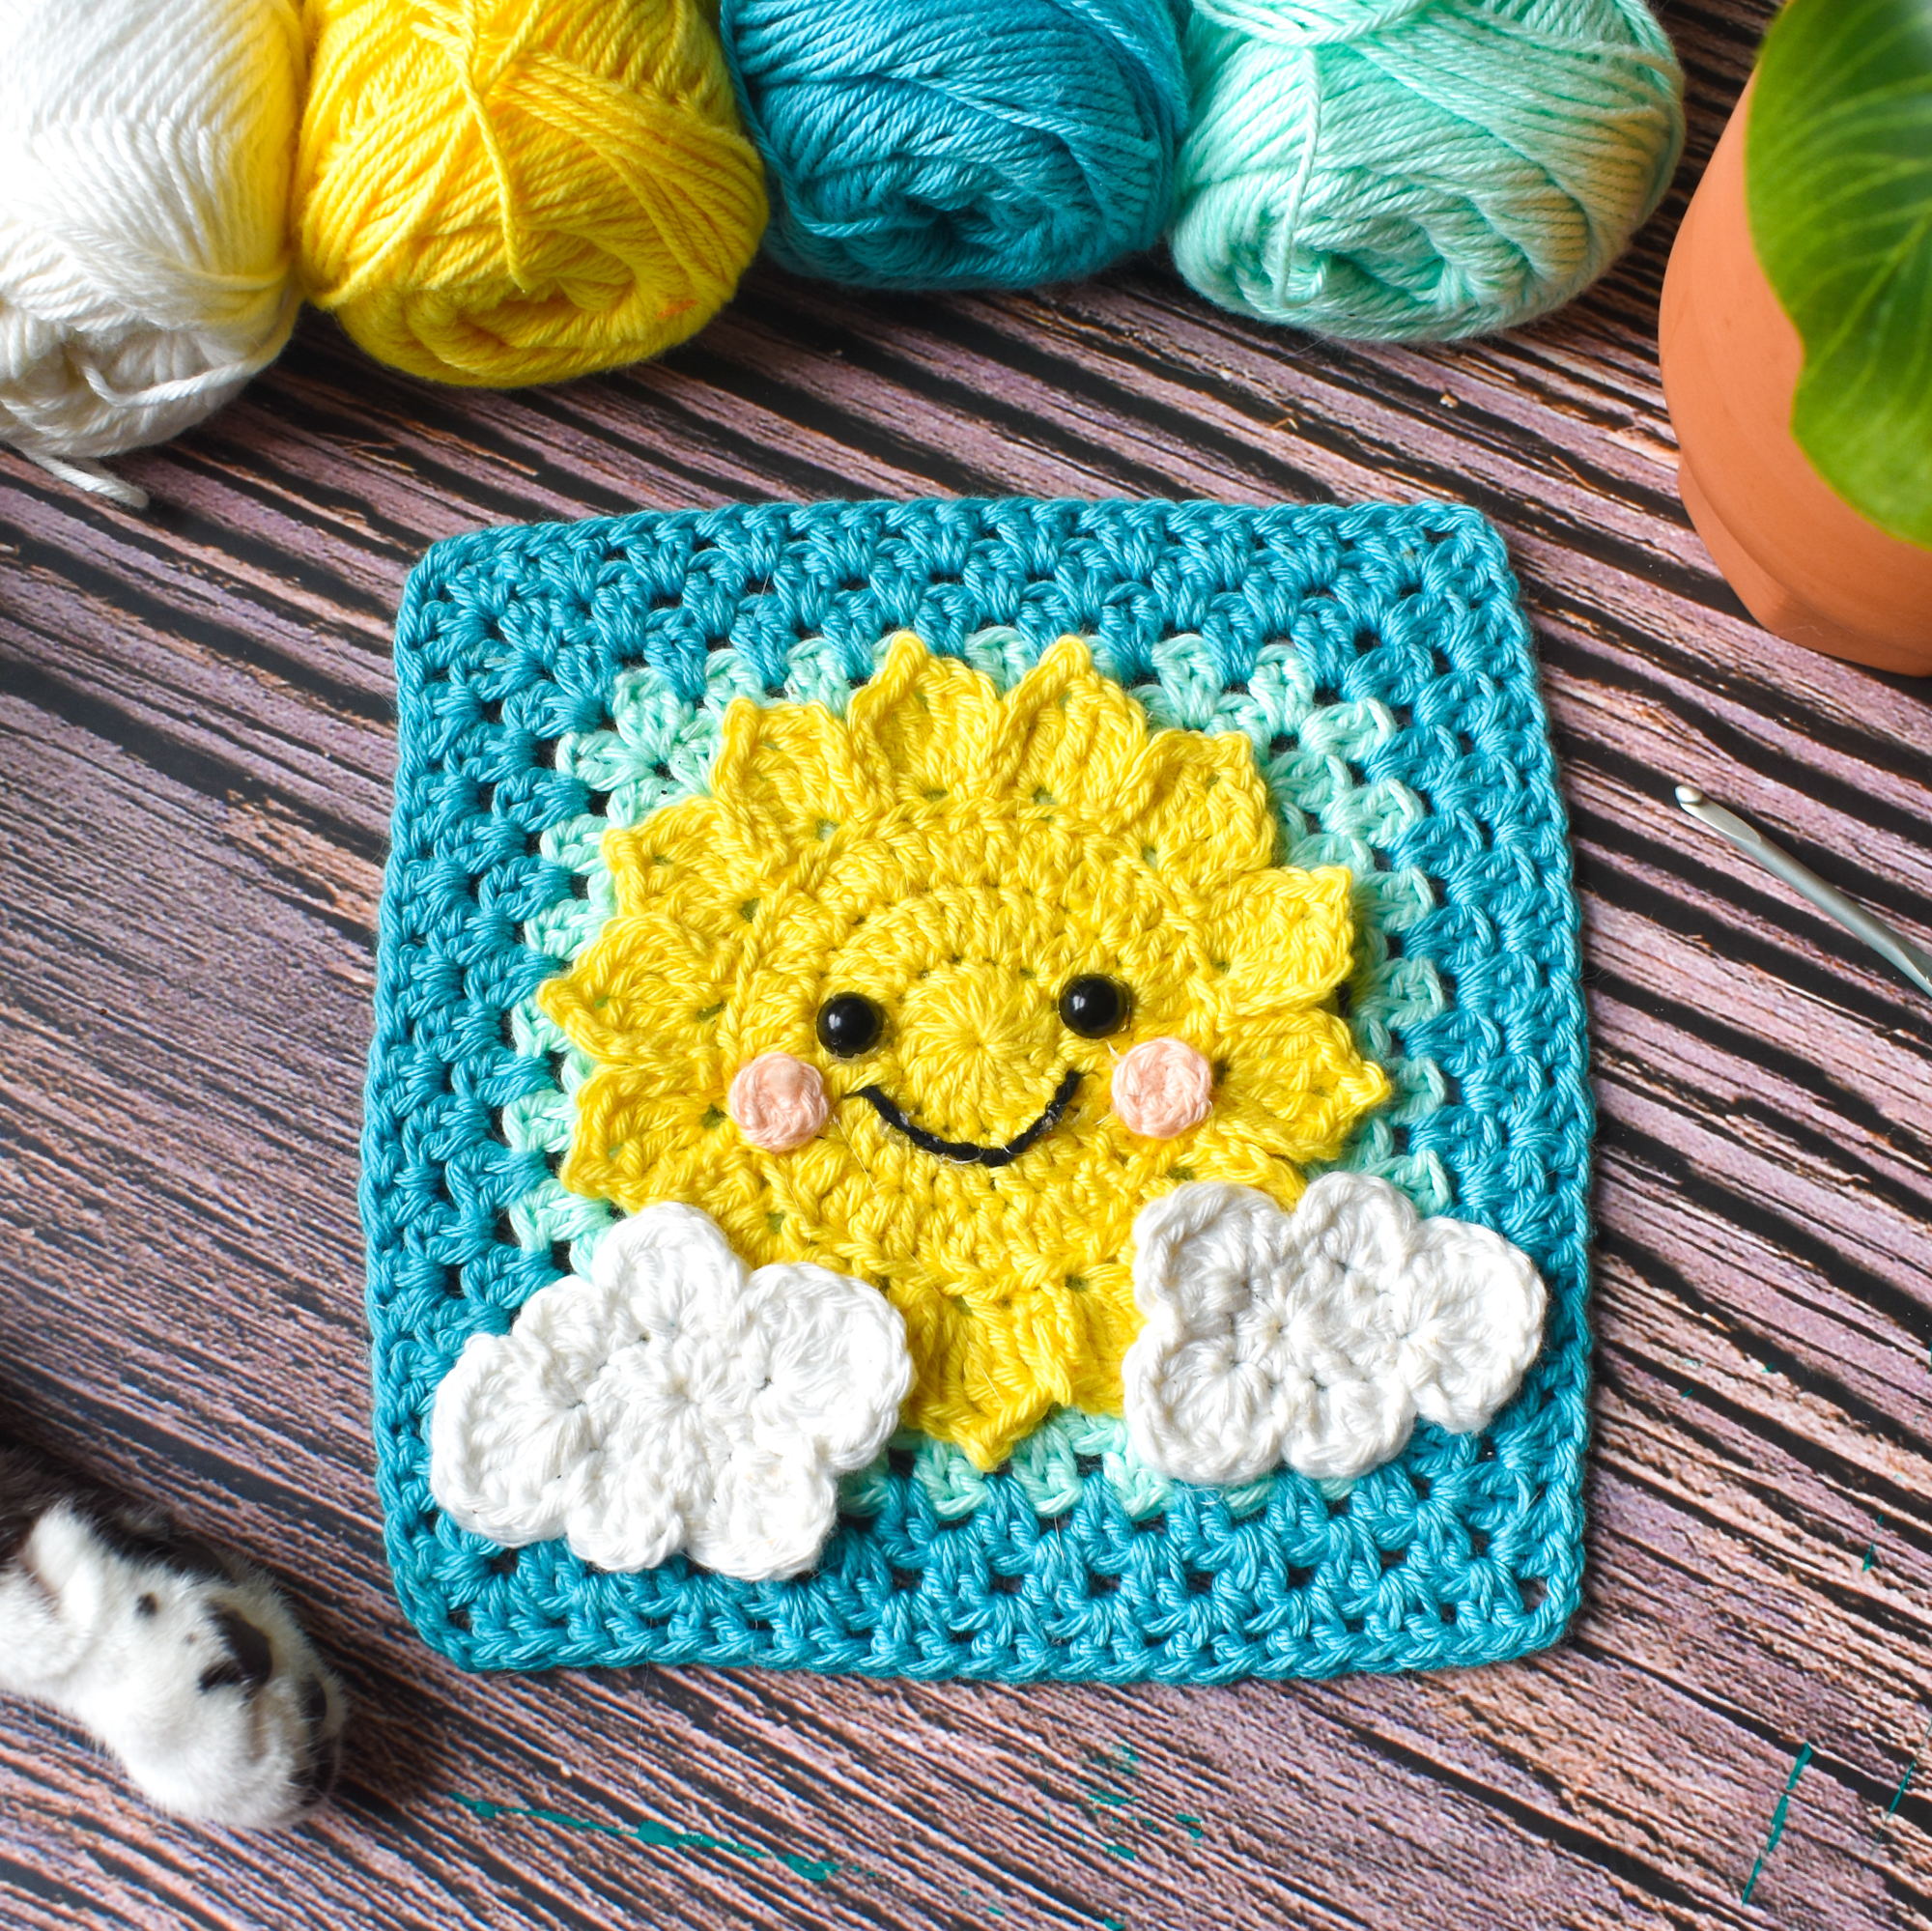
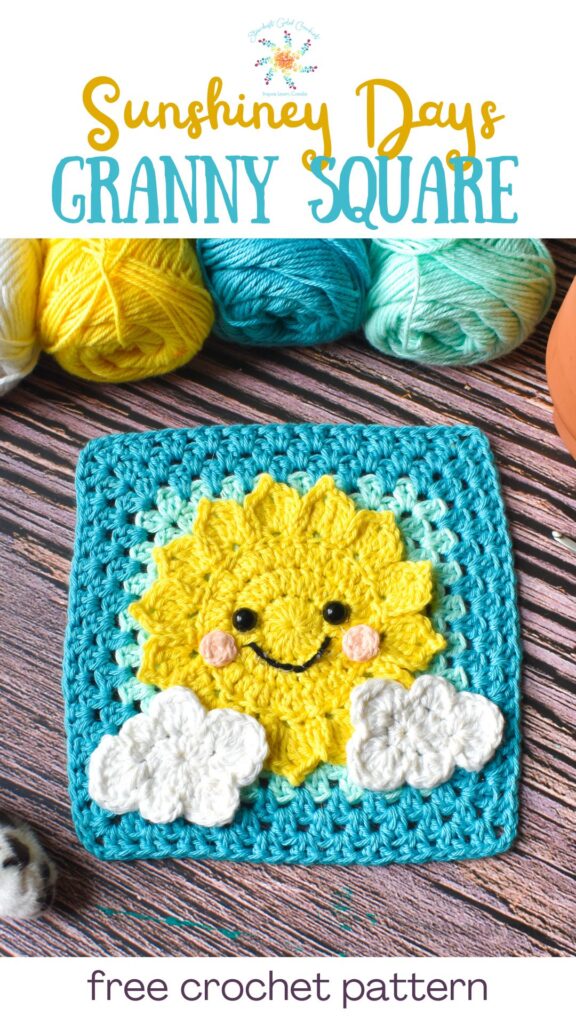
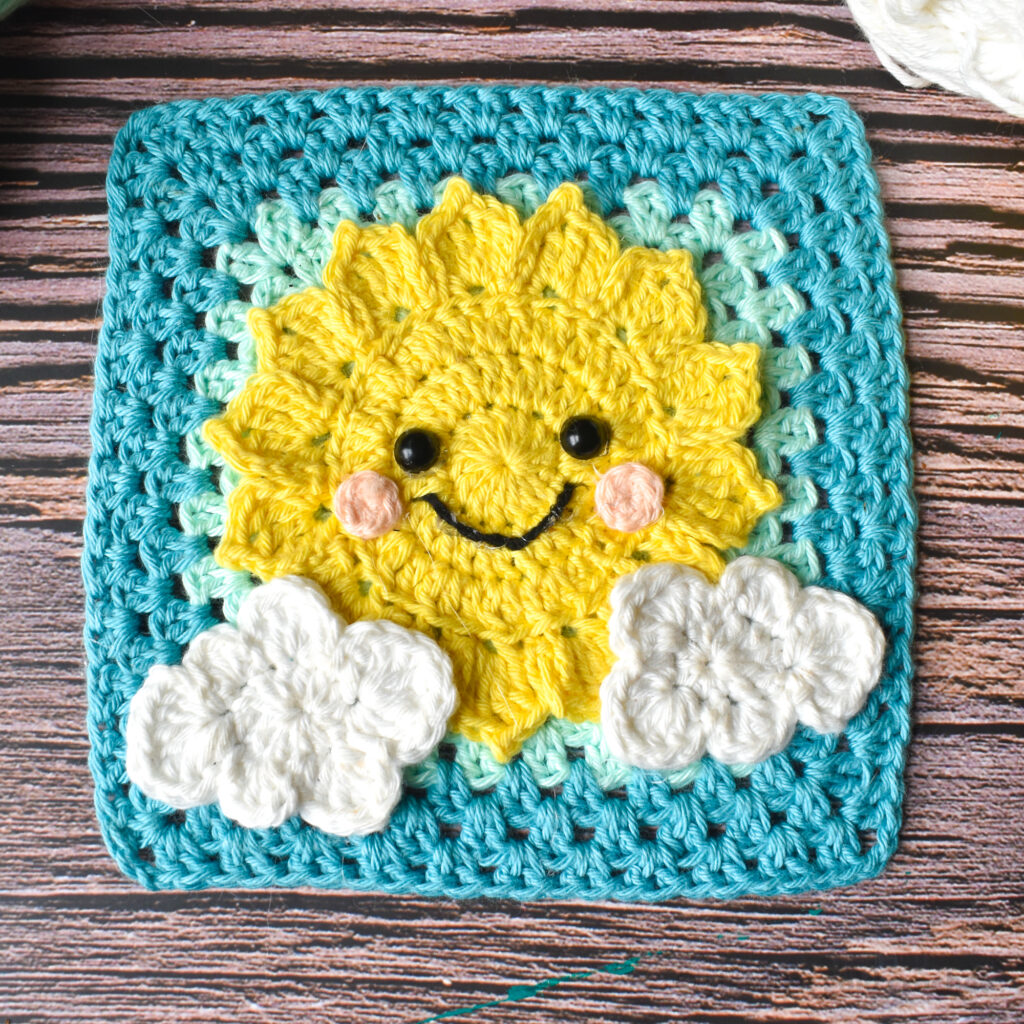
If you’re looking to create something really cheerful and lovely, you’ll love 🌞 The Sunshine-y Days Granny Square pattern! 🧶 Using simple stitches like sc, dc & hdc, it forms this vibrant, happy motif that brightens up any project. You can easily join these squares together to make all sorts of things – think cozy blankets 🛏️, fun bags 👜, whatever you like! Bring a little sunshine to your life! 🌼 It’s a very enjoyable pattern! 🥰
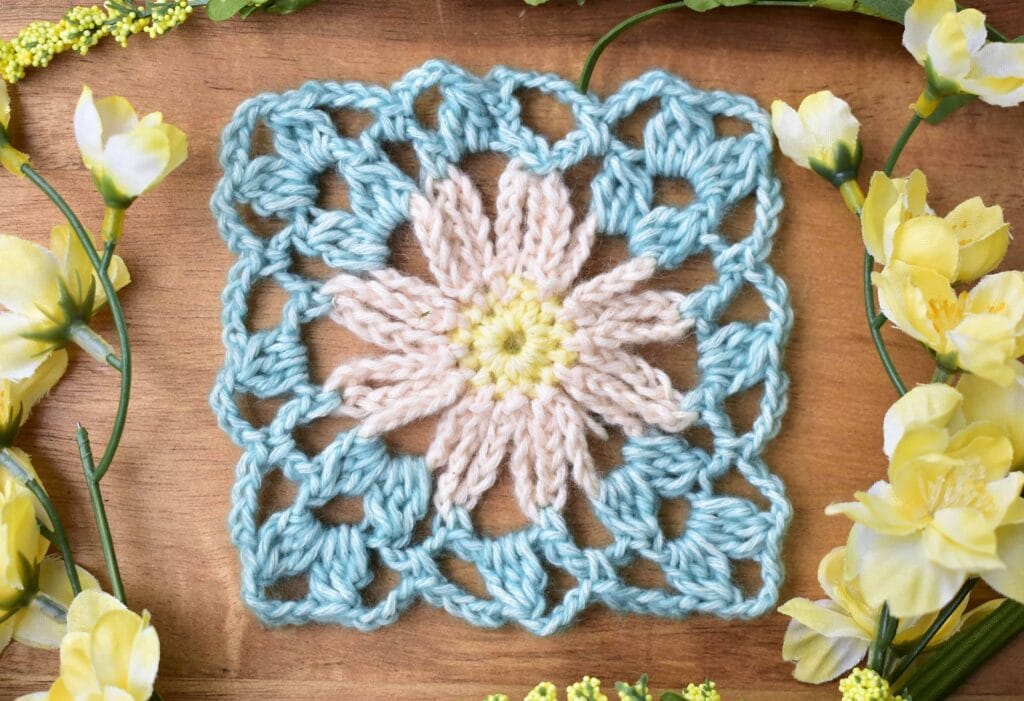
Other Granny Squares You May Enjoy:


Thanks for being here and I hope you have a wonderful Easter. Whether you are christian or not, bunnies are timeless and loveable all days of the year!
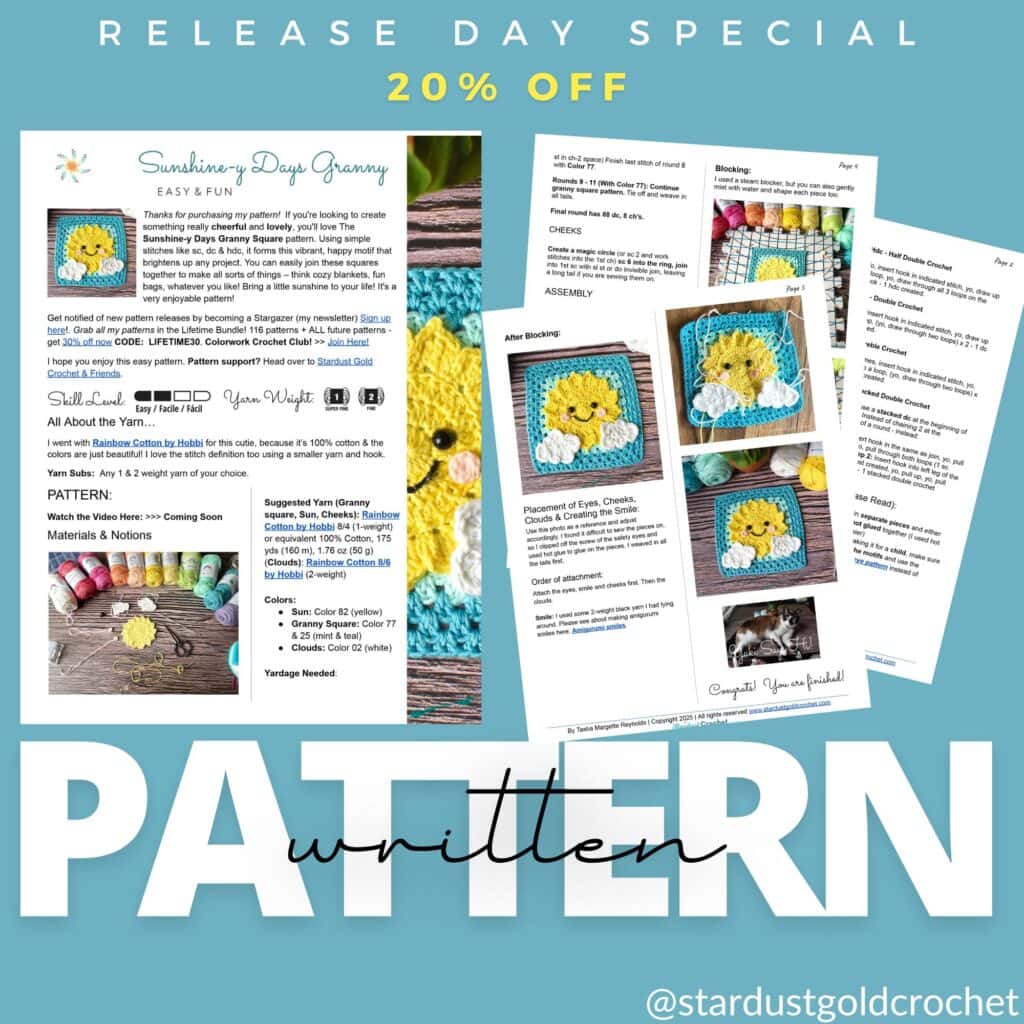
Ad-Free PDF Version
If you prefer to crochet from an ad-free PDF, the pattern is available for printing too.
- Get 20% OFF the Sunshine-y Days Granny Square Pattern from the Infinite Yarniverse. Infinite Yarniverse: Sunshine-y Days Granny Square PDF
- Get 20% OFF Etsy here: Sunshine-y Days Granny Square On Etsy

Join the Colorwork Club!
Back in January I started a fun exclusive pattern & crochet community where YOU get to tell me what to create and I make the pattern just for you! We vote, we chat, we crochet.
Lock in 20% OFF using CODE: APRILCOLORS – or – click the photo below (you may need to tap it twice)

Lifetime Crochet Pattern Bundle
Speaking of the Infinite Yarniverse. If you want to get your hands on my complete crochet pattern library, the Lifetime Bundle has you covered!
Grab them all here: Lifetime Crochet Bundle (includes 116 patterns + more fun printables).

Here is a table of contents so you can easily find what you are looking for throughout the post.
About the Pattern:
This Sunshine-y Days Granny Square is perfect for beginners! 🧶 It uses simple stitches like single crochet (sc), double crochet (dc), and half double crochet (hdc), so even if you’re new to crochet, you can make this happy motif with ease. The face details, like the smile and cheeks, are just small embellishments you can stitch on at the end — no stress! 😊
Don’t worry about perfection — the beauty of granny squares is that they’re forgiving and easy to join together! 🌈 You can use this square to make cheerful blankets, fun tote bags, or cute wall hangings that brighten up any space. ☀️ Just grab your favorite colors, relax, and enjoy bringing a little sunshine to your project! You’ve got this! 🌼
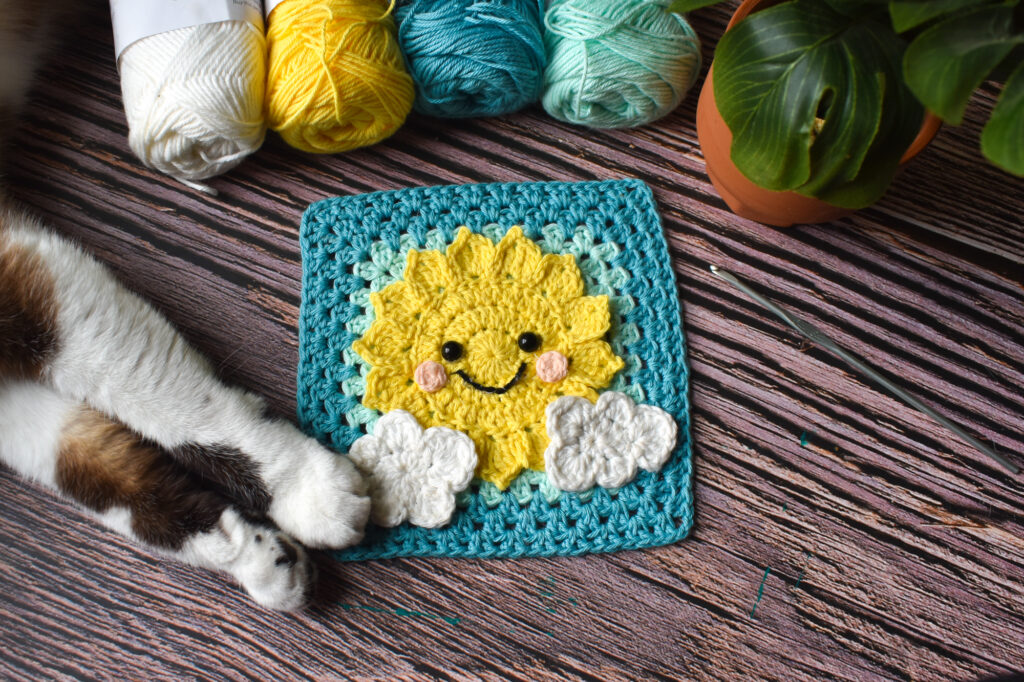
All About the Yarn…
I went with Rainbow Cotton by Hobbi for this cutie, because it’s 100% cotton & the colors are just beautiful! I love the stitch definition too using a smaller yarn and hook.
Yarn Subs: Any 1 & 2 weight yarn of your choice.
PATTERN:
Watch the Video Here
>>> Sunshine-y Days Granny Square Video Tutorial
Materials & Notions
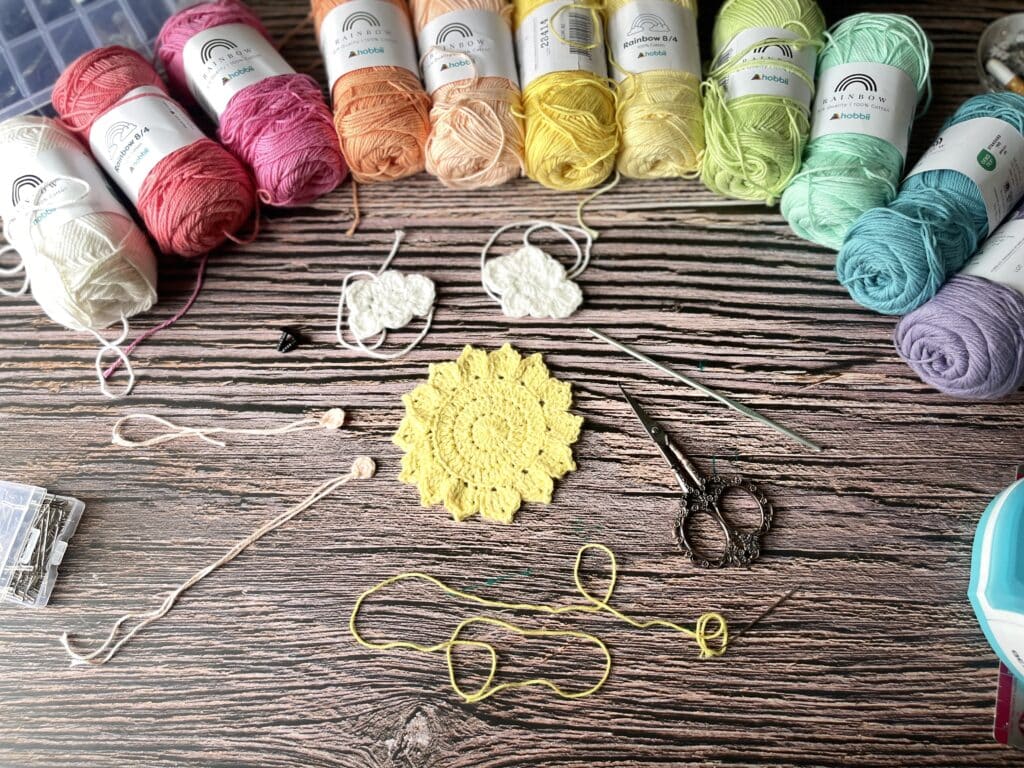
Suggested Yarn (Granny square, Sun, Cheeks): Rainbow Cotton by Hobbi 8/4 (1-weight) or equivalent 100% Cotton, 175 yds (160 m), 1.76 oz (50 g) (Clouds): Rainbow Cotton 8/6 by Hobbi (2-weight)
Colors:
- Sun: Color 82 (yellow)
- Granny Square: Color 77 & 25 (mint & teal)
- Clouds: Color 02 (white)
Yardage Needed:
Just a little bit of each skein. Final square weighs 0.81 oz (23 g)
- Hook Size: 3.25 mm (USA D-3)
- Scissors
- Darning Needle
- Flexible Measuring Tape
- Safety Eyes (9 mm)
- Hot Glue Gun (optional – you’re welcome to sew on the parts)
- Blocking board or foam
- Pins for blocking
Gauge:
24 sc x 16 Rows = 4” x 4” (10 x 10 cm) approx. worked in sc with a 3.25 mm (USA D-3) hook.
Sizes / Finished Measurements:
Dimensions:
5.14″ (13 cm) tall x 5.14″ (13 cm) – your size may vary based on yarn / hook / tension.
Abbreviations
- Ch (s) – Chain (s)
- St (s) – Stitch(s)
- Sl st – Slip stitch
- Yo – Yarn over
- Sp – Space
- Sc – Single crochet
- Dc – Double crochet
- Hdc – Half double crochet
- Std – Stacked double crochet
- * – Repeat from * as many times indicated.
- ( in brackets ) – Crochet as many times indicated.
Stitch guide:
Sc – Single Crochet
Yo, insert hook in indicated stitch, yo, draw up a loop, (yo, draw through two loops) x 2 – 1 sc created.
Hdc – Half Double Crochet
Yo, insert hook in indicated stitch, yo, draw up a loop, yo, draw through all 3 loops on the hook – 1 hdc created.
Dc – Double Crochet
Yo, insert hook in indicated stitch, yo, draw up a loop, (yo, draw through two loops) x 2 – 1 dc created.
Tr – Treble Crochet
Yo 2 times, insert hook in indicated stitch, yo, draw up a loop, (yo, draw through two loops) x 3 – 1 tr created.
Std – Stacked Double Crochet
You can use a stacked dc at the beginning of each row. Instead of chaining 2 at the beginning of a round – instead:
Step 1: Insert hook in the same as join, yo, pull up a loop, yo, pull through both loops (1 sc created). Step 2: Insert hook into left leg of the V of the sc just created, yo, pull up, yo, pull through both – 1 stacked double crochet created.
Notes (Please Read):
- Created in separate pieces and either sewn or hot glued together (I used hot glue! – easier)
- If you’re making it for a child, make sure to sew on the motifs and use the alternative eye pattern instead of safety eyes.
SUNSHINE-Y DAYS GRANNY SQUARE:
SUN MOTIF
I used a stacked double crochet (std) for the beginning of each round. Including working the 1st stitch into the magic ring.
If you don’t want to do a magic ring, ch 2 and work the stitches into the 1st chain.
Center of the Sun:
Notes:
- Join with sl st into 1st stitch at the end of each round (unless otherwise noted).
- Make 1st stitch the same as join.
- Use a stacked double crochet (std) for the 1st dc of each round – or – ch 2 and dc in the same as join.
Round 1 (With Color 82): Dc 14 into ring – 14 dc.
Round 2: Dc 2 in each st around – 28 dc.
Round 3: (Dc 2, dc 1) around – 42 dc.
Sun Rays:
Round 4 is made in the back loop only (BLO)
Round: 4: Sc in same as join, *Ch 3, (tr 2, ch 2, sl st in 1st ch, tr 2) in next st, ch 3, sl st in next st (1 petal created) – Sl st in next st, repeat from * – 14 petals total. Tie off, weave in all tails. (petals are worked over 3 stitches)
CLOUD 1 (goes on right side)
Create a magic circle or chain 2 and work stitches into the first chain.
Round 1 (with Color 02): (Hdc 5, dc 2, tr 1, dc 2) into magic ring, join with sl st into 1st hdc – 10 sts.
Round 2: Hdc in same as join, (dc 2, tr 1, dc 2) in next st, sl st in next st, (dc 3, tr 1, dc 3) in next st, sl st in next 2 sts, hdc 4 in same st, sl st in next 2 sts, ch 3, (dc 3, tr 1, dc 3) in same as ch 3, sl st in next st, hdc 4 in next st, sl st in next st. Tie off, leaving a long tail if you’re going to sew it – 34 sts (including sl sts)
CLOUD 2: (goes on left side)
Create a magic circle or chain 2 and work stitches into the first chain.
Round 1 (with Color 02): (Hdc 7, dc 2, tr 1, dc 2) into ring, join with sl st into 1st hdc – 12 sts.
Round 2: Hdc in same as join, (dc 2, tr 1, dc 2) in next st, sl st in next st, (dc 3, tr 2, dc 3) in next st, sl st in next 2 sts, (dc 2, tr 1, dc 2) in next st , sl st in next, hdc 4 in next st,
sl st in next, ch 3, (dc 3, tr 1, dc 3) in the same as ch 3, sl st in next st, hdc 4 in next st, sl st in next st. Tie off, leaving a long tail if you’re going to sew it.
GRANNY SQUARE:
Use a stacked double crochet for the beginning stitch of each round (or ch 3 and double crochet into the same as the chain)
Round 1 (With Color 25): Create a magic circle or chain 2 and work into 1st chain, (dc 2, ch 2) x 4. Join with sl st in 1st st – 8 dc, 8 chs.
Round 2: Turn, (dc 2, ch 2, dc 2) in ch-2 sp x 4, join in 1st st, sl st in next dc, sl st in ch-2 sp.
Round 3: *(dc 2, ch 2, dc 2) in ch-2 sp, skip 2 dc, dc 2 in next sp, repeat from * around, join with sl st in 1st dc, sl st in next dc, sl st in ch-2 sp.
Rounds 4 – 8: Continue granny square pattern (dc 2, ch 2, dc 2) in each corner, dc 2 in each space between dc’s from previous row – at the end of each round slip stitch in next dc, st in ch-2 space) Finish last stitch of round 8 with Color 77.
Rounds 9 – 11 (With Color 77): Continue granny square pattern. Tie off and weave in all tails.
Final round has 88 dc, 8 ch’s.
CHEEKS
Create a magic circle (or sc 2 and work stitches into the 1st ch) sc 6 into the ring, join into 1st sc with sl st or do invisible join, leaving a long tail if you are sewing them on.
ASSEMBLY
I actually ended up using hot glue to attach the eyes, cheeks & and clouds! I sewed on the sun between rounds 3 & 4 and left the petals free flowing to add some texture.
Of course, if you’re using this square for a baby blanket, please sew on the pieces.
Safety Eye Alternative
Use a thread to create the 9 mm eyes by creating a magic circle, then sc 6 into the circle, join, tie off, leaving a long tail for sewing.
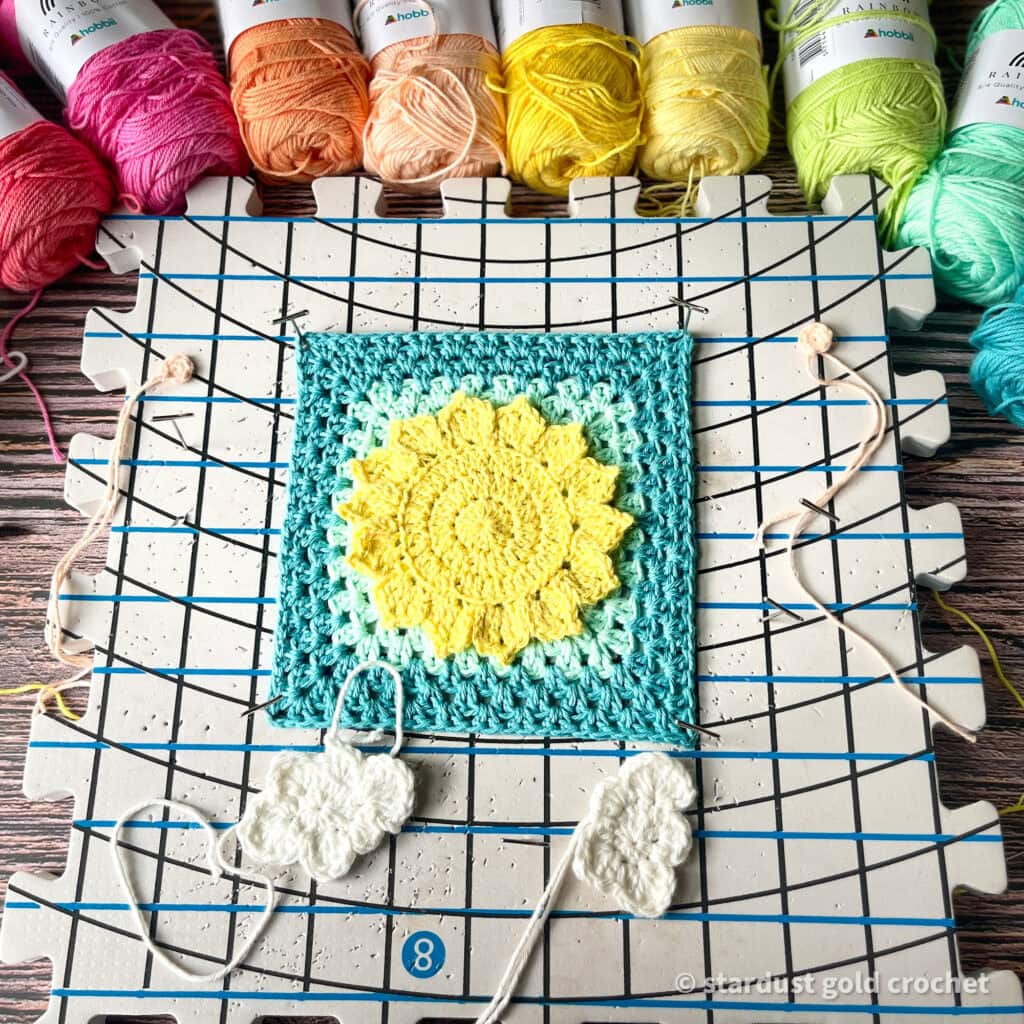
Before Blocking:
Blocking:
I used a steam blocker, but you can also gently mist with water and shape each piece too.
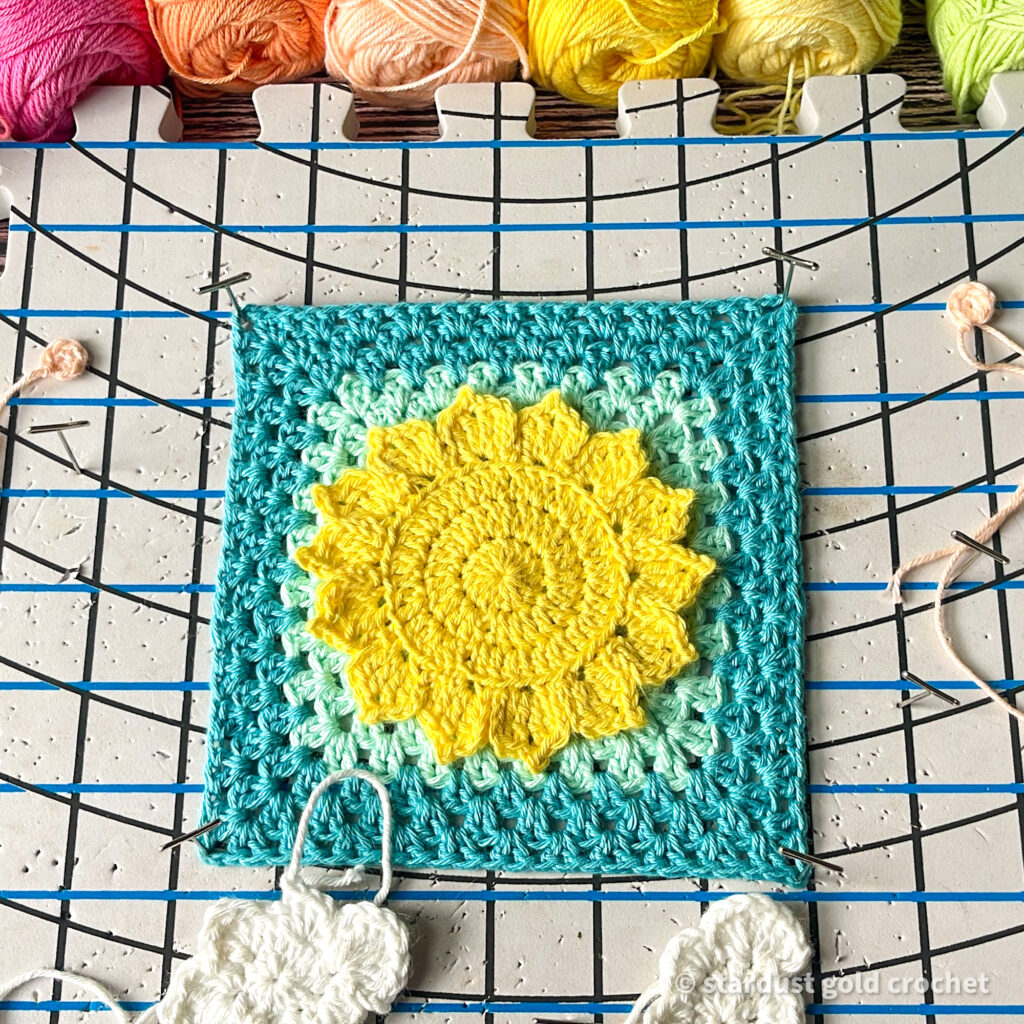
After Blocking:
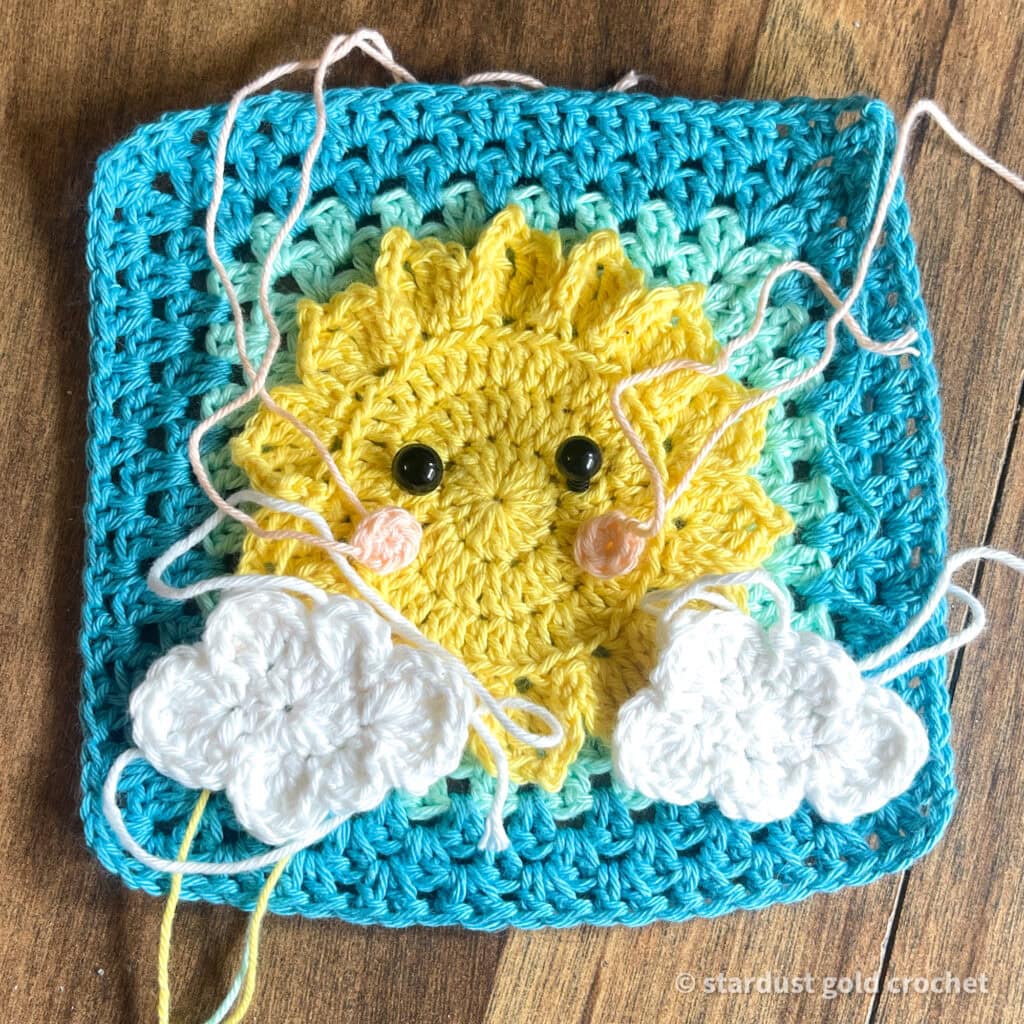
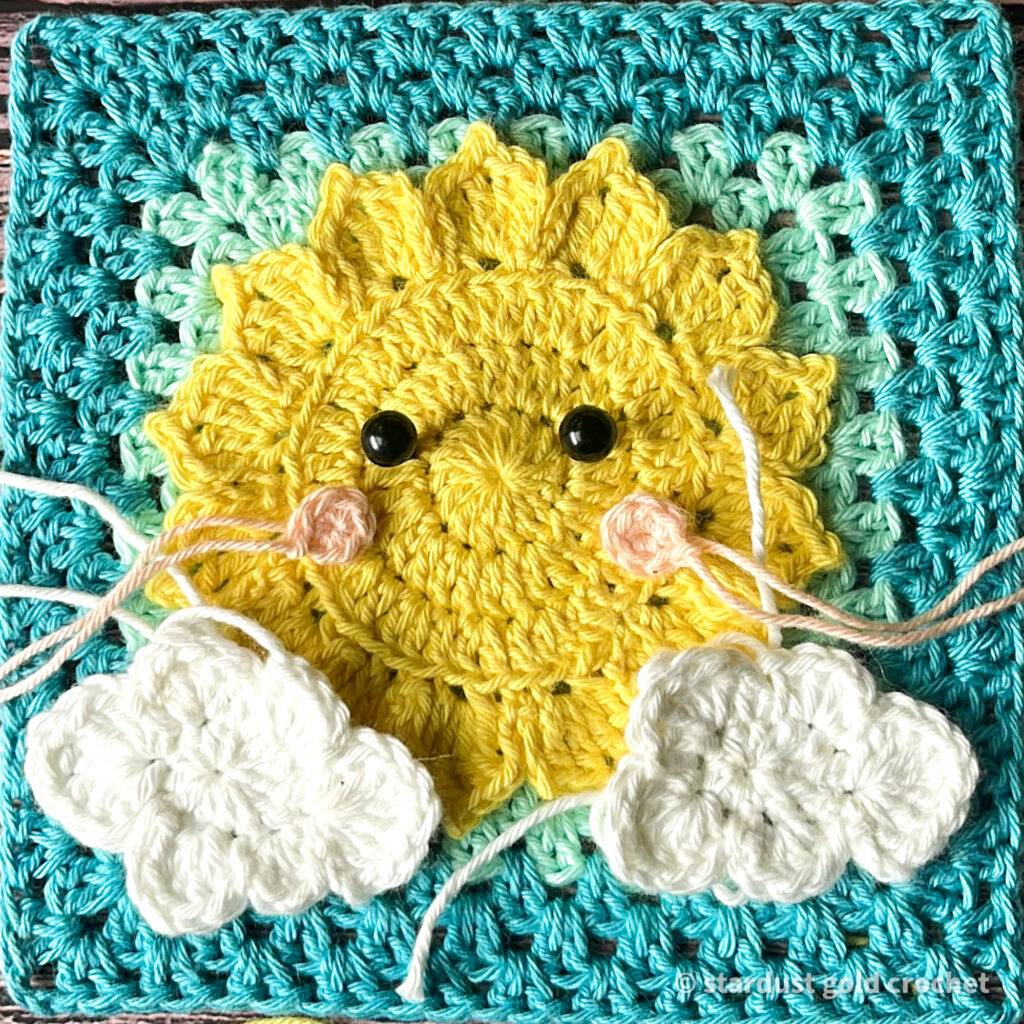
Placement of Eyes, Cheeks, Clouds & Creating the Smile:
Use this photo as a reference and adjust accordingly. I found it difficult to sew the pieces on, so I clipped off the screw of the safety eyes and used hot glue to glue on the pieces. I weaved in all the tails first.
Order of attachment:
Attach the eyes, smile and cheeks first. Then the clouds.
Smile: I used some 2-weight black yarn I had lying around. Please see about making amigurumi smiles here: Amigurumi smiles.
Congratulations! You’re finished!
This pattern and its images are the property of Stardust Gold Crochet ©2025. It is for personal use only. Please do not copy/paste, distribute, or alter and claim as your own.
I’d love to see your finished patterns and I will include it in a gallery on my website. You may post pictures on social media and tag @stardustgoldcrochet and use the hashtags #SunshineyDaysGrannySquare and #stardustgoldcrochet.
You can also post pictures on my Facebook Page, or in the Stardust Gold Crochet & Friends Pattern Support Group – OR – the Crochet-a-long-with-US Community.
Let me know if you run into a problem. I respond quickly and will help any way I can to clarify any confusion or challenging stitches.
Please let me know if you have any questions.


*any FREE pdf download participants agree to my privacy policy.
Please redo the pattern in standard crochet pattern format. Please learn from red heart professionals, or Caron, or readers digests Please redo the pattern in standard crochet pattern format. Please learn from red heart professionals, or Caron, or readers digests etc. Patterns should be written in a universal format. Ues it can be figured out, nut not by a newbie. And they should be so clear that any newbie can learn right from the patern. Patterns should be written in a universal format. Yes it can be figured out, but not by a newbie. And they should be so clear that any newbie can learn right from the pattern