If you ever wondering how to make a crochet crossbody bag, wonder no more! This easy crochet crossbody bag pattern will help you make your dreams come true. The best part is, in this post, you will learn to crochet a crossbody bag and make it uniquely your own.
This easy project I created is called the Palm Beach CrossBody Crochet Bag: a vibrant burst of sun-kissed colors and boho-chic charm, designed to effortlessly elevate your style and carry your essentials in a breezy, hands-free fashion statement.
Yup, this is a very easy pattern to make once you master the puff stitch – which is also super easy.
Are you ready for a fabulous every day crossbody bag pattern that will take your bag game to the next level? This bag is the perfect accessory to compliment your wardrobe.
It’s so easy to make too, and works up so fast!
The pattern includes step-by-step instructions and helpful tips, ensuring a smooth and enjoyable crocheting experience.
Written Pattern PDF
Grab the pattern PDF here: Palm Beach Crossbody Bag.
Ravelry: Palm Beach Crochet Crossbody Bag PDF
Table of contents
Why Make a Crochet Crossbody Bag?
Crochet bags are all the rage right now! So many to choose from like market bags, shoulder bags, crochet handbag patterns, and tote bags, but in my opinion, the crossbody bag is the best!
Why? Because it’s so easy to make and makes for a beautiful pattern and is the absolute perfect size.
So go ahead and use this cute crossbody crochet bag pattern as inspiration!
Inspiration Alley
A heartfelt thank you to all my pattern testers!
They did a wonderful job and I am so grateful for them! If you’d like to be a pattern tester, please send an email to via my contact page.
Get Inspired!


Lifetime Crochet Pattern Bundle
Get notified of new pattern releases by becoming a Stargazer (my newsletter) Sign up here!. Grab all my patterns in the Lifetime Bundle!
84 patterns + ALL future patterns – get 30% off now CODE: LIFETIME30.
I hope you enjoy this easy and cute crochet crossbody bag pattern!
Pattern support?
Head over to Stardust Gold Crochet & Friends if you have any questions about the pattern or it’s stitches. I’m always here to answer questions!
How to Crochet a Crossbody Beach Bag
You may be wondering… “How can I make a crossbody bag from scratch?” The best way to start is to determine a few things:
- How wide do you want your bag to be?
- How deep do you want your bag to be?
- What fits in a crossbody bag?
- How long should a crossbody bag strap be?
- What stitches are best?
- What type of yarn do you want to use?
Well, the great thing about crochet is that you can do whatever you want! I’ll go into more detail on each of these topics below, and below that you will find the free pattern for the Palm Beach Crossbody bag to get you started.
There are tons of free crochet crossbody bag patterns out there, so if you don’t like this one or want more practice, you’re sure to find one you love.
How Wide Should My Crossbody Bag Be?
A crossbody bag can be any width you’d like, but I suggest you grab your favorite things (the ones you carry around with all the time), measure them – then add a few inches to each side. Make sure you leave a little wiggle room too!
How Deep Should My Bag Be?
Similar to how wide your bag should be, you want to make it deep enough to keep your belongings without them falling out. So I created my bag around 6″ deep.
What fits in a crossbody bag?
Well that all depends on how big you make your bag. My bag measures around 12″ and I intentionally created it large enough to hold everything that’s important to me, including my iPhone.
I use it to carry my wallet, keys, and phone – just what one needs for a day at the beach or on the town.
How long should a crochet crossbody strap be?
The straps are completely customizable and that’s what makes them great.
- The best way to determine how long your strap should be is to take a long piece of yarn.
- Wrap it around your shoulder and back cross wise (just like you’d wear your crossbody bag).
- Mark or cut the yarn in those spots.
- Take a measuring tape and measure the length – there you go!
To modify the strap in this pattern, you can do the same thing and adjust accordingly.
hat is the best stitch for crochet bags?
Crochet crossbody bags can be made in all kinds of stitches. The best is one that is sturdy and solid. Here are some fabulous stitches you can use.
- Puff stitches.
- Double Crochets
- Granny Squares
- Single Crochet
- Half Double Crochets
The “puffs” in this pattern can be replaced with double crochets too.
The Best Yarns For A Crochet Crossbody Bag
Grab your favorite color yarn from your stash or head out and get some inspiration looking at beach bags on the net.
You will sure to find some inspiration for your bag.
When it comes to colors, let your imagination run wild! Experiment with different color combinations and yarn types like cotton or acrylic yarn.
Whether you prefer a vibrant, eye-catching bag or a more subtle and sophisticated design, the choice is yours. The best yarn is your favorite yarn. 😉
Once you figure out the different colors you want, check out your favorite yarn dyer or yarn company and see what they have close to those colors.
Crossbody bags are everyday use bags, so you want to make sure the yarn is durable. The best thing about these yarns is they are durable and you can get lots of use out them.
Here are my pics for the best yarns to use.
- Cotton Yarn
- Acrylic Yarn
- Cotton / Bamboo blends
- Acrylic / Viscose blends
- Both natural and synthetic fibers work great.
As you can see below, I detail all my yarn choices below and the good news is, I list several substitutes for you to choose from.
All About the Yarn…
I chose Lion Brand’s Rewind Yarn for my Palm Beach Crossbody Bag because it’s lightweight yet durable nature perfectly complements the bag’s boho-chic style, while the vibrant colors and unique texture of the yarn add an eye-catching and playful element that truly sets my creation apart.
Yarn Subs: I had a little trouble finding some of my fav colors and I’m not sure if Lion Brand has discontinued them or not. But I’ve scoured the internet for some great subs and also some great places to find Lion Brand Rewind Yarn.
Yarn Substitutions
(prices listed below are from July, 2023, and may vary on location + taxes, etc.)
| Lion Brand Rewind Yarn | Yarns Similar to Rewind |
| Lion Brand Site $5.99 | Niceec Kraft Paper Yarn (3 pack) $16.99 |
| Amazon $7.41 | Wool & the Gang Tape Yarn $14 |
| Michael’s (3 pack) $14.99 | Raffia Paper Yarn (Amazon) $9.99 |
PATTERN:
If you are a visual learner – Crochet Crossbody Bag Pattern Video Tutorial, while you’re there, hit that subscribe button!

Crochet Crossbody Bag Pattern – Materials & Notions
Suggested Yarn: Lion Brand Rewind Yarn or equivalent 70% Polyester, 30% Viscose, 219 yds (200 m), 3.5 oz (100 g).
Yardage Needed: Approximately 180 – 200 yards using the recommended yarn. I used almost ¾ a skein of my main color and just a few yards each of my contrasting colors.
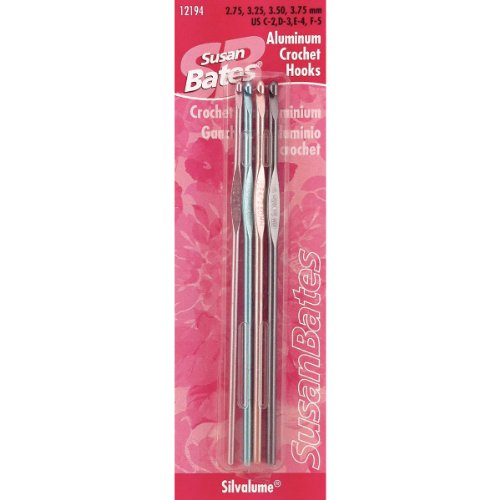
- Hook Size: 5 mm (USA H) Crochet Hook
- Scissors
- Darning Needle
- Flexible Measuring Tape
- Magnetic Purse Closures (optional)
Skill Level: Easy to Intermediate
Gauge: 14 Sts x 13 Rows = 4” x 4” (10 x 10 cm) approx.
Sizes / Finished Measurements:
Dimensions: 12.25″ (31.15 cm) tall x 5.25″ (13.35 cm) wide.
Abbreviations
- Ch (s) – Chain (s)
- Sc – Single crochet
- Sl st – Slip stitch
- St (s) – Stitch(s)
- * – Repeat from * as many times indicated.
- Yo – Yarn over
- Hdc – Half double crochet
- Stsc – Stacked single Crochet
- Puff(s) – Puff stitch(es)
- C1 – Color 1
- C2 – Color 2
- C3 – Color 3
Stitch guide:
Sc – Single Crochet: Insert hook in indicated stitch, yo, draw up a loop, yo, draw through both loops on hook.
Hdc – Half Double Crochet: Yo, insert hook in indicated stitch, yo, pull up a loop, yo, pull loop through three loops on hook.
Special Stitches:
Puff – Puff Stitch: *Yo, insert hook in indicated stitch. Yo, pull up a long loop (horizontal with your hook), repeat from * in the same stitch (one more time). Yo, pull through first 4 loops, yo, pull through remaining loops on hook – 1 puff created.
Stsc – Stacked Single Crochet: Single crochet in indicated stitch. Insert hook in left vertical bar of V in single crochet just created – yo, pull up a loop, yo, pull through both loops (1 single crochet, 1 stacked single crochet created).
Notes:
- Pattern worked in two pieces and joined with a single crochet / slip stitch join (you can use another join method if you prefer – the crochet crossbody bag video tutorial covers all the stitches.).
- Changing colors – complete the last stitch of each row with your new color.
- Color Pattern – you can change colors on every row, every other row, or however you choose. I did the first three rows in one color then changed them as stated below.
- Chains do not count as stitches unless otherwise noted.
- If this is your first time using a viscose (paper yarn) I recommend being gentle because it tends to just snap it’s so delicate.
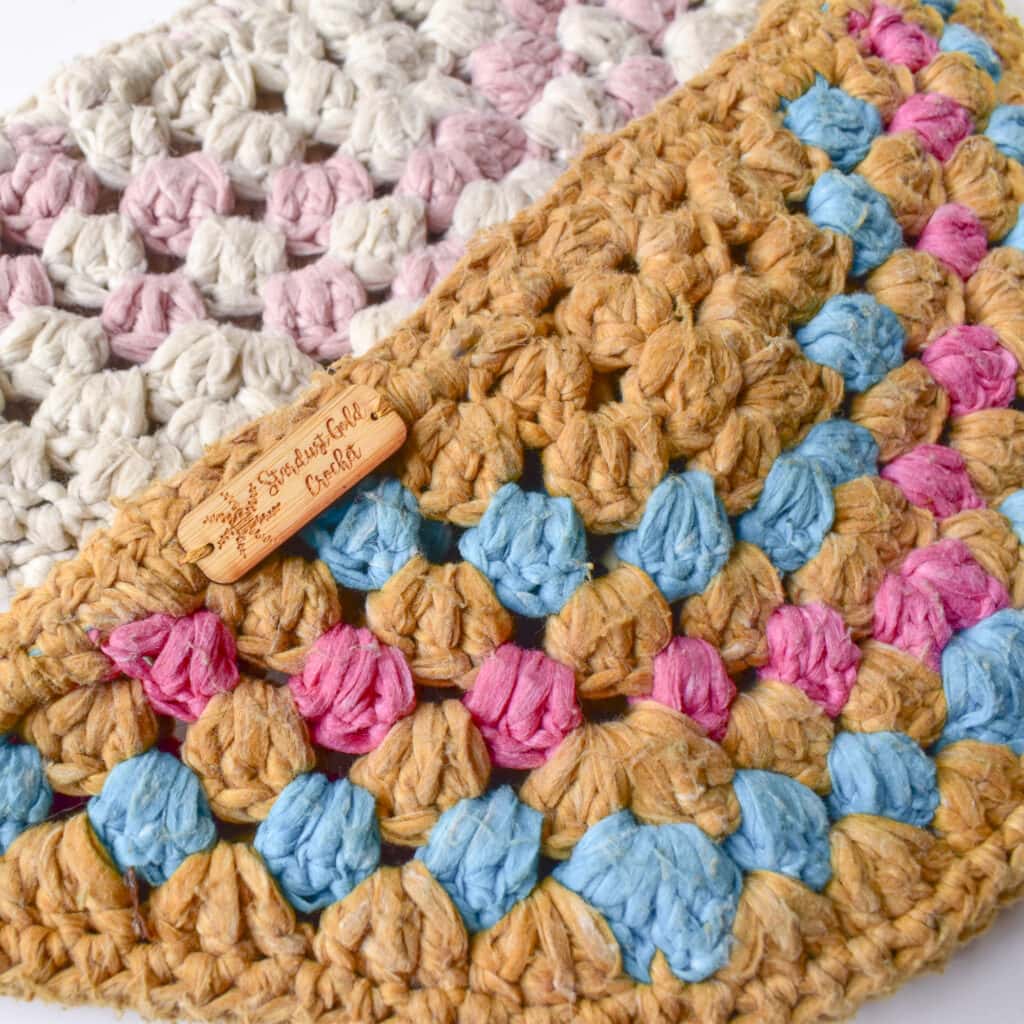
Color Pallette
You can choose any colors you’d like of course! For my bag, I wanted something a little bright and beachy.
I used these colors for the brown, pink, blue bag and pink & cream for the other bag. Have fun and experiment with different colors.
C1 – Brown/Orange – Citronella, C2 – Pink – Think Pink, C3 – Blue – Fishbowl
(I had trouble finding some of these colors, but check out the available colors & yarn sub suggestions above.)
CROCHET CROSSBODY BAG PATTERN:
We will be making 2 panels and joining together. When you finish the second panel, don’t cut the yarn.
Create a magic circle or chain 4 and work into the first chain.
With C1, Chain 4 (does not count as a stitch).
Rows 1 – 3
Row 1: (C1) 3 puffs in magic circle, ch 2, 3 puffs in same circle, (close magic circle, pull ring tight) – (6 puff sts, 1 ch-2).
Row 2: Ch 4, turn, 3 puffs in 1st stitch, ch 1, 6 puffs in ch-2 space, ch 1, 3 puffs in last puff from Row 1 – (12 puff sts, 2 ch-1’s).
Row 3: Ch 4, turn, 3 puffs in 1st stitch, ch 1, 3 puffs in next ch-1 sp, ch 1, skip 3 puffs, 6 puffs between 3rd & 4th puff stitches from Row 2, ch 1, 3 puffs in next ch-1 space, ch 1, 3 puffs in last puff, change to C3 – (18 puff sts, 4 ch-1’s).
")
Rows 4 & 5
Row 4: (C3) Ch 4, turn, 3 puffs in 1st stitch, ch 1, 3 puffs in next ch-1 sp, ch 1, 3 puffs in next ch-1 space, ch 1, skip 3 puffs, 6 puffs between 3rd and 4th puff stitches from Row 3, ch 1, 3 puffs in next ch-1 space, ch 1, 3 puffs in next ch-1 space, ch 1, 3 puffs in last puff of row, change to C1 – (24 puff sts, 6 ch-1’s).
")
Row 5: (C1) Ch 4, turn, 3 puffs in 1st stitch, (3 puffs in next ch-1 space) x 3, skip 3 puffs, 6 puffs between 3rd & 4th puffs from Row 4, (3 puffs in next ch-1 space) x 3, 3 puffs in last puff of row, change to C2 – (30 puff sts).
")
NOTE: For the following rows you’ll work the 3 puff clusters between the spaces of each cluster – there are no chain 1’s.
Row 6: (C2) Ch 4, turn, 3 puffs in 1st stitch, (3 puffs in next space) x 4, skip 3 puffs, 6 puffs between 3rd & 4th puffs, (3 puffs in next space) x 4, 3 puffs in last puff st of the row, change to C1 – (36 puffs sts).
")
Row 7: (C1) Ch 4, turn, 3 puffs in 1st stitch, (3 puffs in next space) x 2, 6 puffs in next space, (3 puffs in next space) x 2, skip 3 puffs, sl st between 3rd and 4th puff sts, (3 puffs in next space) x 2, 6 puffs in next space, (3 puffs in next space) x 2, 3 puffs in the last stitch, change to C3 – (42 puff sts).
")
Row 8: (C3) Ch 4, turn, 3 puffs in 1st stitch, (3 puffs in next space) x 3, skip 3 puffs, 6 puffs in next space between 3rd and 4th puff stitches from Row 7, (3 puffs in next space) x 2, skip next 3 puffs, 6 puffs in space between 3rd & 4th puff of Row 6, (3 puffs in next space) x 2, skip 3 puffs, 6 puffs in next space between 3rd and 4th puff stitches, (3 puffs in next space) x 3, 3 puffs in the last puff of row change to C1– (54 puff sts).
")
Row 9: (C1) Ch 4, turn, 3 puffs in 1st stitch, (3 puffs in next space) x 4, skip 3 puffs, sl st between 3rd & 4th puff, (3 puffs in next space) x 3, skip 3 puffs, sl st between 3rd & 4th puff, (3 puffs in next space) x 3, skip 3 puffs, sl st between 3rd & 4th puff, (3 puffs in next space) x 4, 3 puffs in the last puff of row – (48 puff sts).
")
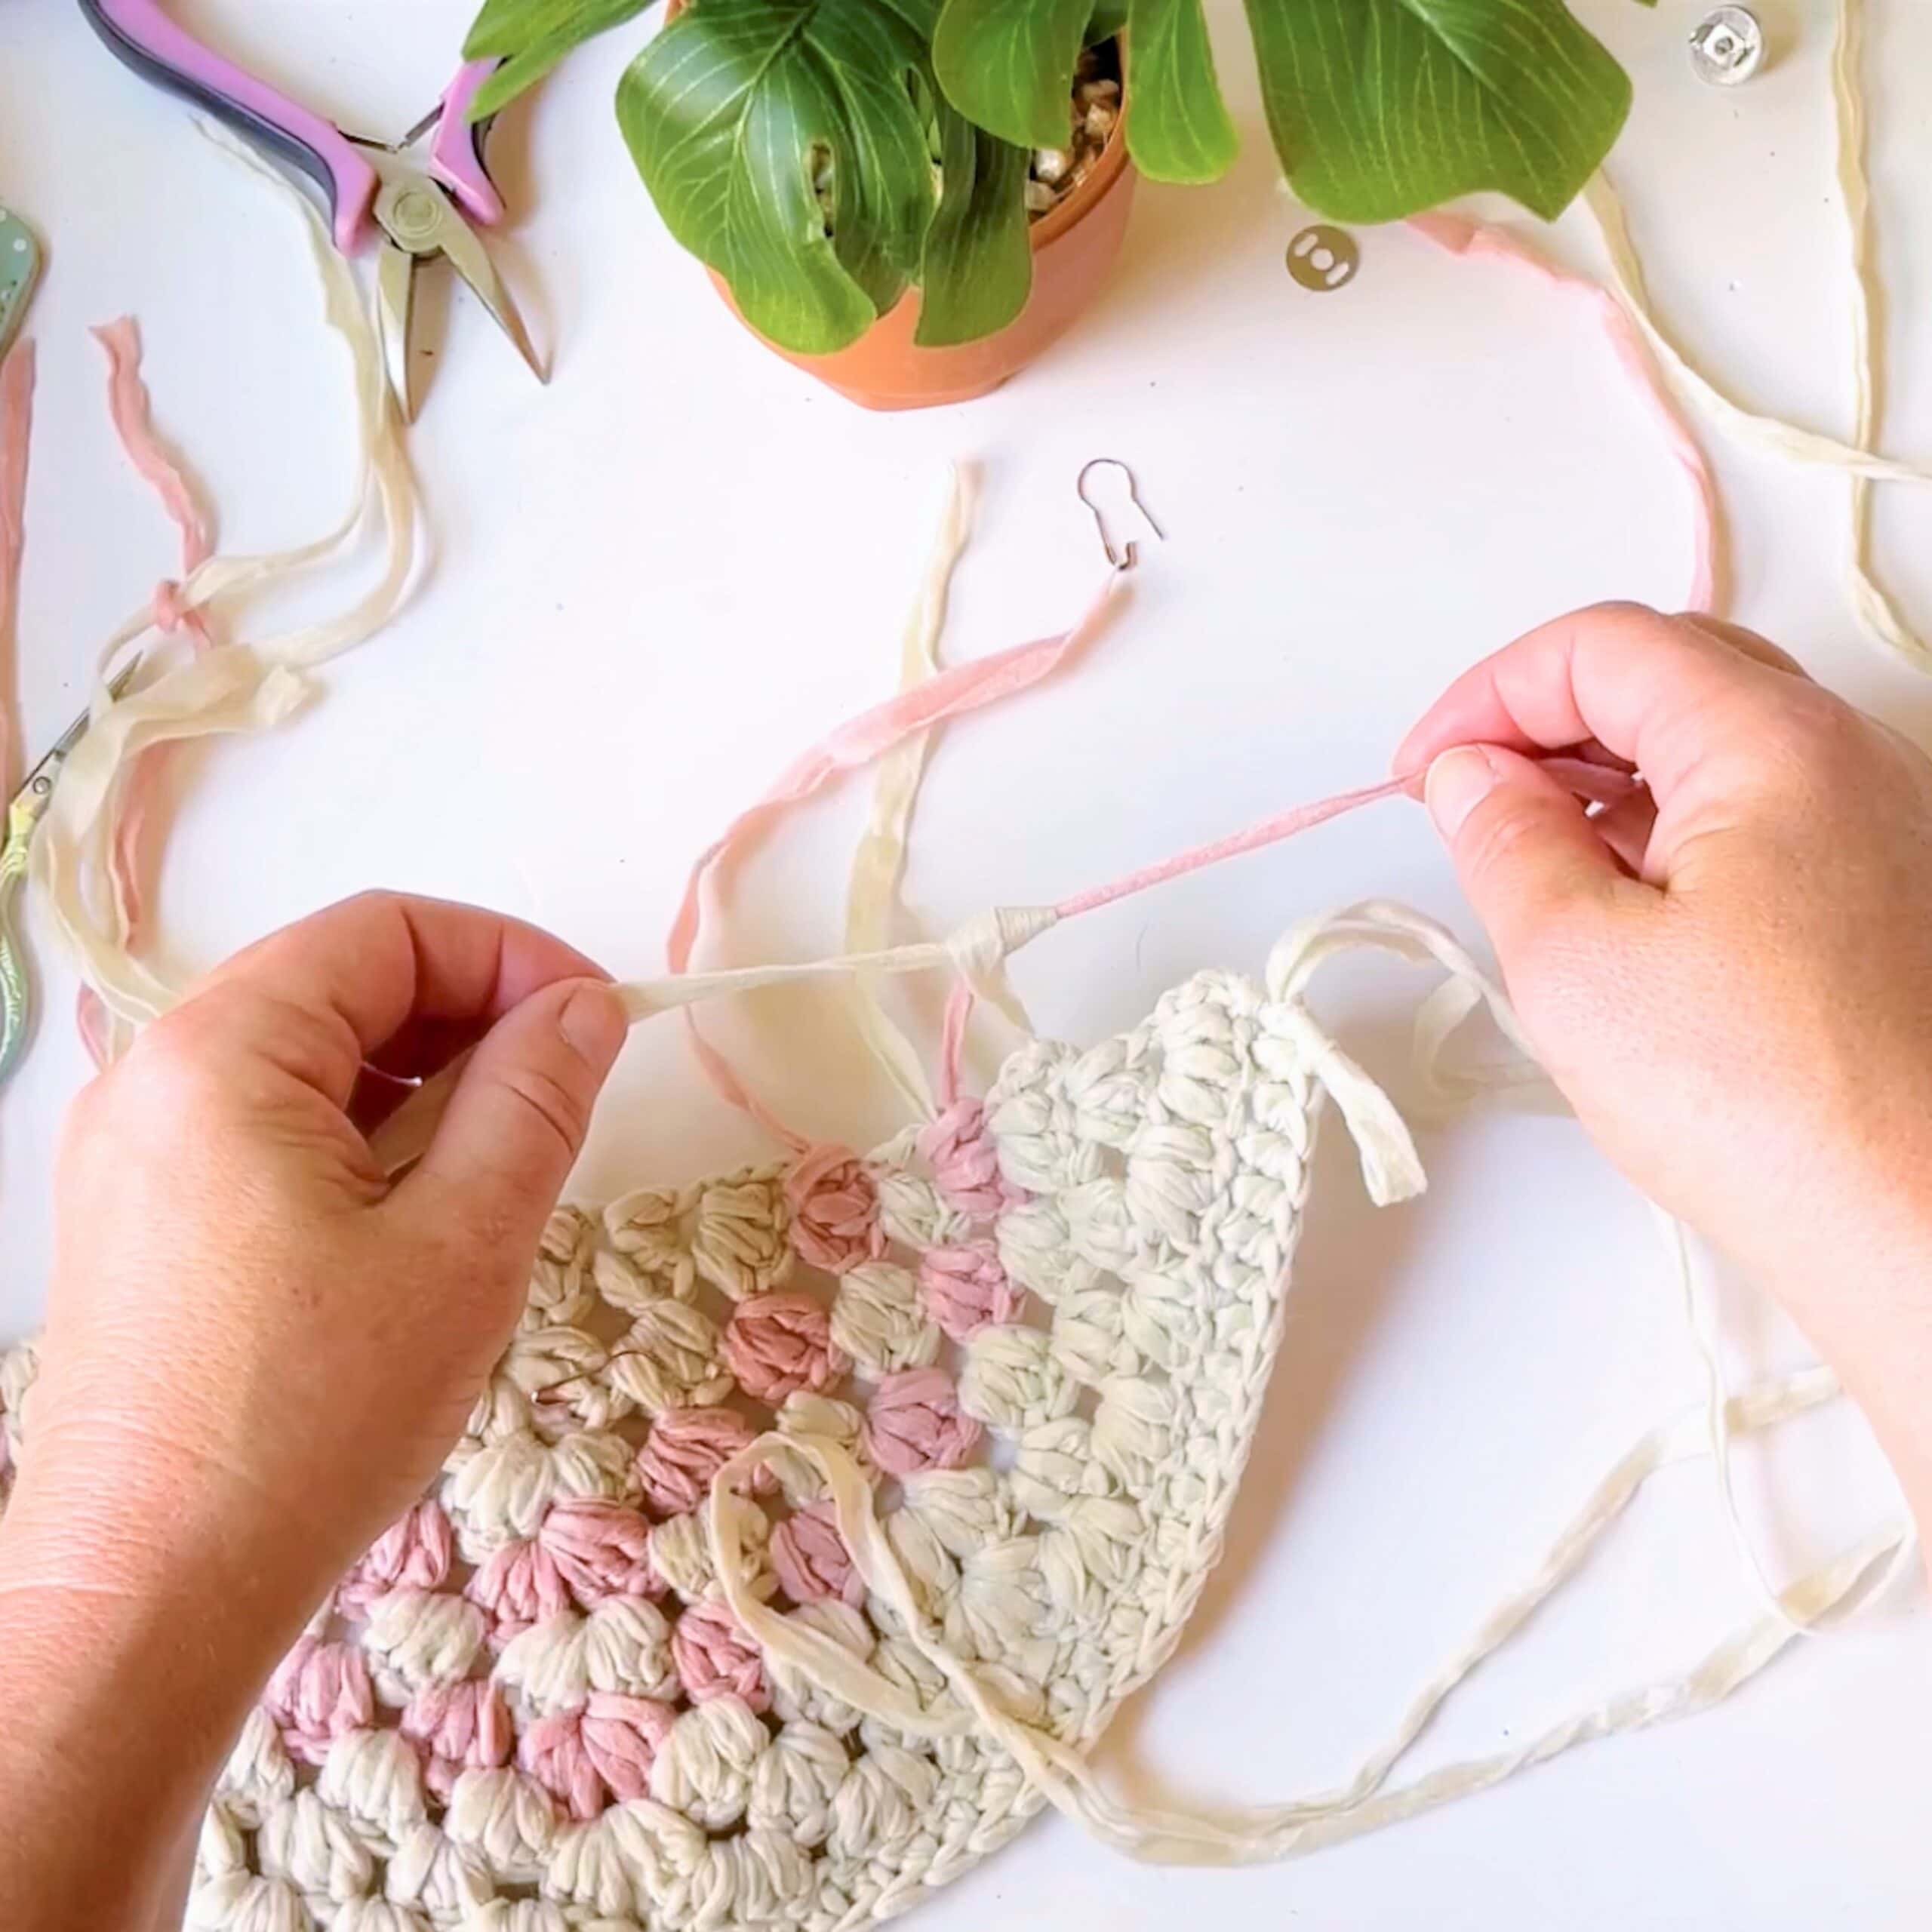
NOTE: Tie your ends using a fisherman’s knot (crossing over 3 times) and prepare for crocheting over the tails Row 10. You can cut them or weave them in, it’s up to you. I carried them inside of Row 10 and on the last bag I crocheted, I cut close to the knots and just crocheted over the knots (but it wasn’t as clean looking). Of course you can weave in tails, then move on to Row 10.
NOTE: The side facing you now is our wrong side (WS). Mark the right side (RS) with a stitch marker.
")
")
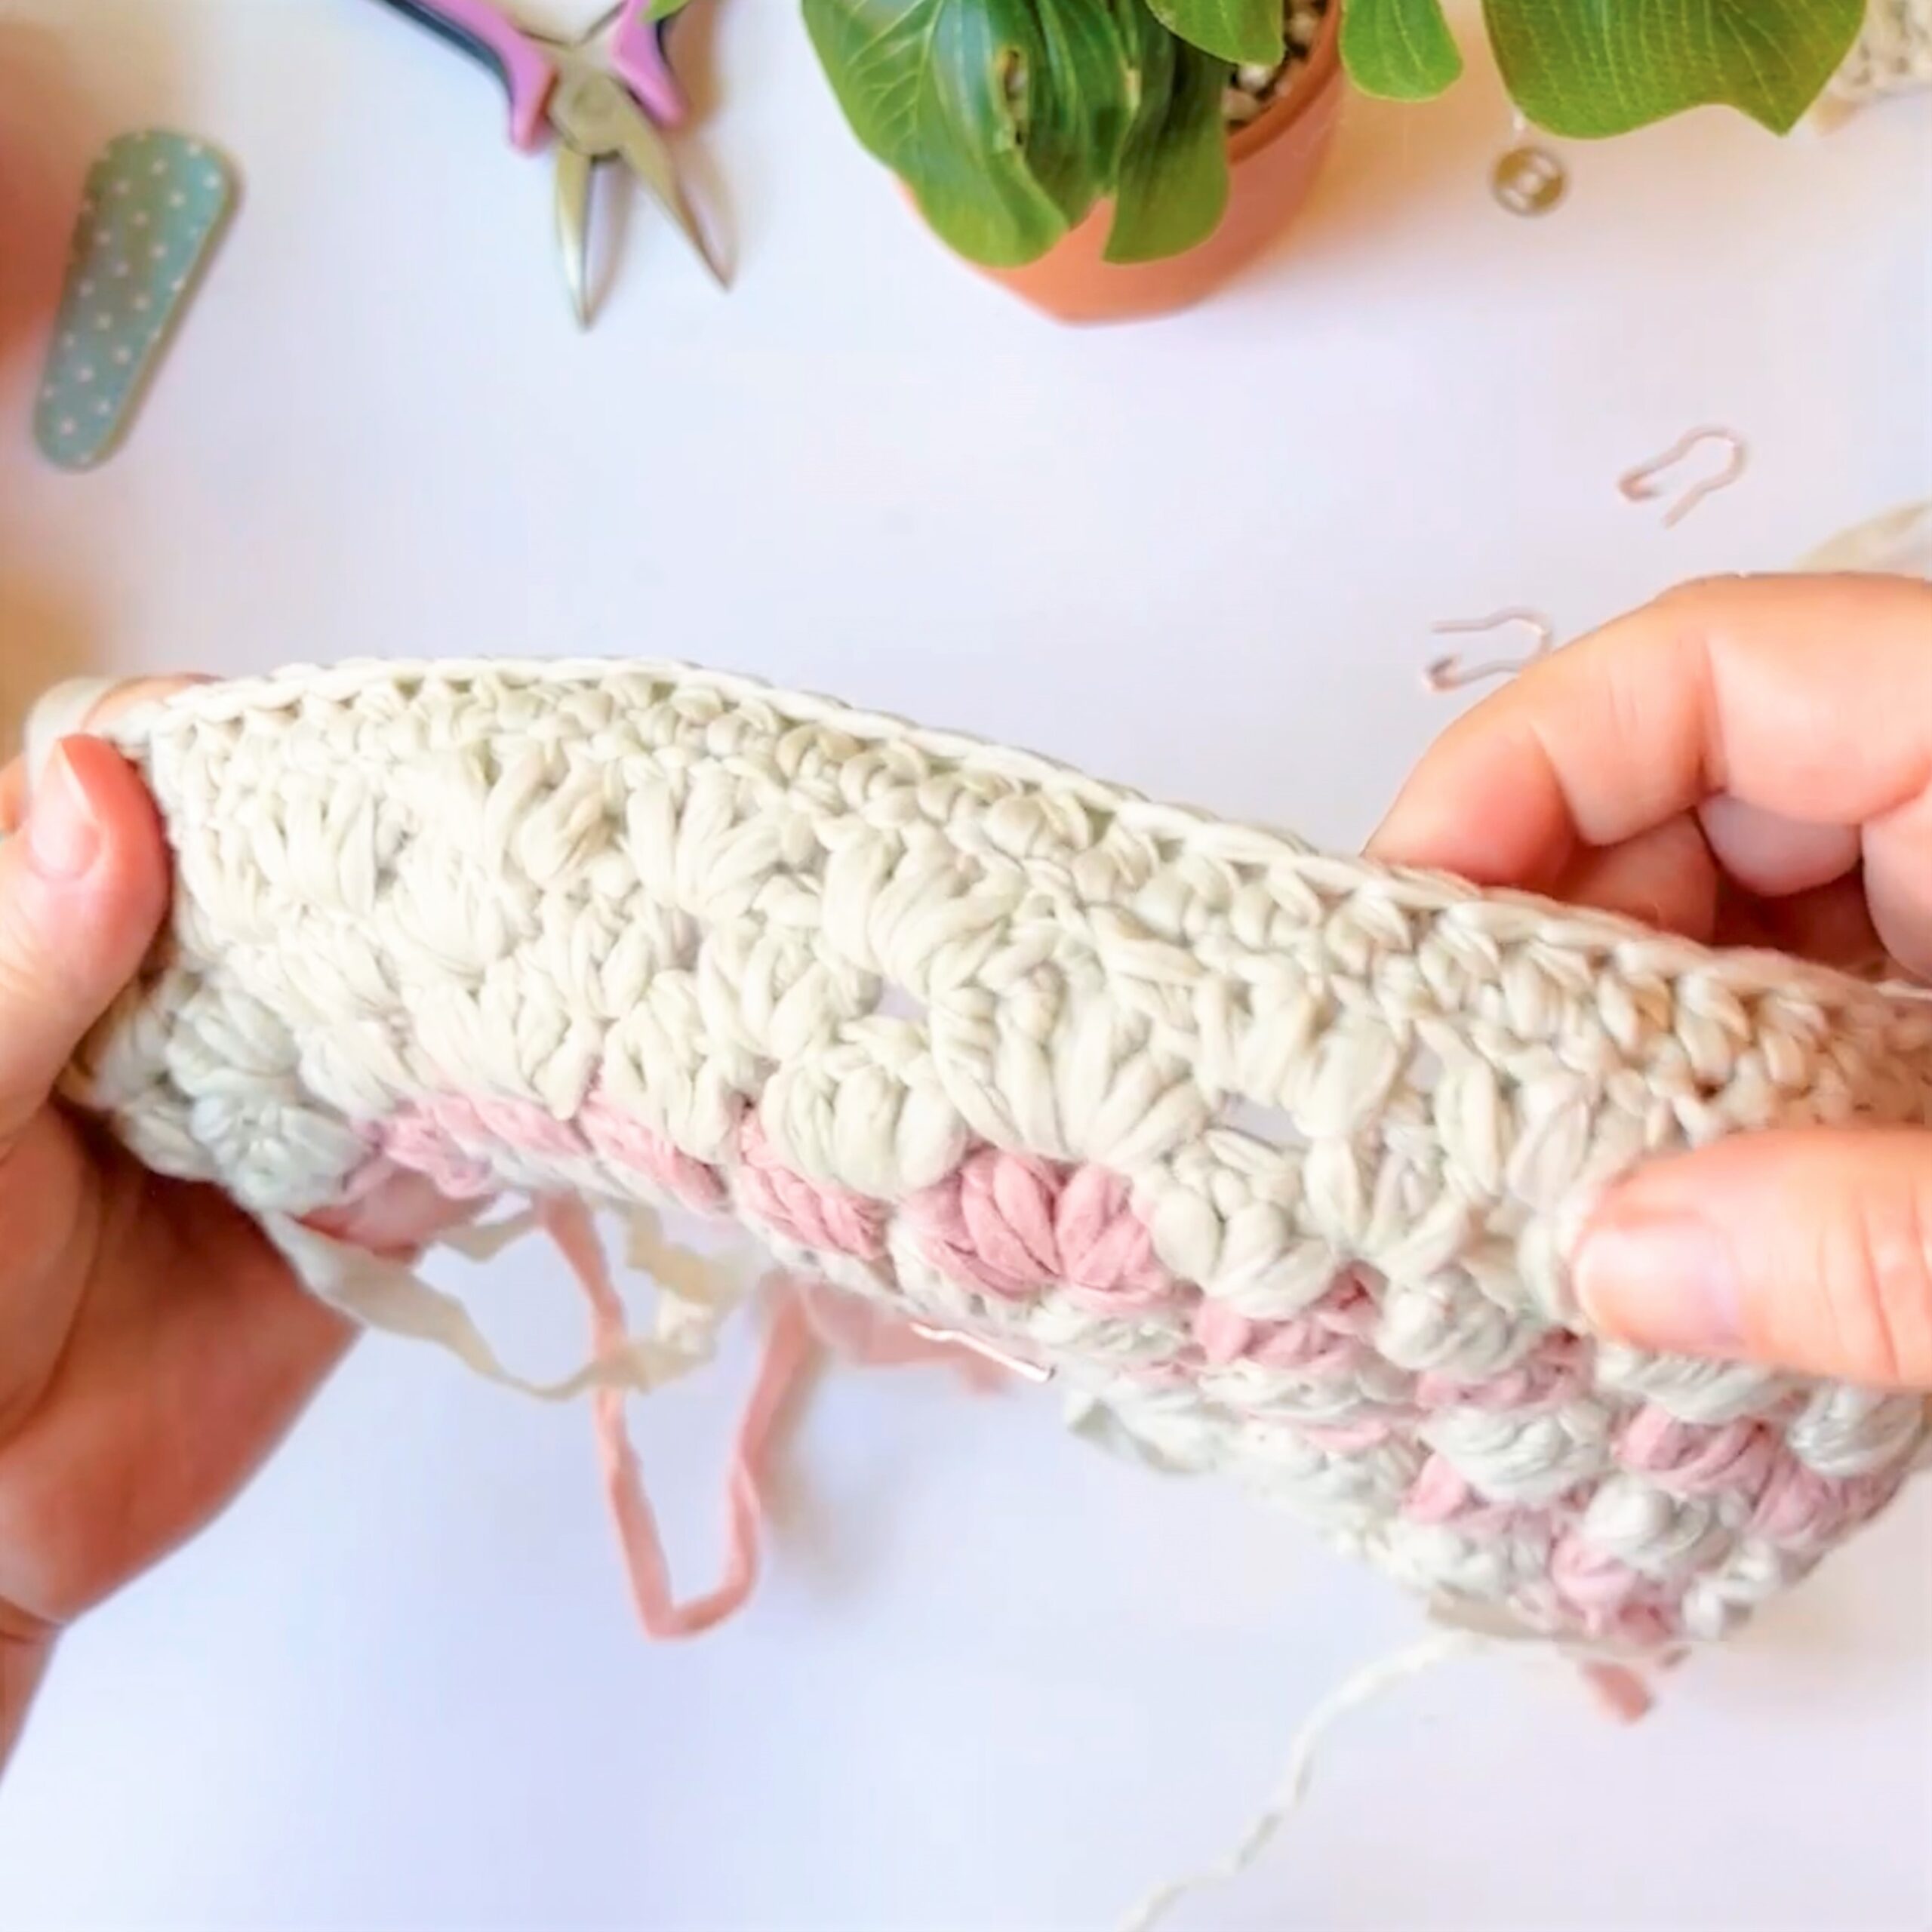
Row 10: (C1) Ch 1, turn, hdc in each stitch/sl st across (mark last st – 51 hdc), hdc 46 across top of the bag, sl st in hdc from beginning or row (mark the slip stitch, counts as stitch 47).
")
NOTE: Along the top of the bag, you’ll count 18 rows across.
This is how I worked the stitches across the top of the bag: 2 hdc in each of the clusters and chains along the side, I worked 1 hdc between the rows after rows: 1, 3, 5, 7, 9 (center of bag), 10, 12, 14, 16), 1 hdc at the end to total 47.
Complete the second panel same as the first, but don’t cut the yarn when you’re finished – you will continue to crochet the pieces together.
Assembly:
You can join the two pieces however you’d like, using a mattress stitch, or even a whip stitch. However, I used a single crochet/slip stitch join and love the way it looks. The rest of the pattern is based on this type of join.
")
How to do a Single Crochet / Slip Stitch join.
Join the two pieces together. Place the right sides together, working yarn side on top. Here is a short video to show you how to work this join:
Step by Step:
- Single crochet in marked stitch.
- Extend the loop on your hook and remove the hook.
- Insert it in the marked stitch on the second piece, from right to left.
- Place the loop back on the hook.
- Slip stitch through.
- Insert from front to back through the next stitch on the front piece and work a single crochet.
- Work the join until you reach the next stitch marker.
Don’t cut yarn, continue joining along the top for 12 more stitches.
Count 12 stitches in from the left, place a stitch marker in the 12th stitch.
Slip stitch on the front piece only until you reach the stitch marker.
Begin joining using the sc/sl st join again until you reach the other stitch marker.
NOTE: You can continue to begin the strap now, or – Tie off, weave in tail, and follow instructions below. If you continue as is, do not turn RS out – otherwise – turn RS out.
Creating The Strap
RS facing you, count back 12 stitches from the opening to the right and attach yarn in the 12th stitch, through both pieces (make it secure).
Row 1: Ch1, sc in the same stitch, crochet 100-110 stsc. Count back 12 stitches from the opening of the bag, slip stitch to join.
Row 2: Ch 1, turn, sc in each stitch across.
(You can stop here – OR – if you want to make the strap wider – skip Rows 3 – x and follow the Join instructions below.
Row 3 – X: Ch 1, turn, sc in each sc across, sl st into body of bag.
Join with a sl st into the body. Leave a long tail to close the gaps. Close the gaps on the other side with a darning needle and yarn.
")
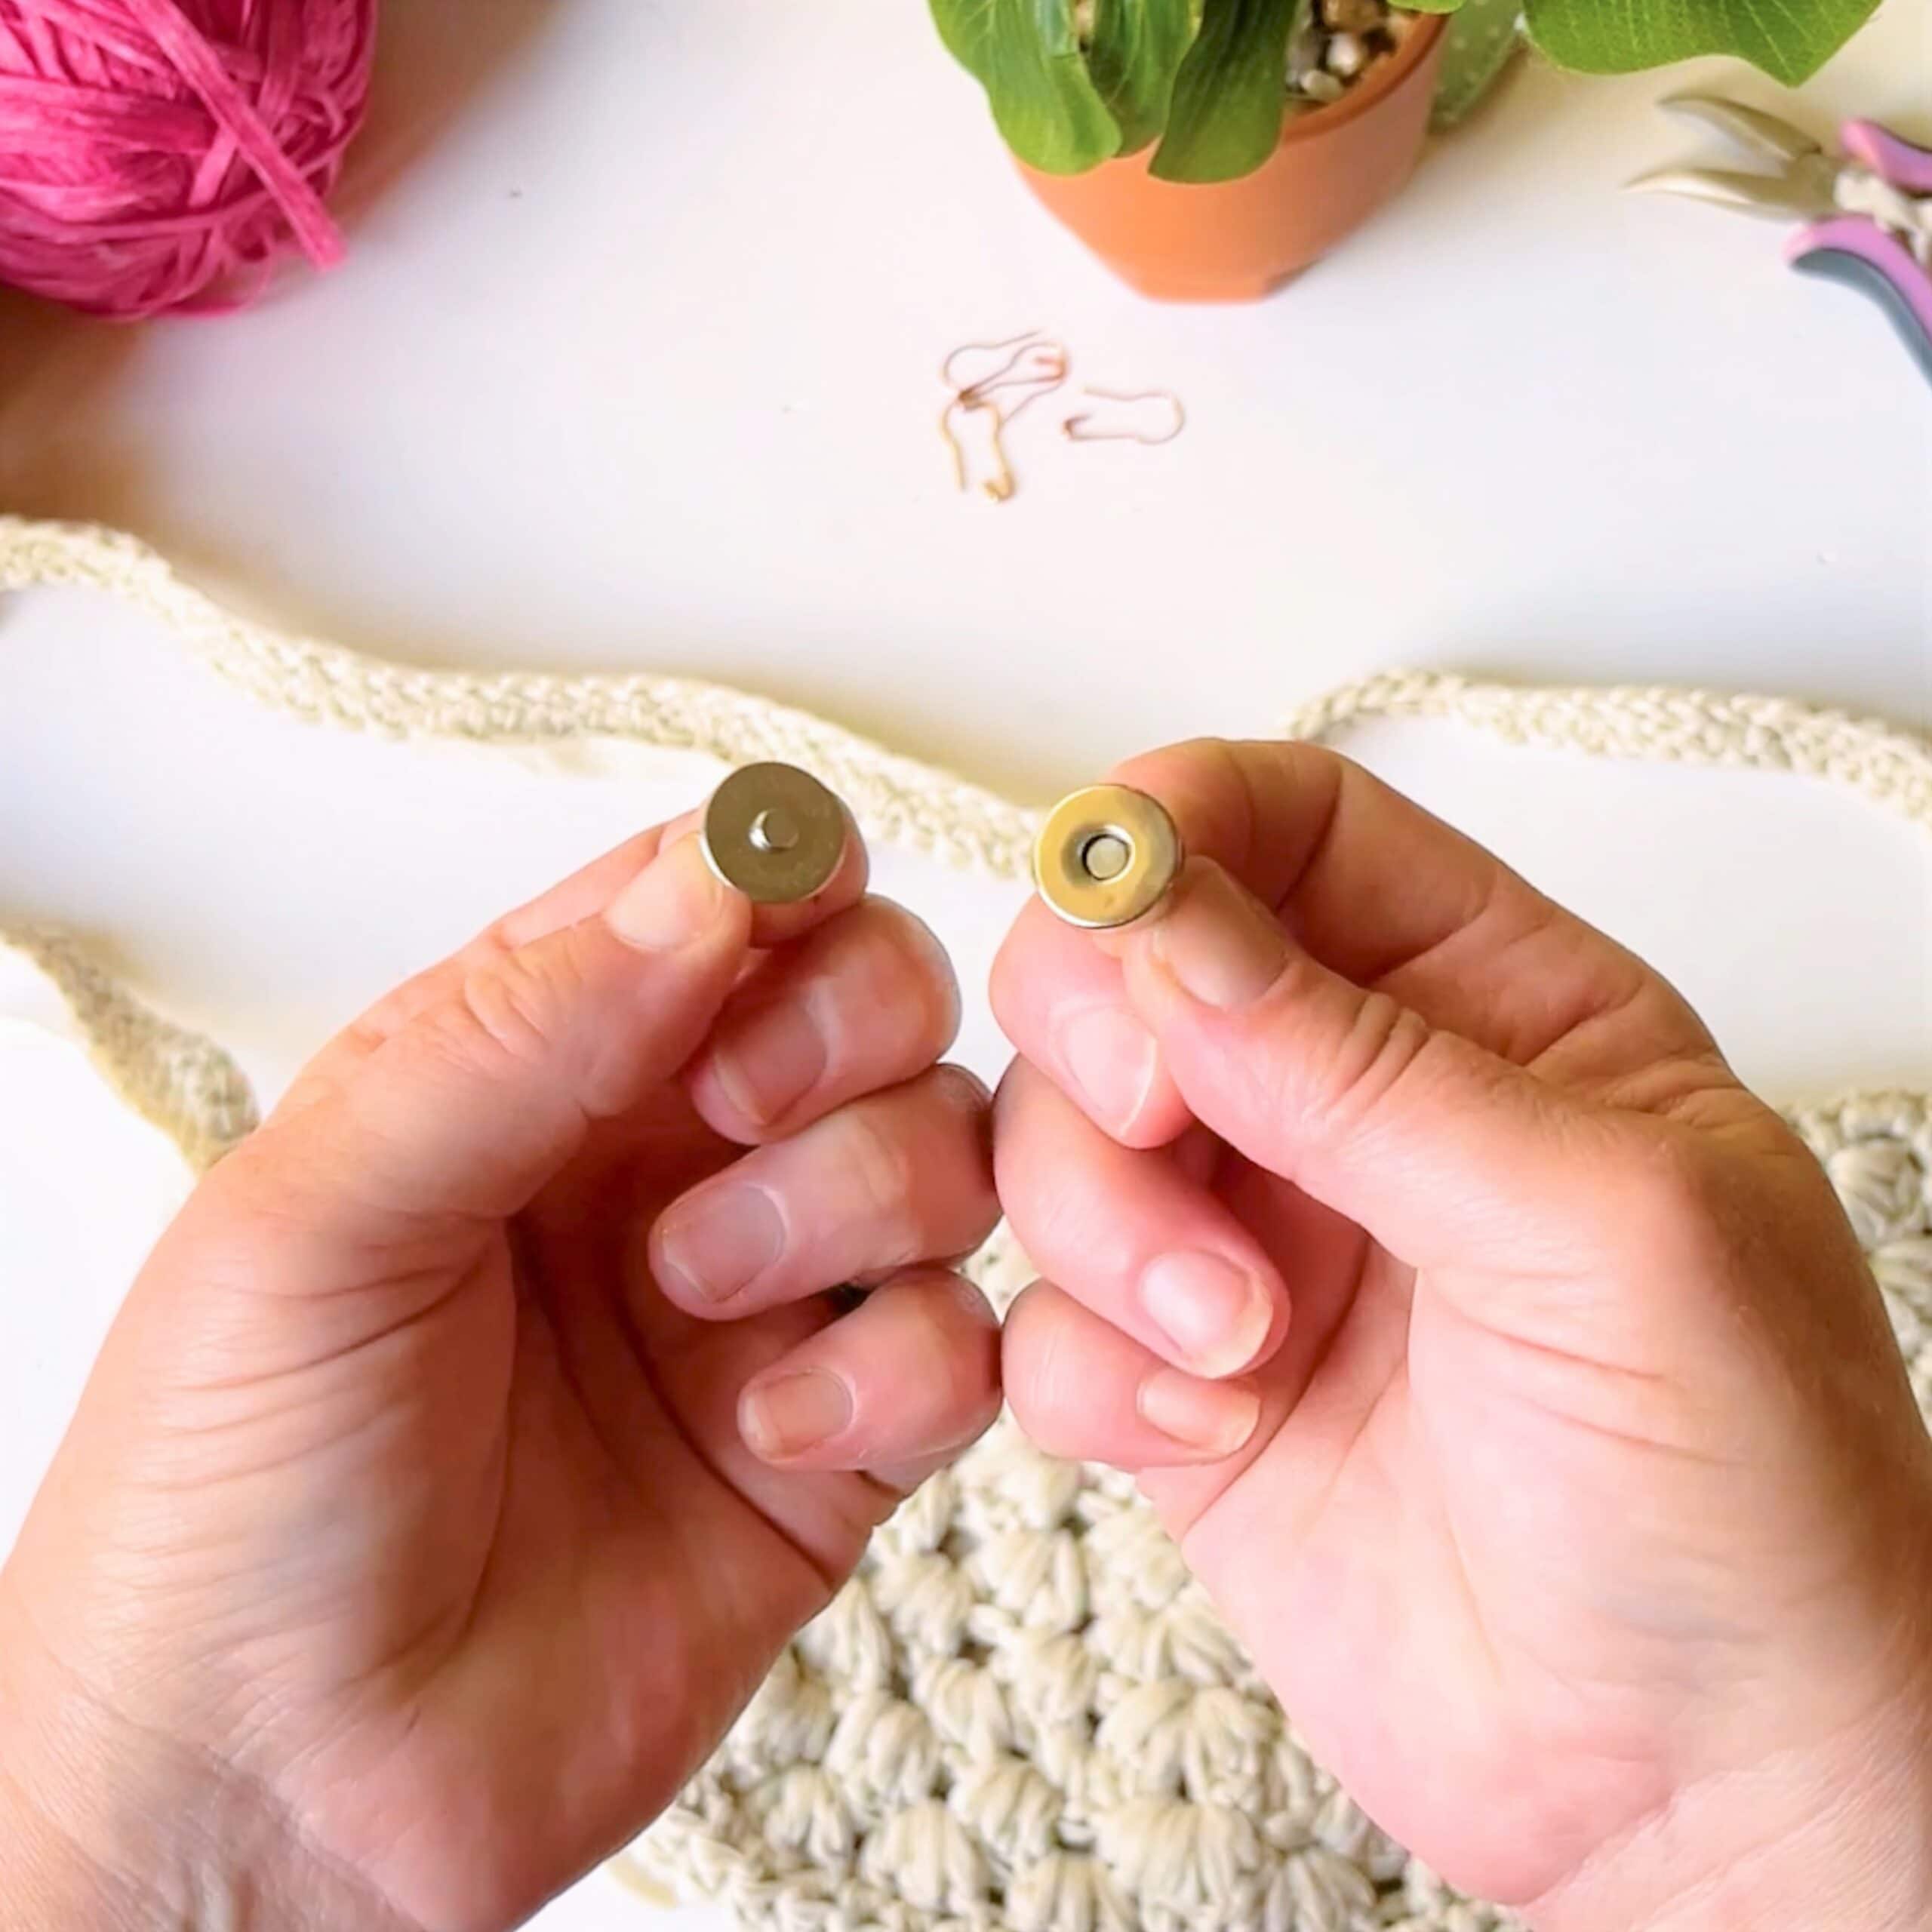
Closing Your Bag
I used a magnetic closure I found on Amazon and used yarn to cover the metal showing through.
")
")
")
Other Closure Ideas:
- Use a toggle button & a loop
- Attach a zipper
- Button closure & a loop or you can leave it open!
One of my testers used a button to close her bag and one even added a liner. The sky is the limit and you can make it as creative as you’d like!

Congrats! You are finished!
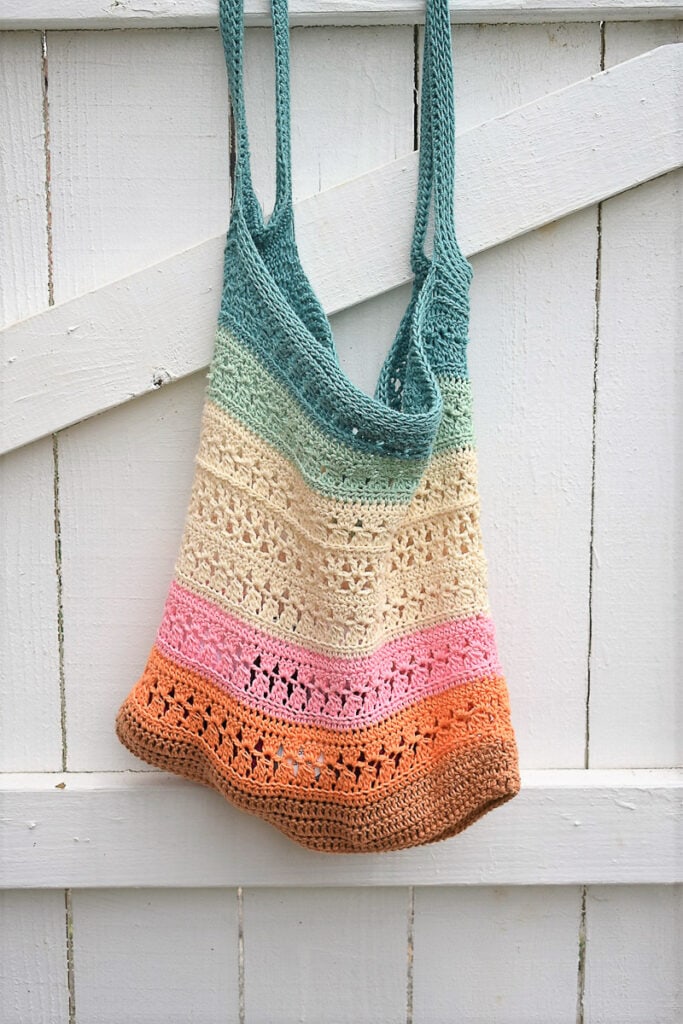
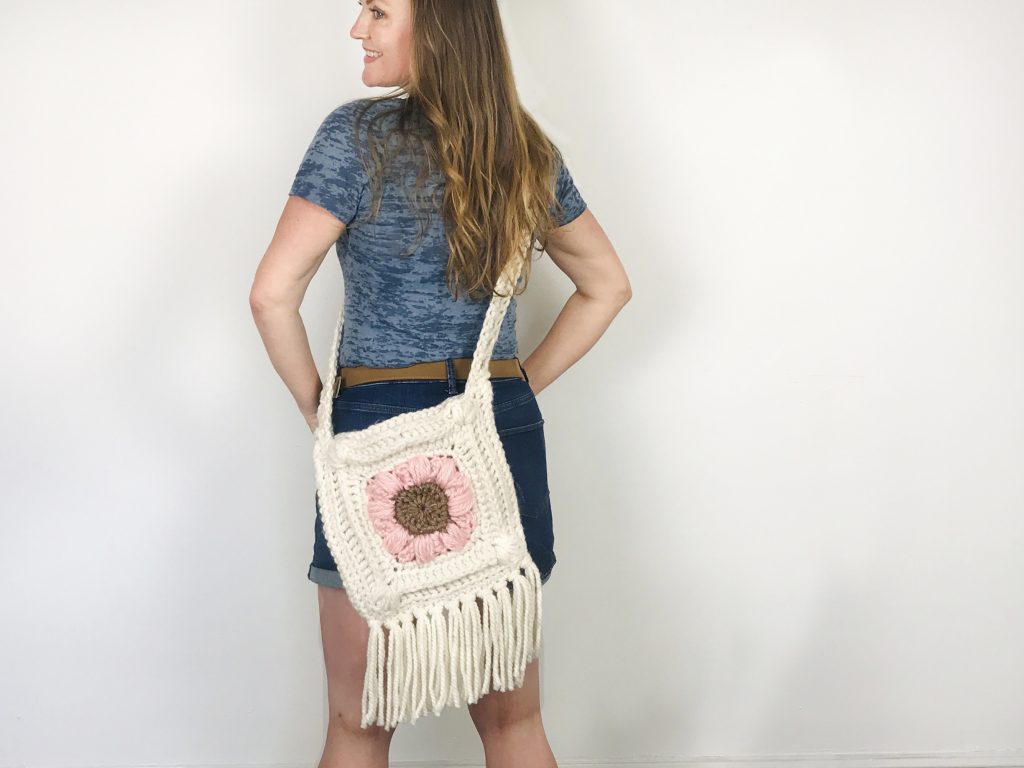
You May Also Enjoy These Cute Crochet Accessory Patterns:
- More than a Market Bag Crochet Bag Pattern
- Lilac Dreams Crochet Coin Purse
- Summer Flowers Boho Crossbody Bag


SUMMER LOVERS BLOG HOP
Hi! Thanks for being a part of the Summer Lovers Blog Hop! Click below (or here) to get 50% off the written pattern PDF. Thanks for being here!

I hope you enjoyed this post and learning how to crochet a crossbody bag! Please leave any questions or comments below or head over to my pattern support group and join the chat!


*My site contains affiliate links. What’s that? It means I share and support companies that align with my values and provide great products. If you purchase from my links, I may receive a small commission at no extra cost to you. I only recommend what stirs my heart.

How to Crochet a Crossbody Bag (Step by Step)
Learn to Crochet a Granny Stitch Crossbody Bag (Step by Step)
Materials
- Lion Brand Rewind Yarn or Similar
Tools
- 5 mm Crochet Hook (USA H)
- Scissors
- Darning Needle
- Magnetic Clasps Or Buttons
- Measuring Tape
Instructions
CROCHET CROSSBODY BAG PATTERN:
We will be making 2 panels and joining together. When you finish the second panel, don’t cut the yarn.
Create a magic circle or chain 4 and work into the first chain.
With C1, Chain 4 (does not count as a stitch).
Rows 1 - 3
Row 1: (C1) 3 puffs in magic circle, ch 2, 3 puffs in same circle, (close magic circle, pull ring tight) - (6 puff sts, 1 ch-2).
Row 2: Ch 4, turn, 3 puffs in 1st stitch, ch 1, 6 puffs in ch-2 space, ch 1, 3 puffs in last puff from Row 1 - (12 puff sts, 2 ch-1’s).
Row 3: Ch 4, turn, 3 puffs in 1st stitch, ch 1, 3 puffs in next ch-1 sp, ch 1, skip 3 puffs, 6 puffs between 3rd & 4th puff stitches from Row 2, ch 1, 3 puffs in next ch-1 space, ch 1, 3 puffs in last puff, change to C3 - (18 puff sts, 4 ch-1’s).

Rows 4 & 5
Row 4: (C3) Ch 4, turn, 3 puffs in 1st stitch, ch 1, 3 puffs in next ch-1 sp, ch 1, 3 puffs in next ch-1 space, ch 1, skip 3 puffs, 6 puffs between 3rd and 4th puff stitches from Row 3, ch 1, 3 puffs in next ch-1 space, ch 1, 3 puffs in next ch-1 space, ch 1, 3 puffs in last puff of row, change to C1 - (24 puff sts, 6 ch-1’s).

Row 5: (C1) Ch 4, turn, 3 puffs in 1st stitch, (3 puffs in next ch-1 space) x 3, skip 3 puffs, 6 puffs between 3rd & 4th puffs from Row 4, (3 puffs in next ch-1 space) x 3, 3 puffs in last puff of row, change to C2 - (30 puff sts).

NOTE: For the following rows you’ll work the 3 puff clusters between the spaces of each cluster - there are no chain 1’s.
Row 6: (C2) Ch 4, turn, 3 puffs in 1st stitch, (3 puffs in next space) x 4, skip 3 puffs, 6 puffs between 3rd & 4th puffs, (3 puffs in next space) x 4, 3 puffs in last puff st of the row, change to C1 - (36 puffs sts).

Row 7: (C1) Ch 4, turn, 3 puffs in 1st stitch, (3 puffs in next space) x 2, 6 puffs in next space, (3 puffs in next space) x 2, skip 3 puffs, sl st between 3rd and 4th puff sts, (3 puffs in next space) x 2, 6 puffs in next space, (3 puffs in next space) x 2, 3 puffs in the last stitch, change to C3 - (42 puff sts).

Row 8: (C3) Ch 4, turn, 3 puffs in 1st stitch, (3 puffs in next space) x 3, skip 3 puffs, 6 puffs in next space between 3rd and 4th puff stitches from Row 7, (3 puffs in next space) x 2, skip next 3 puffs, 6 puffs in space between 3rd & 4th puff of Row 6, (3 puffs in next space) x 2, skip 3 puffs, 6 puffs in next space between 3rd and 4th puff stitches, (3 puffs in next space) x 3, 3 puffs in the last puff of row change to C1- (54 puff sts).

Row 9: (C1) Ch 4, turn, 3 puffs in 1st stitch, (3 puffs in next space) x 4, skip 3 puffs, sl st between 3rd & 4th puff, (3 puffs in next space) x 3, skip 3 puffs, sl st between 3rd & 4th puff, (3 puffs in next space) x 3, skip 3 puffs, sl st between 3rd & 4th puff, (3 puffs in next space) x 4, 3 puffs in the last puff of row - (48 puff sts).

NOTE: Tie your ends using a fisherman’s knot (crossing over 3 times) and prepare for crocheting over the tails Row 10. You can cut them or weave them in, it’s up to you. I carried them inside of Row 10 and on the last bag I crocheted, I cut close to the knots and just crocheted over the knots (but it wasn’t as clean looking). Of course you can weave in tails, then move on to Row 10.
NOTE: The side facing you now is our wrong side (WS). Mark the right side (RS) with a stitch marker.
Row 10: (C1) Ch 1, turn, hdc in each stitch/sl st across (mark last st - 51 hdc), hdc 46 across top of the bag, sl st in hdc from beginning or row (mark the slip stitch, counts as stitch 47).
NOTE: Along the top of the bag, you’ll count 18 rows across.
This is how I worked the stitches across the top of the bag: 2 hdc in each of the clusters and chains along the side, I worked 1 hdc between the rows after rows: 1, 3, 5, 7, 9 (center of bag), 10, 12, 14, 16), 1 hdc at the end to total 47.
Complete the second panel same as the first, but don’t cut the yarn when you’re finished - you will continue to crochet the pieces together.
Assembly:
You can join the two pieces however you’d like, using a mattress stitch, or even a whip stitch. However, I used a single crochet/slip stitch join and love the way it looks. The rest of the pattern is based on this type of join.
How to do a Single Crochet / Slip Stitch join. (video tutorial)
Join the two pieces together. Place the right sides together, working yarn side on top. Here is a short video to show you how to work this join:
Step by Step:
- Single crochet in marked stitch.
- Extend the loop on your hook and remove the hook.
- Insert it in the marked stitch on the second piece, from right to left.
- Place the loop back on the hook.
- Slip stitch through.
- Insert from front to back through the next stitch on the front piece and work a single crochet.
- Work the join until you reach the next stitch marker.
Don’t cut yarn, continue joining along the top for 12 more stitches.
Count 12 stitches in from the left, place a stitch marker in the 12th stitch.
Slip stitch on the front piece only until you reach the stitch marker.
Begin joining using the sc/sl st join again until you reach the other stitch marker.

NOTE: You can continue to begin the strap now, or - Tie off, weave in tail, and follow instructions below. If you continue as is, do not turn RS out - otherwise - turn RS out.
Creating The Strap
RS facing you, count back 12 stitches from the opening to the right and attach yarn in the 12th stitch, through both pieces (make it secure).
Row 1: Ch1, sc in the same stitch, crochet 100-110 stsc - stacked single crochet. Count back 12 stitches from the opening of the bag, slip stitch to join.
Row 2: Ch 1, turn, sc in each stitch across.
(You can stop here - OR - if you want to make the strap wider - skip Rows 3 - x and follow the Join instructions below.
Row 3 - X: Ch 1, turn, sc in each sc across, sl st into body of bag.
Join with a sl st into the body. Leave a long tail to close the gaps. Close the gaps on the other side with a darning needle and yarn.
Closing Your Bag
I used a magnetic closure I found on Amazon and used yarn to cover the metal showing through.

Other Closure Ideas:
- Use a toggle button & a loop
- Attach a zipper
- Button closure & a loop or you can leave it open!
One of my testers used a button to close her bag and one even added a liner. The sky is the limit and you can make it as creative as you'd like!
Congrats you are finished!
Recommended Products
As an Amazon Associate and member of other affiliate programs, I earn from qualifying purchases.
-
 Lion Brand Rewind Yarn
 -
4 Pcs Sewing Embroidery Scissors with 4 Pcs Artificial Leather Cover 3.6 Inch Stainless Steel Stork Scissors Vintage Embroidery Scissors for Needlework, Manual Sewing Handicraft (Retro Colors)
-
3 Pack Tape Measure Measuring Tape for Body Fabric Sewing Tailor Cloth Knitting Craft Weight Loss Measurements Retractable 60-inch 1.5 Meter, Small Push Button Dual Sided Tape Measure Body Measuring
-
Susan Bates Silvalume Aluminum Crochet Hook, Set of 4