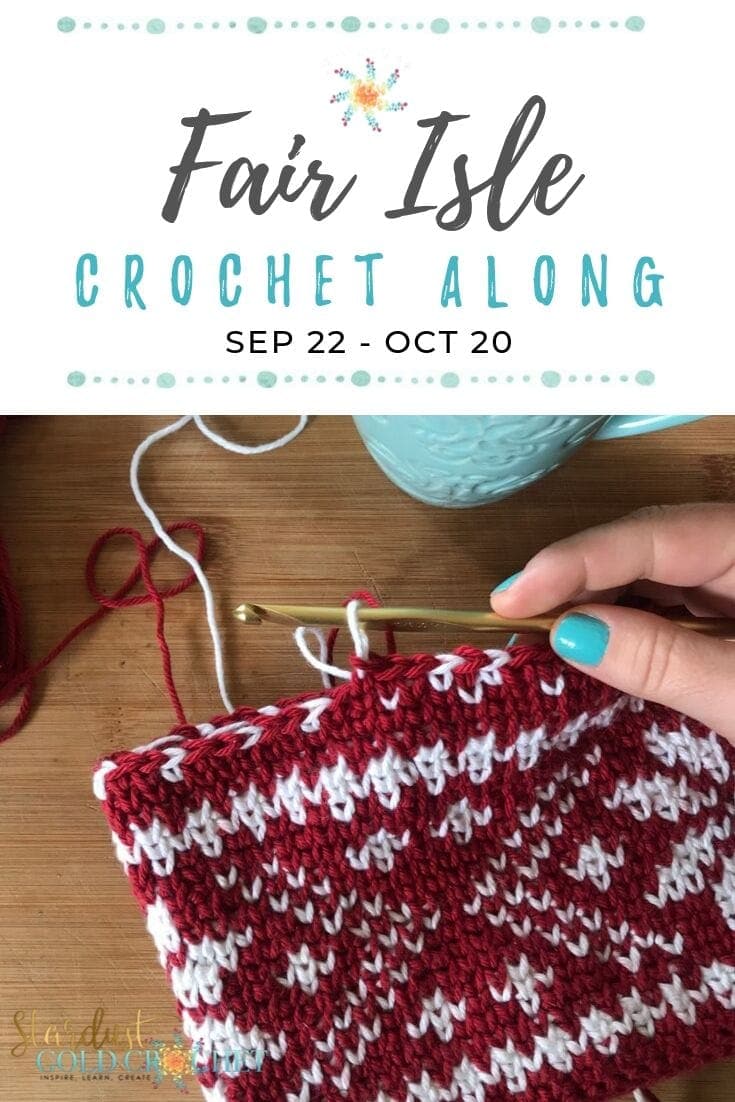
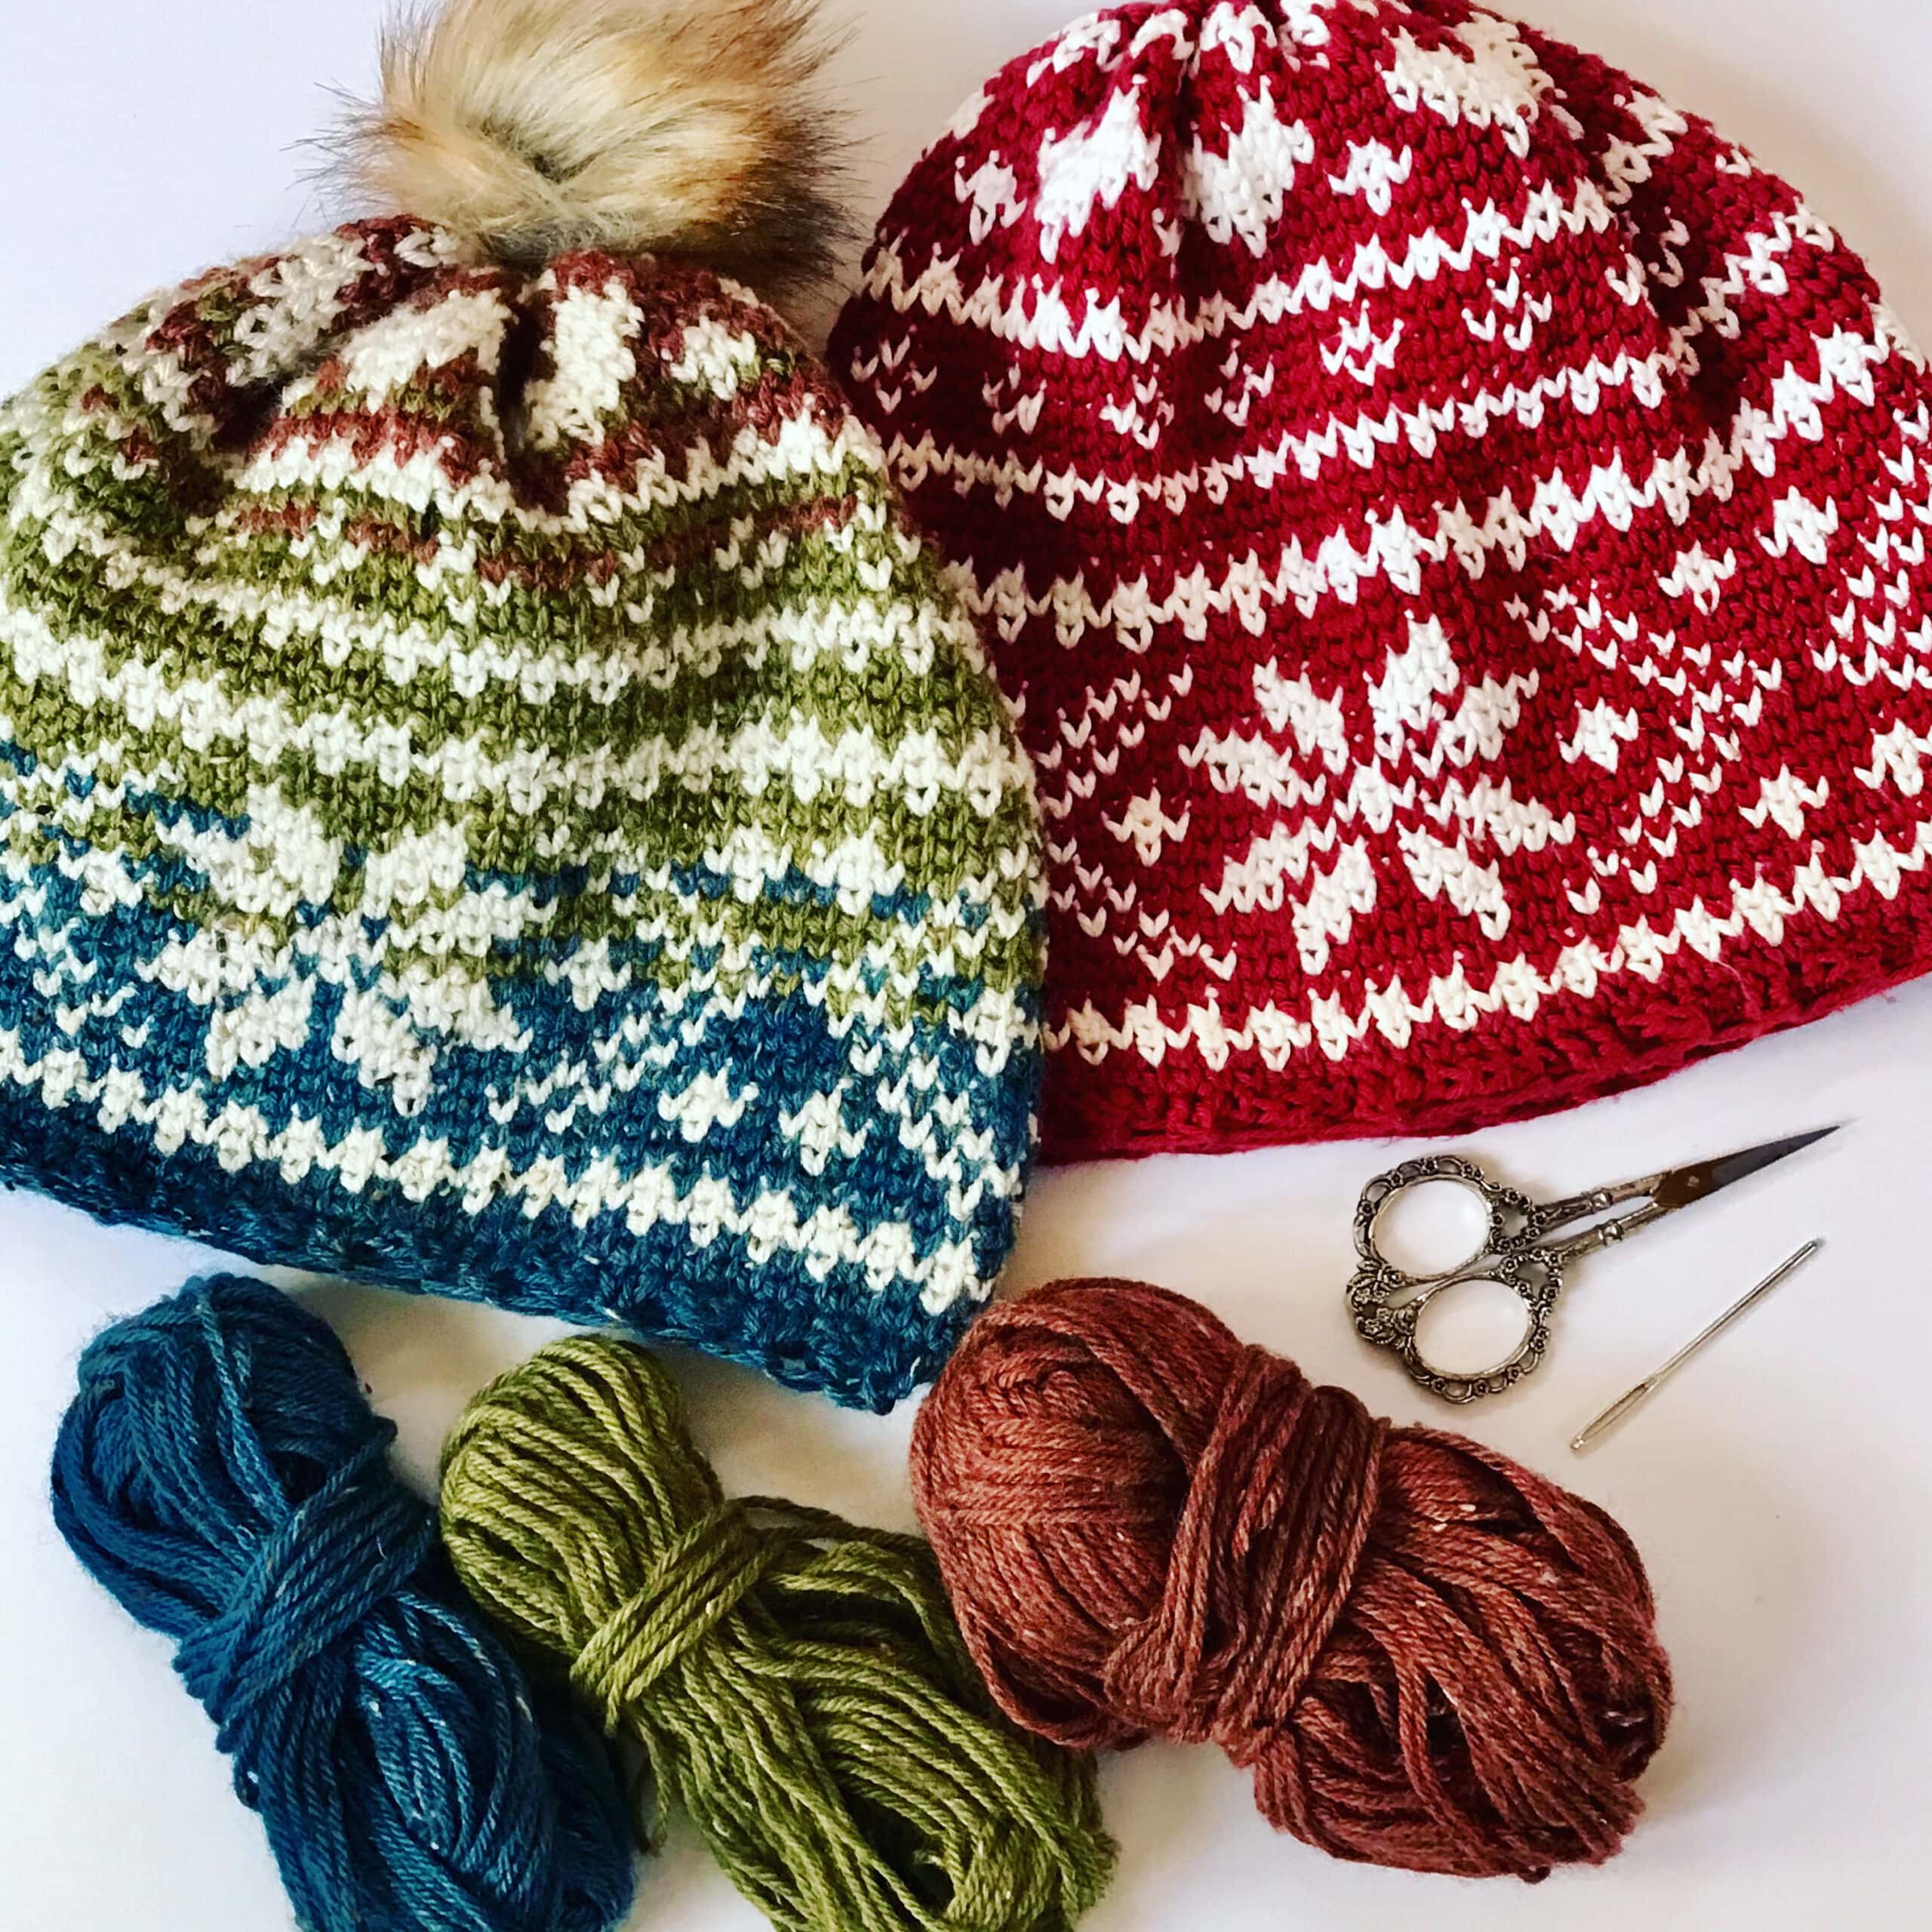
Welcome to the Fair Isle CAL! I’m so glad you are here with me today! Learn how to crochet a fair isle beanie the easy way!
What’s Inside:
- Introduce myself
- What we will cover this week
- Materials
- Gauge
- Practicing the knit stitch (aka waistcoat stitch)
Even though the official crochet along is over, these posts will stay around forever so you can always come back and keep it going.
If you want to skip forward – and grab the finished PDF pattern – it’s a free download here
Nordic Fair Isle Crochet BeanieTo catch up – I’ve compiled all the posts in one page and you can find that by clicking below 
Table of contents
In this post we will talk about
- Introduction to Fair Isle Crochet
- Materials Breakdown
- Achieving the Gauge Proper
- Yarn Details
- Yarn Subs
There is a video at the bottom too with an introduction, and how to start working your gauge swatch including a walk through on how to create the waistcoat stitch.
A little bit about me…
My name is Tasha Margette Reynolds, I grew up in California and moved to Memphis in 1993. I think I can officially call myself a southern now lol. I started crocheting as a child, and put it down for sooooo many years.
After a while, I picked up my grandmas hooks again a few years ago, and became passionate about designing, writing patterns and sharing them with you. I’d say it is a bit of an obsession at this point.
You know how that goes – a bunch of WIPS (works in progress) and design notes to fill a stadium! lol.
I love to teach, so I create video tutorials on my YouTube channel Stardust Gold Crochet – YouTube and have a series called Stitch Explorers, where I work through different stitches you can use to create beautiful projects.
On a personal note, when I am not crocheting, I am skating the skate park, playing with my beautiful grandson, or spending time with my fur babies and my daughter and significant other.
I also love to garden, cook, and work out! I have a couple of fancy degrees I don’t use, because having my own business has always been a dream. However, I am passionate about the environment and biology (science nerd).
What is Fair Isle?
“Fair Isle is a style of knitting that originated in Scotland. A true Fair Isle garment made on Fair Isle will win you recognition anywhere.
Fair Isle knitting originated on the remote island of Fair Isle – a tiny jewel in the ocean lying midway between the Orkney and Shetland Islands to the north of Scotland in the UK, at the point where the Atlantic Ocean meets the North Sea.
The traditional knitwear of Fair Isle and its intricate skill have been practiced continuously on this small Isle for generations upon generations.
A rare store of patterns has evolved during this time and these are chosen and personally interpreted by each knitter so that each then achieves their own recognizable style.
The traditional method of hand-knitting Fair Isle ‘in the round’ using double-pointed needles – known locally as ‘wires’- along with a special padded knitting belt, continues to this day.
A small quantity of exclusive hand-spun, hand-knitted items are produced for sale on the Isle, as well as a number of high quality hand-frame garments.” – Exclusively Fair Isle
Even though it is a traditional knitting technique, some masterful and creative crocheter has created a stitch that works wonderfully to recreate this knit technique in crochet. (thank you!)
The stitch is called the waistcoat stitch and also referred to as the knit stitch. I will refer to it as the knit stitch throughout the pattern and videos.
The Materials You Will Need:
Suggested Yarn
Yarn Weight: Light Worsted or 4 weight with similar WPI
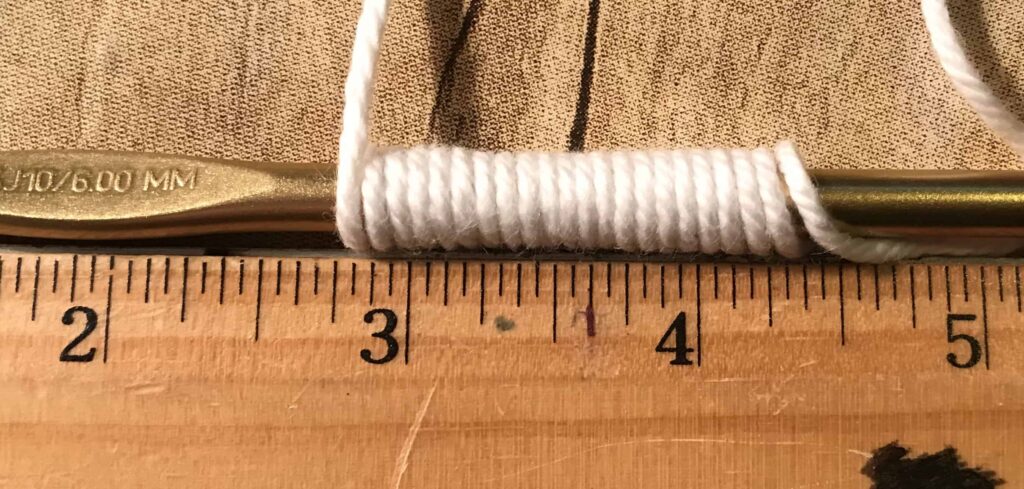
I used I Love This Cotton! in Burnt Sienna and White (it’s on sale this week for $2.65!). It’s listed as a weight 4 yarn and recommends an I-9 hook. However, it has 14 wpi (wraps per inch) which is considerably more than the average 4 – worsted.
If you want to maintain proper gauge and sizing for the beanie, I recommend finding a worsted weight yarn with comparable wraps per inch, or reduce hook size (which may make it a bit tighter). Here is a tutorial on how to do wpi – it’s super easy, or watch my video below.

Suggested Yarn Details:
- 100% Cotton, 180yds/165m per skein (3.5 oz/100g)
- Care: Machine washable and dry.
Yardage Needed:
- Beanie: 180 yds (164 m) white, 225 yds (205 m) red (appx), the finished beanie weighs 175 g (6.17 ounces).
- Hook Size: 6.00 mm (J)
- Scissors
- Darning Needle
- Pom Pom (optional)
Yarn Subs
I explain this a bit in the video below, but will write it out here too.
The yarn I used to create the beanie in my sample is I Love This Cotton by Hobby Lobby. It has a WPI (wraps per inch) of 14, which is a bit different than what Ravelry lists it as too.
This means that despite it being a worsted (4-weight) yarn, it is a bit thinner than your average worsted weight yarn.
In order to meet the gauge in the pattern, it’s best to find a yarn that has a similar WPI, or adjust your tension to meet the gauge. Here is a link to all yarn subs that are easy to find.
Gauge:
You want to try to get as close to 15 ks (knit stitch) x 19 rows using a 6 mm hook or reduce hook size.
The video will go over how to start your gauge swatch too for the visual learners out there.
Gauge Pattern:
Practice getting your tension right by using the following gauge pattern.
- Chain 35, join.
- Row 1: Ch 1, sc 1 in same as join and in each chain around, join with sl st into ch 1.
- Row 2 – 19: Ch 1, ks 1 in each sc around, join in ch 1.
If you have any pattern questions, please leave them below in the comments section (you have to scroll down a bit), or join my pattern support group on Facebook called Stardust Gold Crochet & Friends.
You’re so welcome to join this CAL at any time and I will leave all these posts up forever, so you can always come back and see what you missed.
We are not going to speed through them too fast, because I want everyone to learn and enjoy the process 😊.
In Part 2 we cover:
- We will talk about hooks
- Why your hook choice makes a difference in working the knit stitch (waistcoat stitch)
- How to read a graph.
What’s covered in Part 3:
- Changing colors
- Troubleshooting
- Frogging
- Fixing mistakes
- How to create a foundation single crochet round
- Work the first few rounds of the pattern!
Here is the intro video and visual tutorial on how to work the knit stitch.
If this video does not play properly, please click here and it will take you to YouTube.
Hope everyone has a great time learning together, and please subscribe to my Stargazers mailing list here to get notified when the new posts and videos go LIVE!
Thanks for stopping by and making beautiful things with me, PLEASE SHARE AND PIN! IT’S HOW I KEEP MY PATTERNS FREE!
If you’d like to collaborate with me, please send me a message or leave a comment, I would love to work with you!


All photos and pattern are property of Stardust Gold Crochet.
Feel free to sell items created from this pattern, but please do not copy, distribute, or sell this pattern as your own.
This post contains affiliate links, if you happen to purchase from my links, I will earn a few cents :). Thank you for that!


Just stumbled upon this and would like to try it…..one question though. Can I start with a fsc (foundation single crochet) instead of chaining? I just discovered this stitch and it makes it easier for me. Thank you for reading. Feel free to email directly with the name of the Cal in the subject line. [email protected]
Hi, Tasha! If we’re having trouble, where do we post for help? I’m having a hard time meeting gauge, and after only 7 rows my finger is so sore! My 12-yr-old daughter is really having a lot of trouble and frustration. Both of us have been crocheting for a year, and did the Urban X-hat CAL back in February — lots of fun — so glad you hooked us up with that! I think we should be up to this challenge, but we might need some hand-holding.
You’re welcome to post here, or join my Facebook group on Stardust Gold Crochet and Friends. The link is in the post above.
What type of hook are you using?
Remember that a Boye style hook is best for this, and if you’re struggling with tension, just remember to keep the stitches loose. I’m posting part 2 tomorrow, which includes a video on the best type of hook for this project. On Friday, I’m posting a video on how to work the FSC rounds and the first few rounds of the pattern too.
Just remember that loose is your friend :). I got a callus from my first attempt at this hat, so don’t beat yourself up too bad. Even if you think it’s loose, make it looser. So you don’t struggle to get through the center and remember to angle your hook like this \ not straight into the stitch like this |.
Hope this helps 🙂
I hope you saw the other post too, but here it is again, just in case! Hi Heidi!
You’re welcome to post here, or join my Facebook group on Stardust Gold Crochet and Friends. The link is in the post above.
What type of hook are you using?
Remember that a Boye style hook is best for this, and if you’re struggling with tension, just remember to keep the stitches loose. I’m posting part 2 tomorrow, which includes a video on the best type of hook for this project. On Friday, I’m posting a video on how to work the FSC rounds and the first few rounds of the pattern too.
Just remember that loose is your friend :). I got a callus from my first attempt at this hat, so don’t beat yourself up too bad. Even if you think it’s loose, make it looser. So you don’t struggle to get through the center and remember to angle your hook like this \ not straight into the stitch like this |.
Hope this helps
I think I am most excited about the fact that you said, “keep your stitches loose.” I am always a loose crocheter and was sure I would never meet gauge. Maybe I can do this!!!
Oh yes! This one is a must for the waistcoat stitch, loose is gooood!
Found it!
Wonderful! Yay!
This hat is beautiful!
Thank you!
Thank you Robin!
I am looking forward to doing the CAL. Will you be including stitch explanations? Like how to complete the waistcoat/knit stitch?
Yes! I’ve already posted a video today that explains it. If you want to be notified of new posts, please sign up for my newsletter to get updates :). Or just follow the blog, both ways will work :). Thanks for being here!
Hi Tina! Yes, there will be videos for each section of the CAL