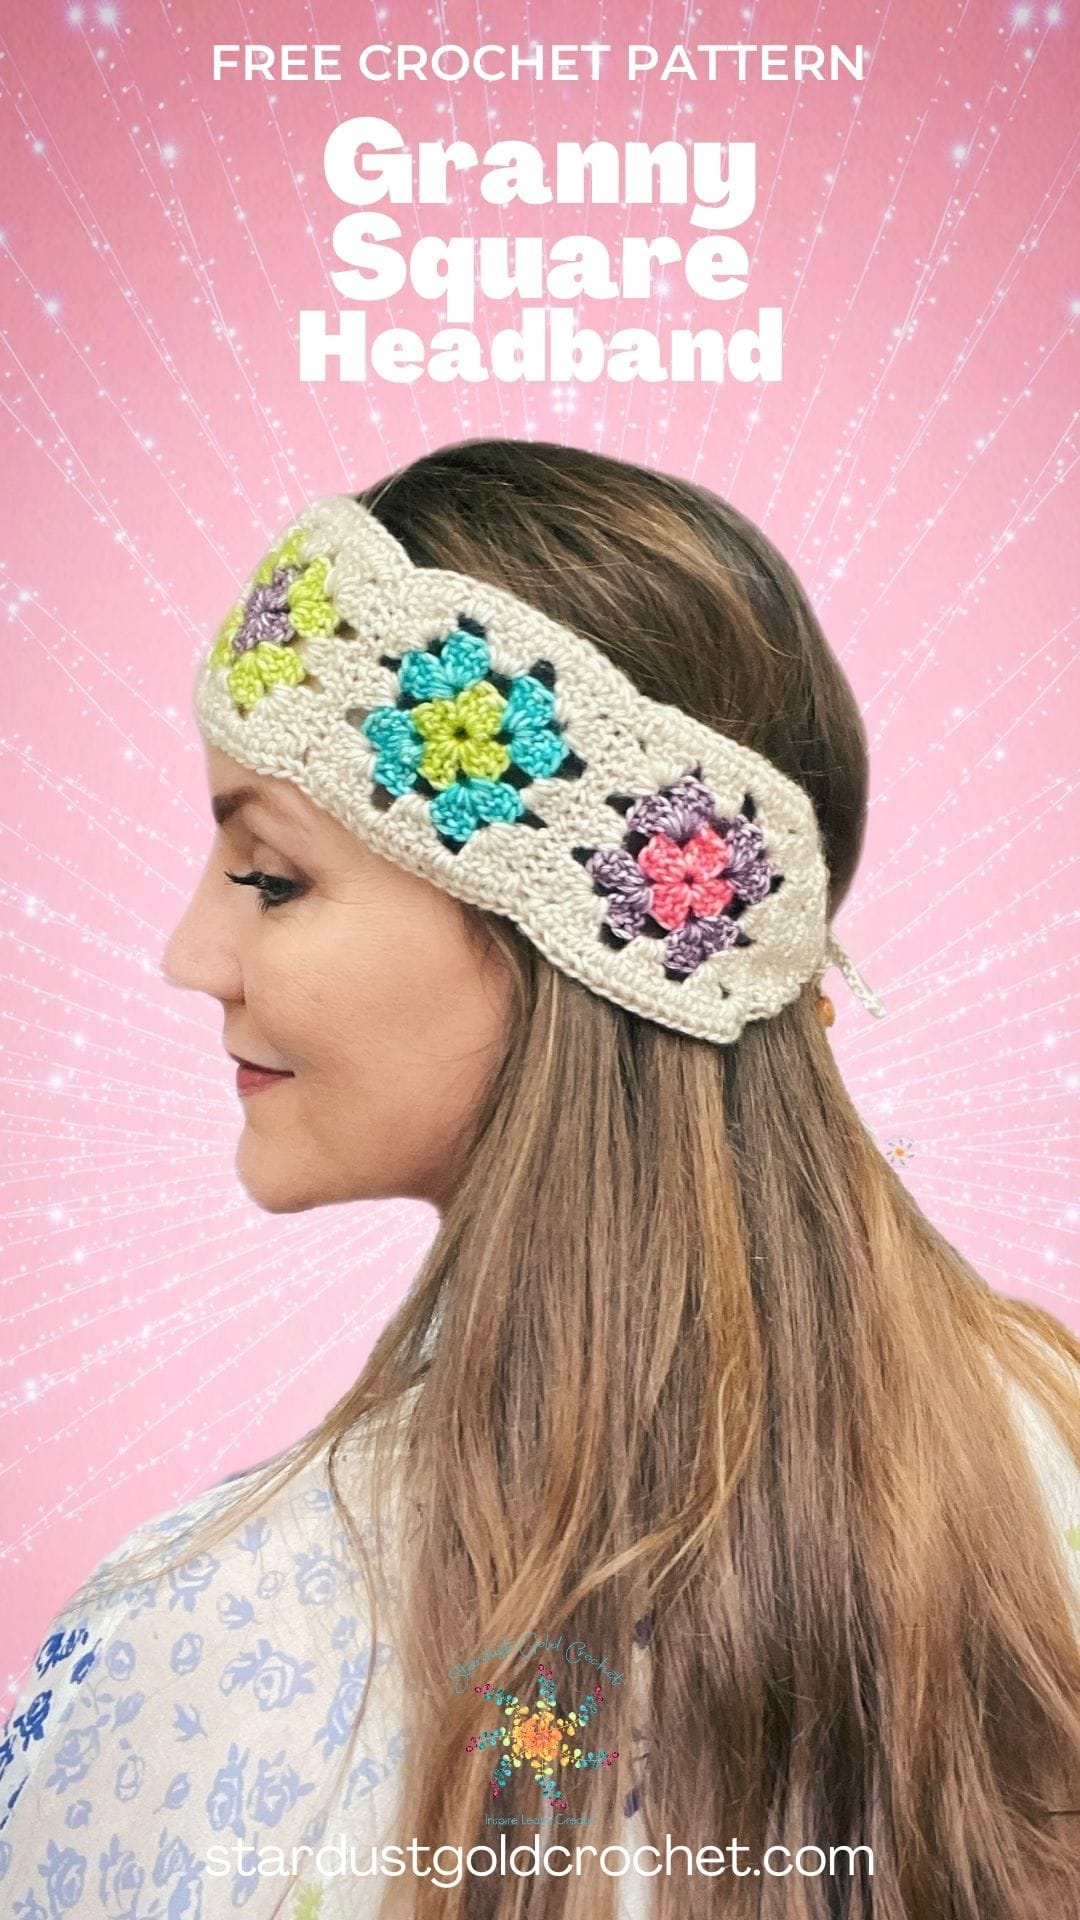
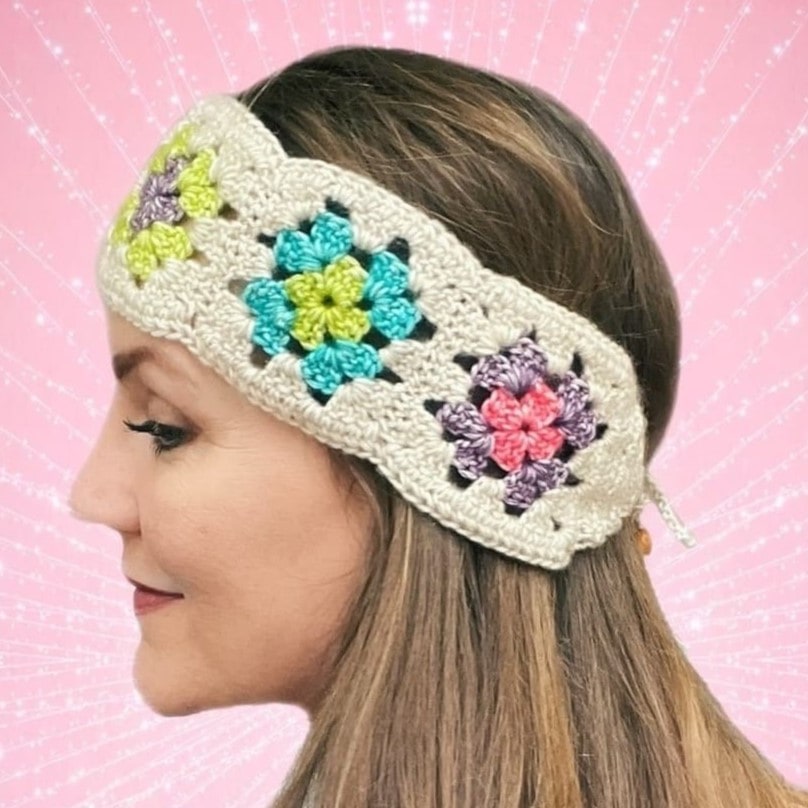
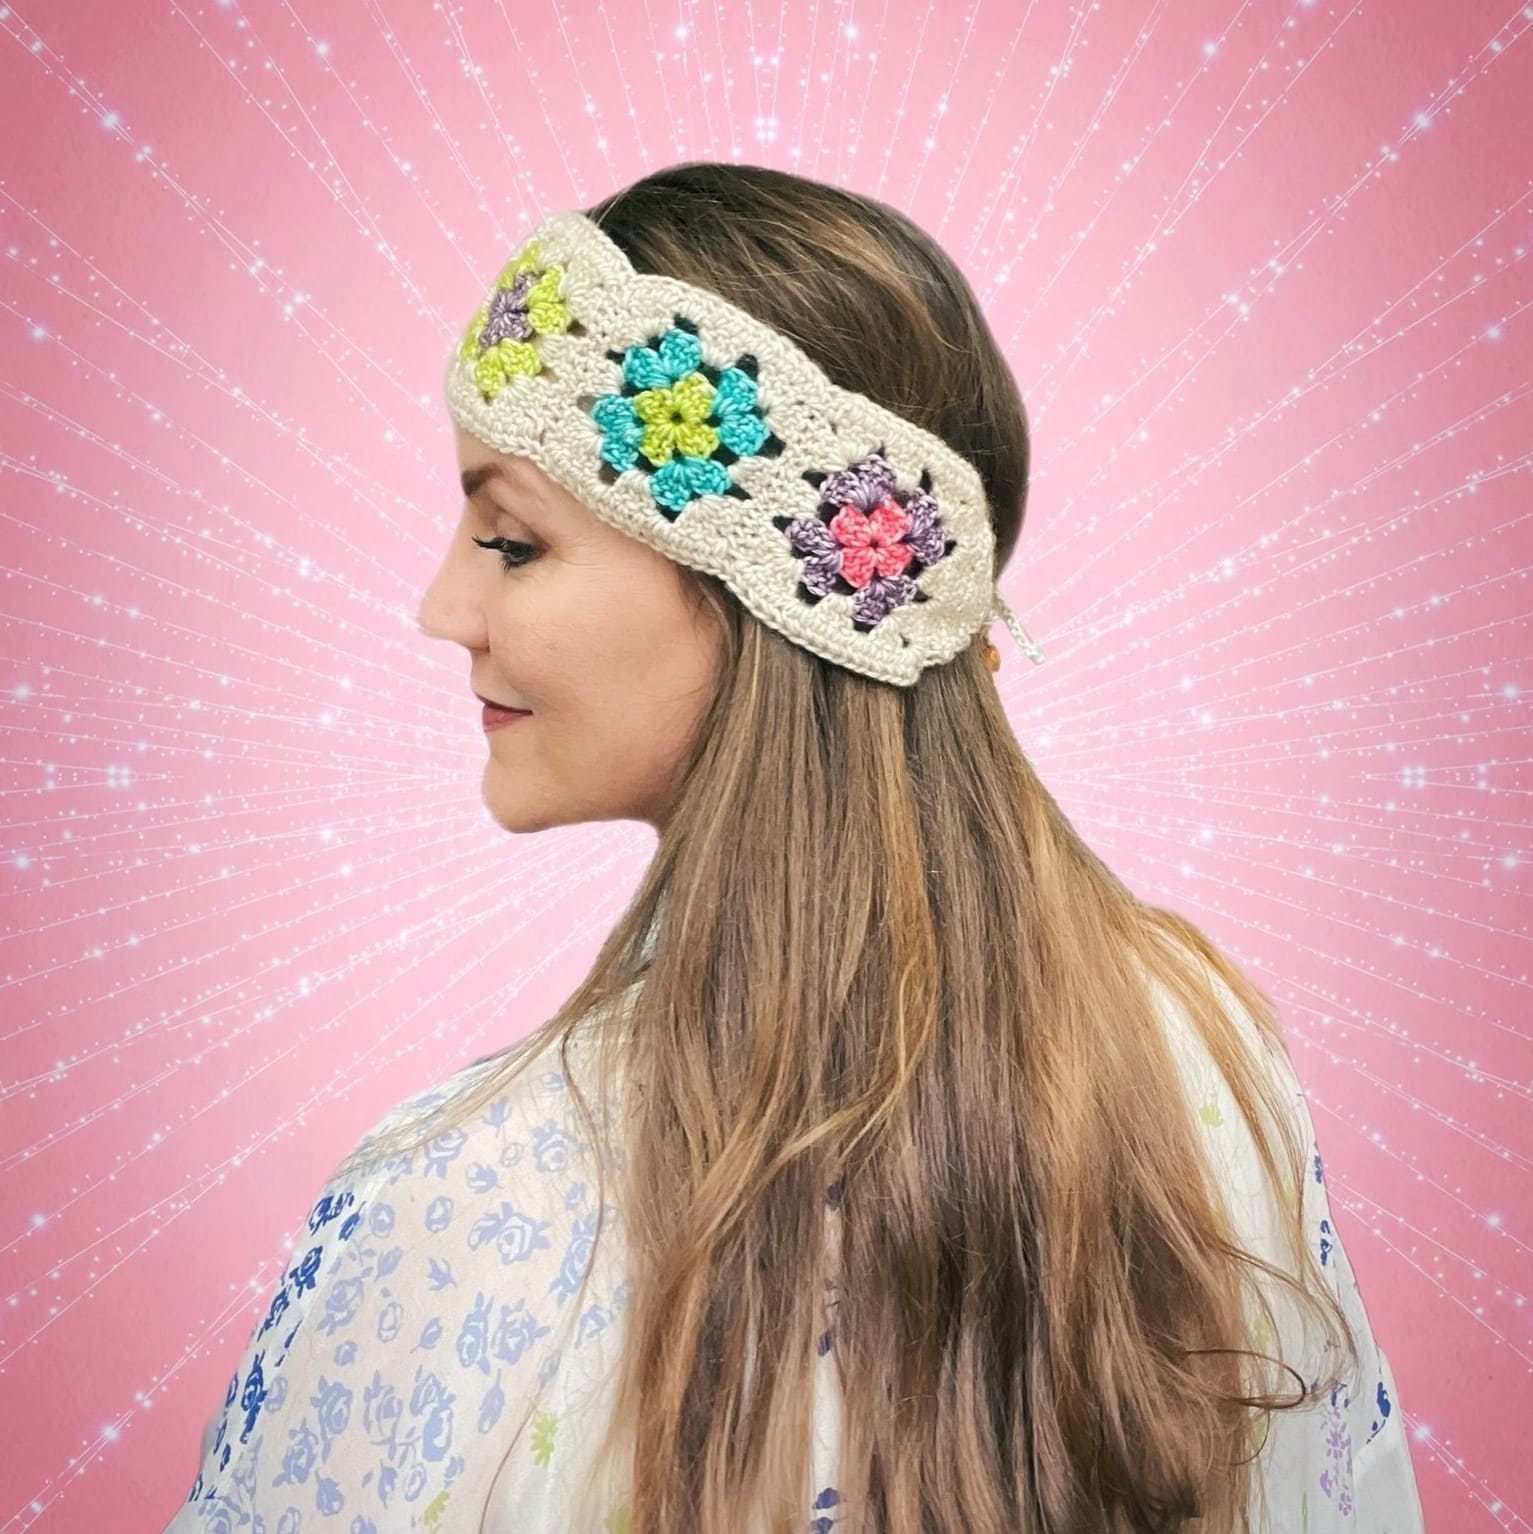
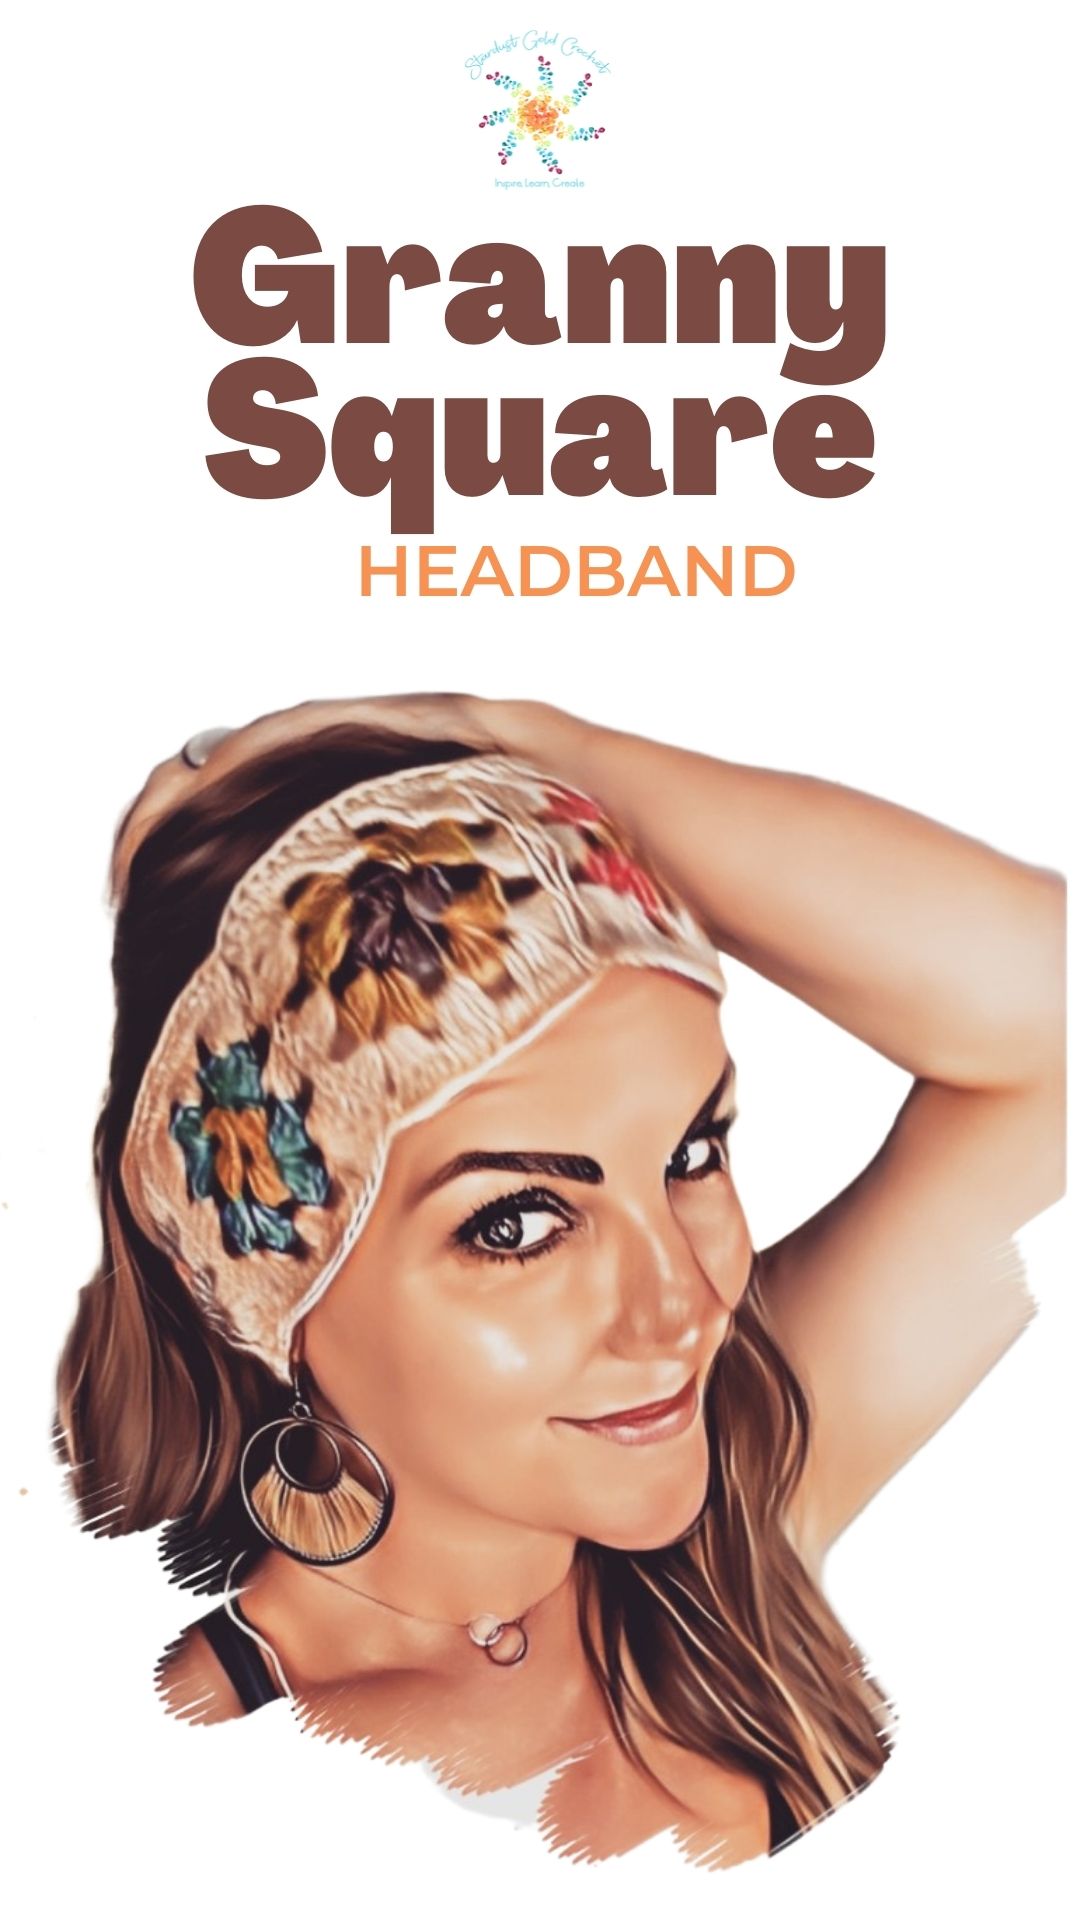
I did a thing…a granny square headband thing! I really love creating crochet headband patterns, which makes this cute granny square headband crochet pattern a perfect craft project.
I’ve never been big on crochet granny squares, because they seem so confusing to me. So, of course, I created a completely new way to crochet it. One that helps me, and I hope it helps you too!
Retro Granny Square Crochet Headband Video Tutorial
I created full companion tutorial video that will teach you the stacked double crochet, the mattress stitch & how to crochet a granny square. The video has full tutorial of assembly too! Check it out on YouTube: Crochet Granny Square Headband Beginner Crochet Pattern or jump to the tutorial at the bottom of the page.
For some reason I am having trouble seeing the embedded video – If you are too, check out the video here: https://youtu.be/y0t5TB7exo8
In this post You will Learn…
- How to crochet a Granny Square.
- Seaming together squares with a mattress stitch.
- Stacked double crochet
- and more…
Crochet headbands are a lot of fun because they give that instant gratification. You’re going to love making this version, it’s a perfect beginner crochet granny square pattern too, because there is a full video tutorial! >>> Easy Crochet Granny Square Headband Pattern Video Tutorial.
Table of contents
- Retro Granny Square Crochet Headband Video Tutorial
- In this post You will Learn…
- Granny Square Headband – Beginner Crochet Headband Pattern
- Granny Square Headband Crochet Pattern Inspiration
- Let’s get started!
- Granny Square Headband | Easy Beginner Crochet Pattern
- Abbreviations:
- Stitch guide:
- Pattern Notes:
- More Free Crochet Headband Patterns…
- Granny Square Headband Pattern
- Pattern:
- Assembly
- How to Do the Mattress Stitch
- Congratulations! You Are Finished!
Granny Square Headband – Beginner Crochet Headband Pattern
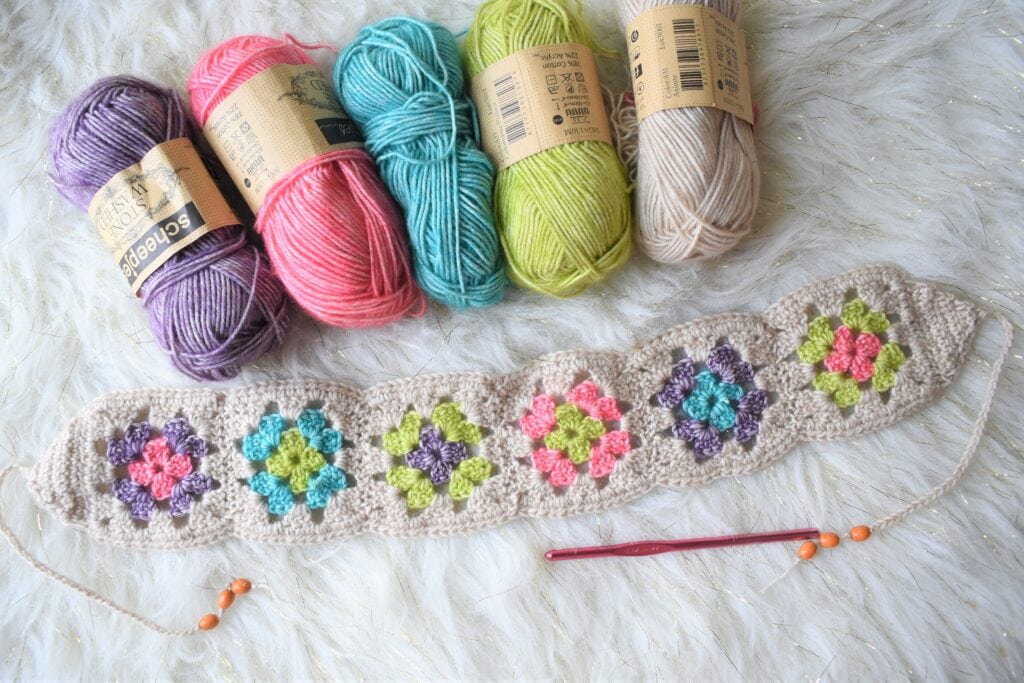
The Granny Square Beginner Crochet Sweater is a free crochet headband pattern made with a crochet beginner in mind. Scheepjes Stone Washed is such a wonderful yarn to use because it has sooooo many awesome colors.
Written Pattern PDF
If you prefer a written PDF, you can grab that here >>> Retro Granny Square Headband Crochet Pattern.
Pattern Support
I have a crochet group for pattern support! Stardust Gold Crochet & Friends. We have fun and share crochet patterns, stories, and courses; you can ask me about any pattern in my library for support.
Granny Square Headband Crochet Pattern Inspiration
The inspiration Behind the Design
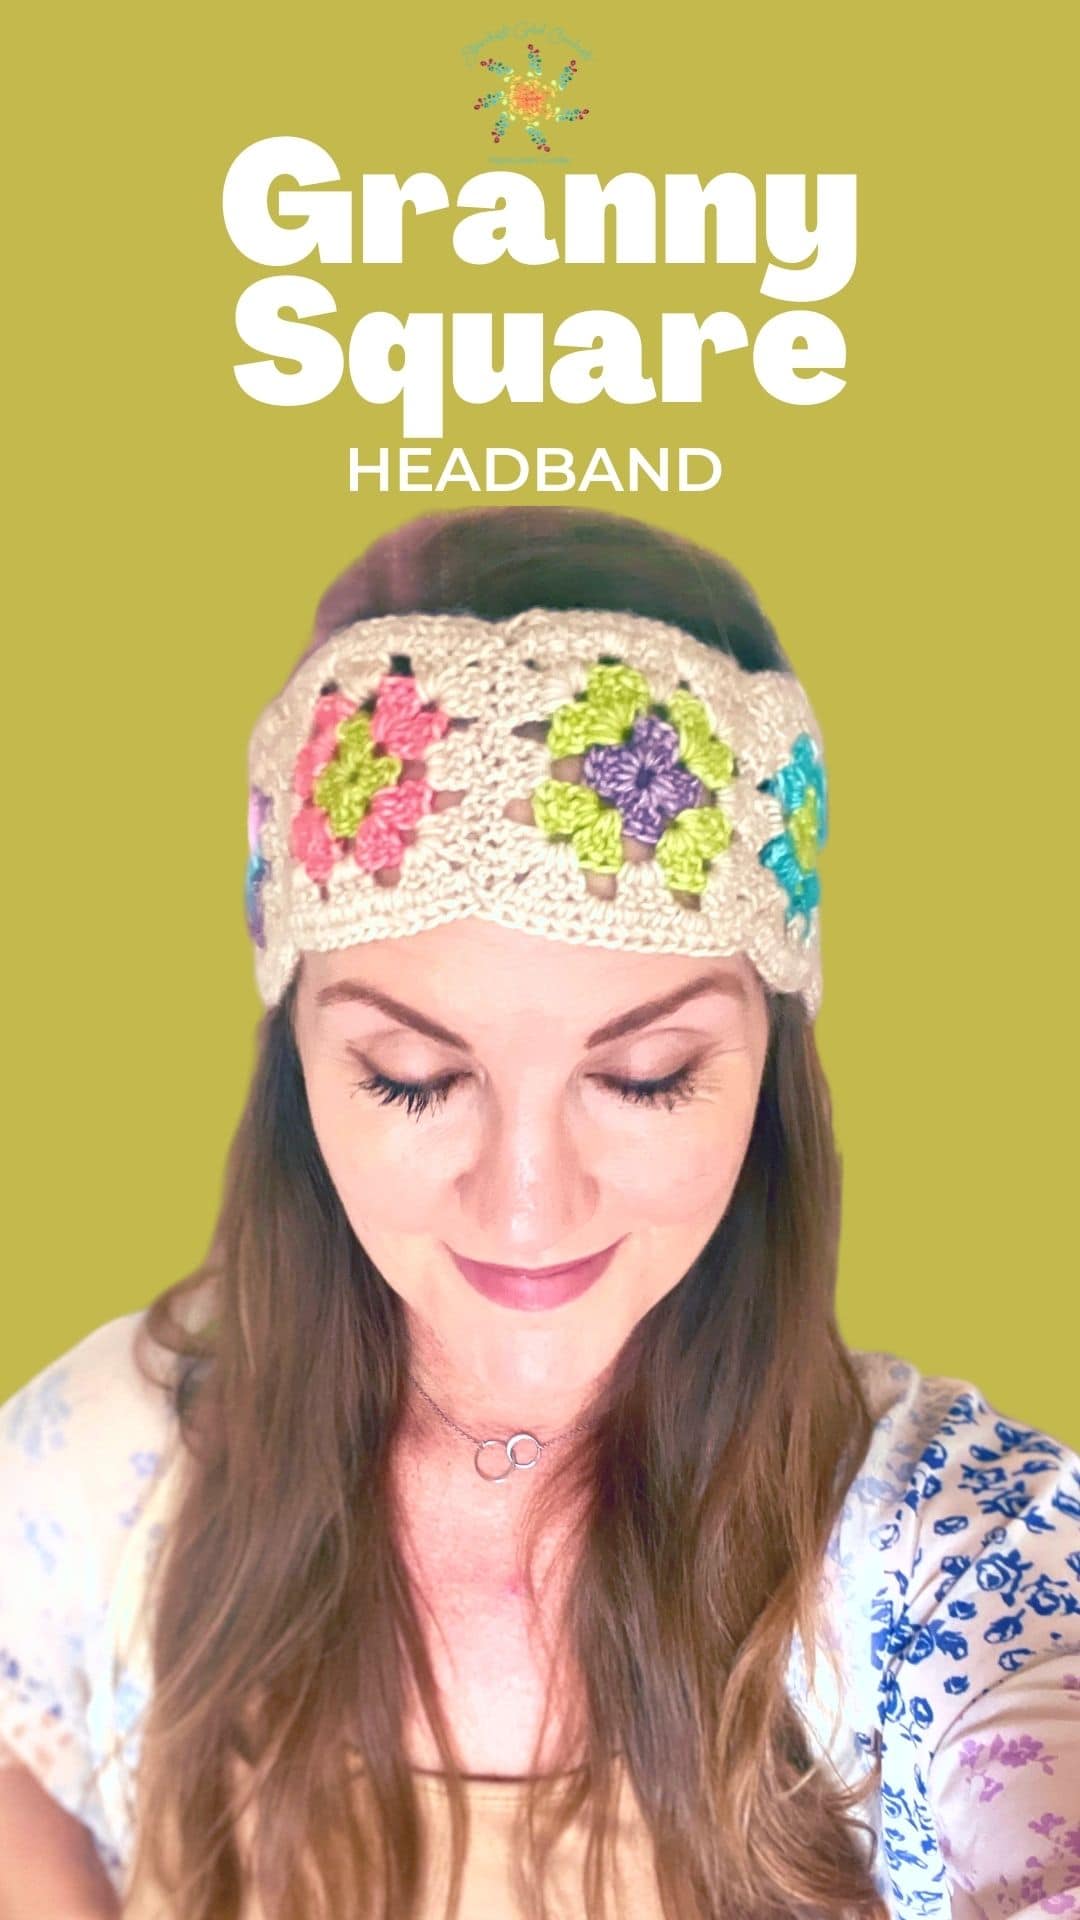
The inspiration for this design comes from trying to overcome my fear of granny squares! I tried crocheting granny squares over the years following patterns, but I just didn’t like it.
They didn’t make sense to me, and seemed more complicated than it needed to be. So after years of designing, I decided to come up with version of the granny square that I find easier to crochet.
I hope you enjoy this pattern and I hope it makes you less afraid of the granny square too!
You still have a lot of tails to weave in, but maybe I’ll try to figure out a way to get around that too someday!
Bookmark this page and add it to your list of free crochet Headband patterns!
Let’s get started!
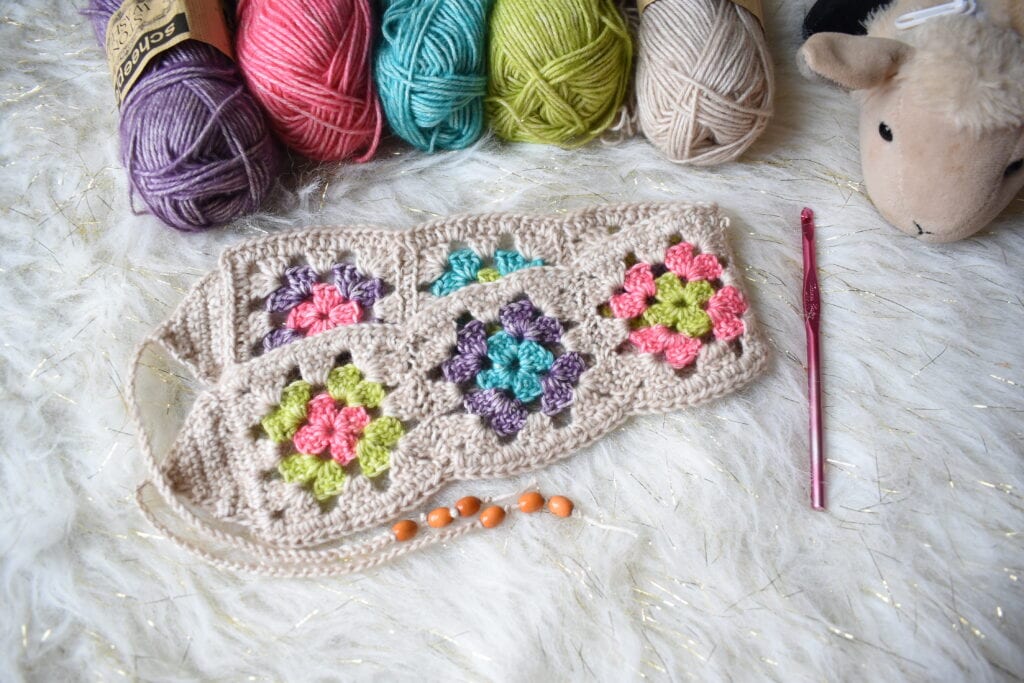
Granny Square Headband | Easy Beginner Crochet Pattern
Remember to add this to your list of easy headband patterns or beginner crochet granny patterns.
It’s all About the Yarn…
I used Scheepjes Stone Washed for this pattern in some fun colors. I used a bright pink, purple, lime green & bright blue. Scheepjes Stone Washed is a beautiful yarn with hints of white and beautiful earth jewel tones. It catches a little, but is so lovely!
Skill Level
Easy
Gauge
Not important for this one.
Materials
- 3.75 mm (USA F) crochet hook
- Darning Needle
- Scissors
- Large eye wood beads (large enough to run it over the sport weight yarn)
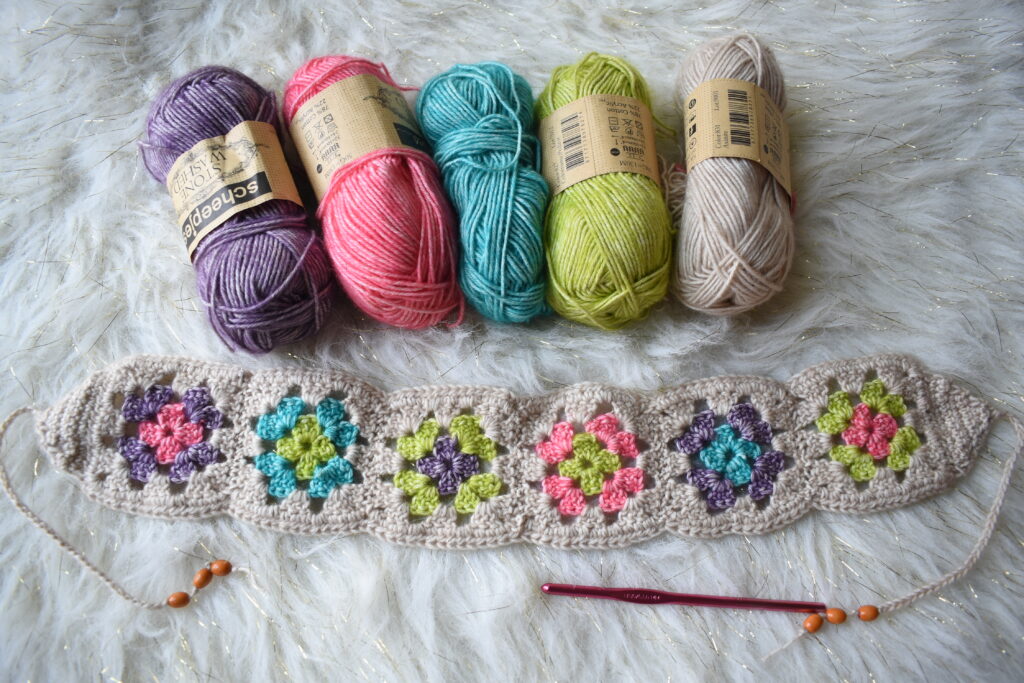
Suggested Yarn:
Scheepjes Stone Washed or other sport weight yarn (16 WPI).
Yarn Details:
78% Cotton, 22% Acrylic, 186 yds (170m) 3.5 oz (50 g) per skein.
Colors:
- C1: Deep Amethyst (811)
- C2: Turquoise (824)
- C3: Rhodochrosite (835)
- C4: Peridot (827)
- C5: Axinite (831)
Sizes/Finished Measurements
Squares: 3” x 3” (7.6 cm x 7.6 cm) Entire Headband w/ Border: 20” (50.8 cm) Tails: 6.5” (16.51 cm)
Yardage Needed:
A little of each color, more of the white (axinite)
Abbreviations:
| sc | single crochet |
| dc | double crochet |
| sc2tog | single crochet 2 together |
| stacked dc | stacked double crochet |
| lhdc | long half double crochet |
| sk st | skip stitch |
| st(s) | stitches |
| sp | space |
| ch | chain |
| ch sp | chain space |
| rnd | round |
| * | *repeat instructions from * |
Stitch guide:
Basic Stitches:
(Underlined stitches are clickable)
sc – single crochet: Insert hook in indicated st, yo, draw up a loop, yo draw through both loops on hook.
dc – double crochet: Yo, insert hook in indicated st, yo, draw up a loop, *yo, draw through 2 loops, repeat from * two times.
hdc – half double crochet: Yo, insert hook in indicated st, yo, draw up a loop, yo, draw through all three loops on hook.
Special Stitches:
magic circle – The magic circle is one you use or use ch 4, join, and work your stitches into the center of the ch-4.
sc2tog – single crochet 2 together (decreases by 1) – Insert hook in indicated st, yo, draw up a loop. insert hook in next st, yo, draw up a loop, yo, draw through all loops on hook.
stacked dc – stacked double crochet – Insert hook in indicated st, yo, draw up a loop, yo, draw through both loops, *insert hook in left vertical bar of single crochet, yo, draw up a loop – repeat from * one more time – 3 stacked single crochet (counts as your first double crochet).
Pattern Notes:
- Pattern is worked in the round.
- Stacked single crochet stitches count as a double crochet.
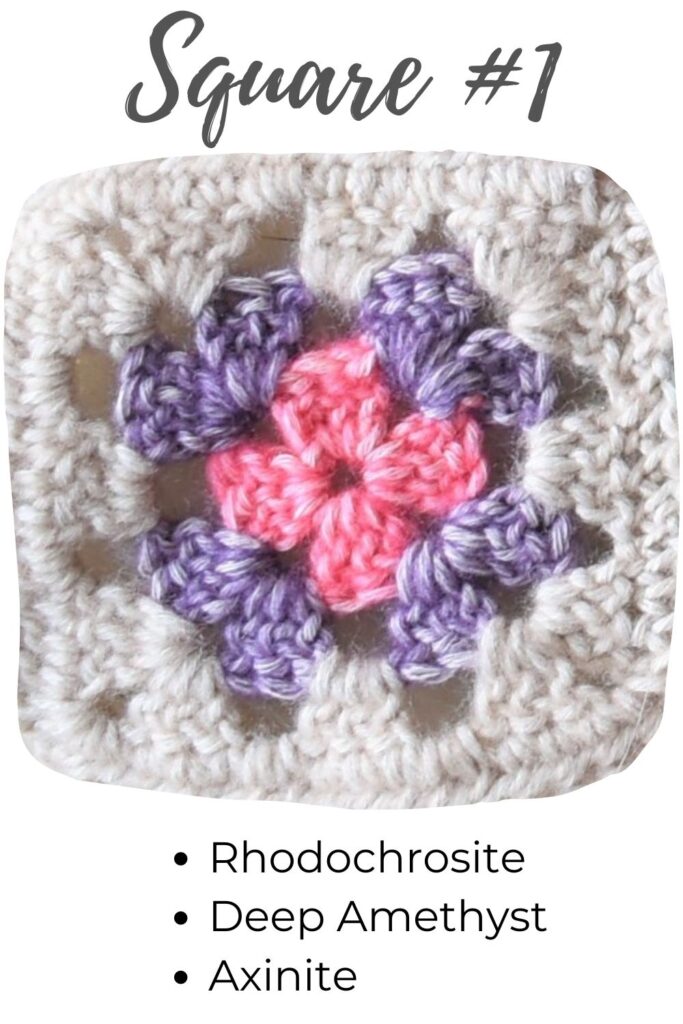
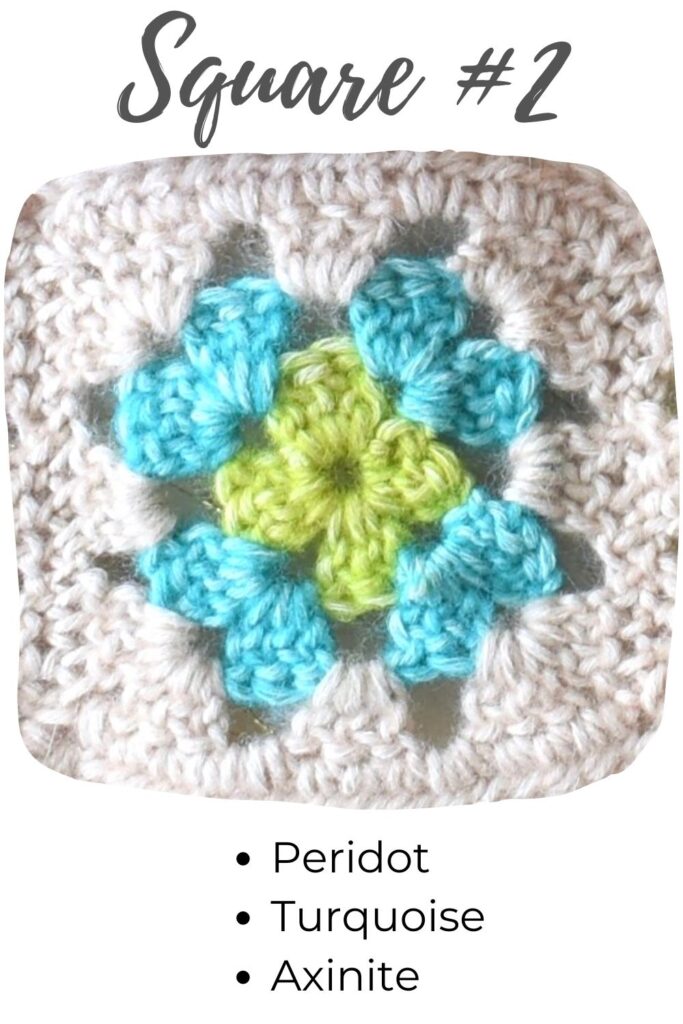
- Change colors according to images below.
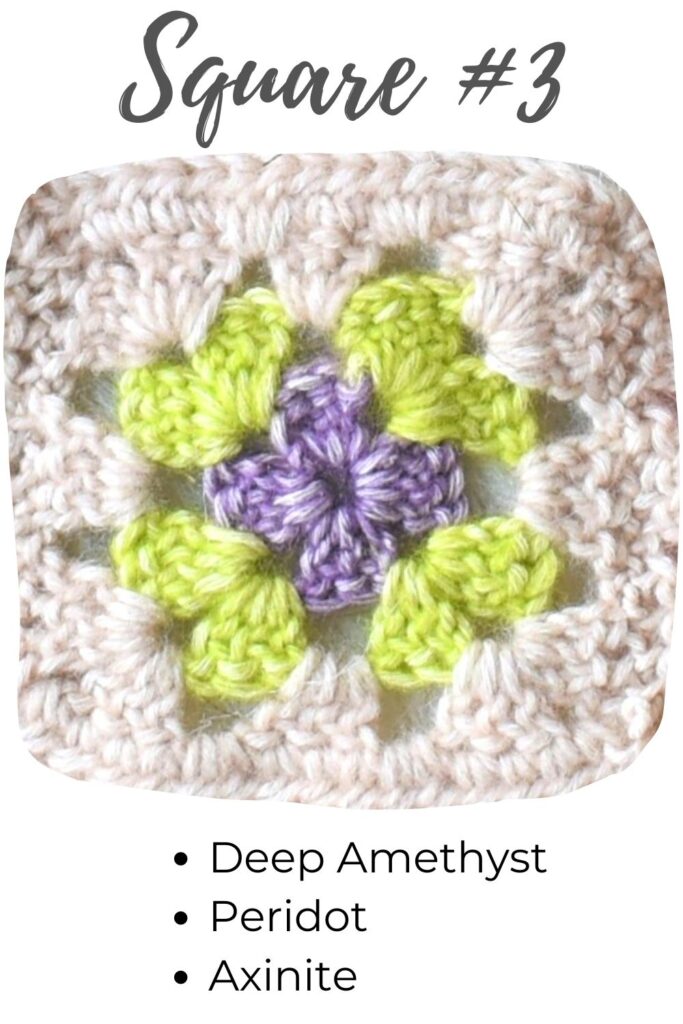
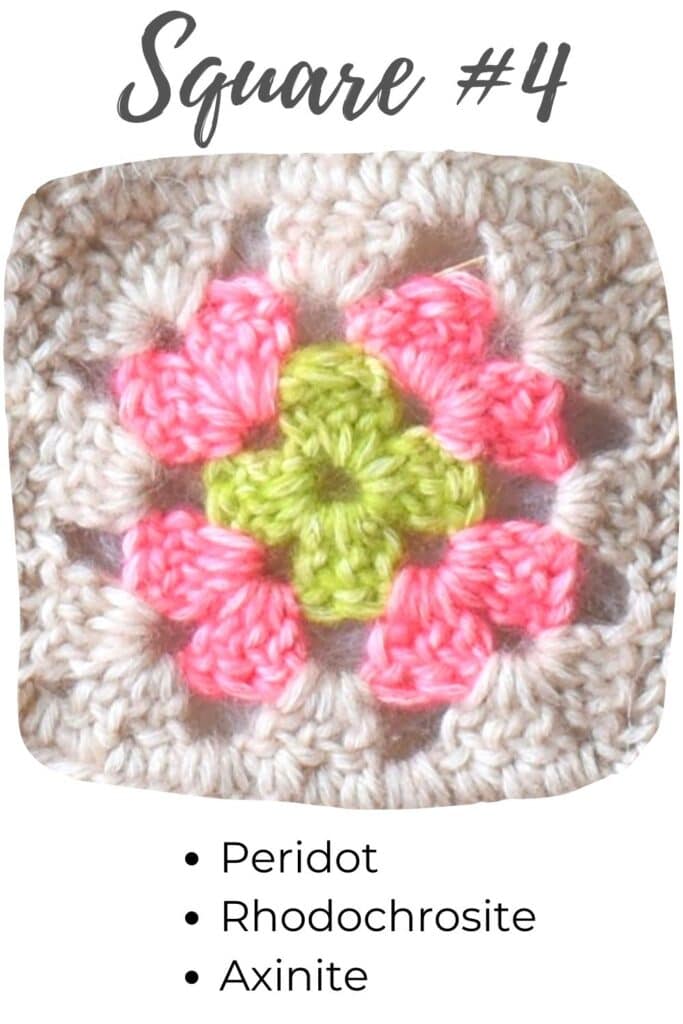
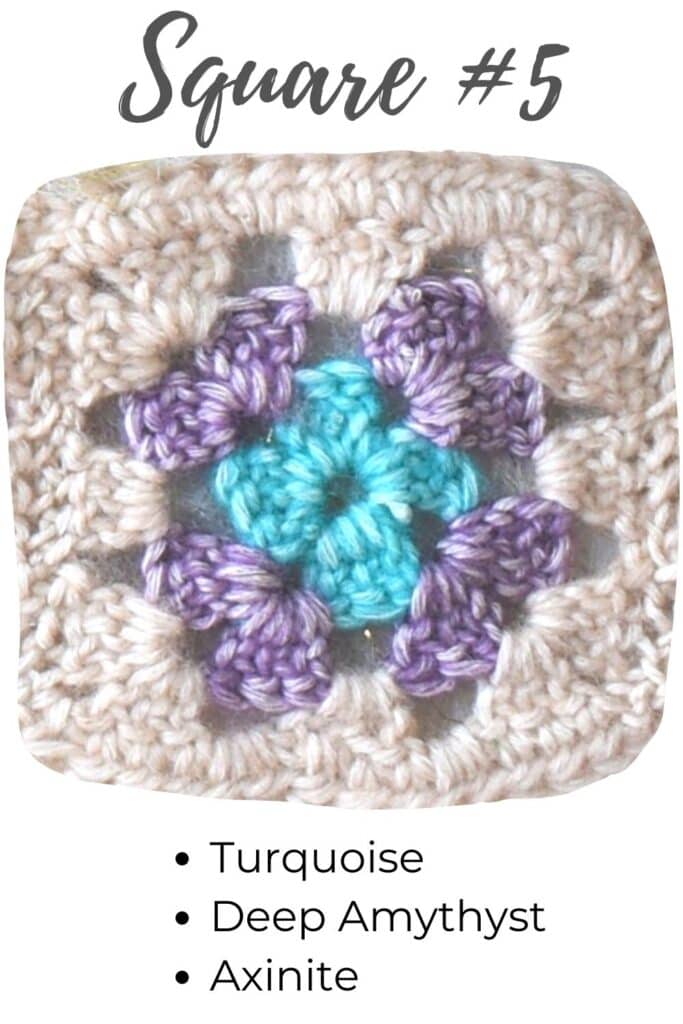
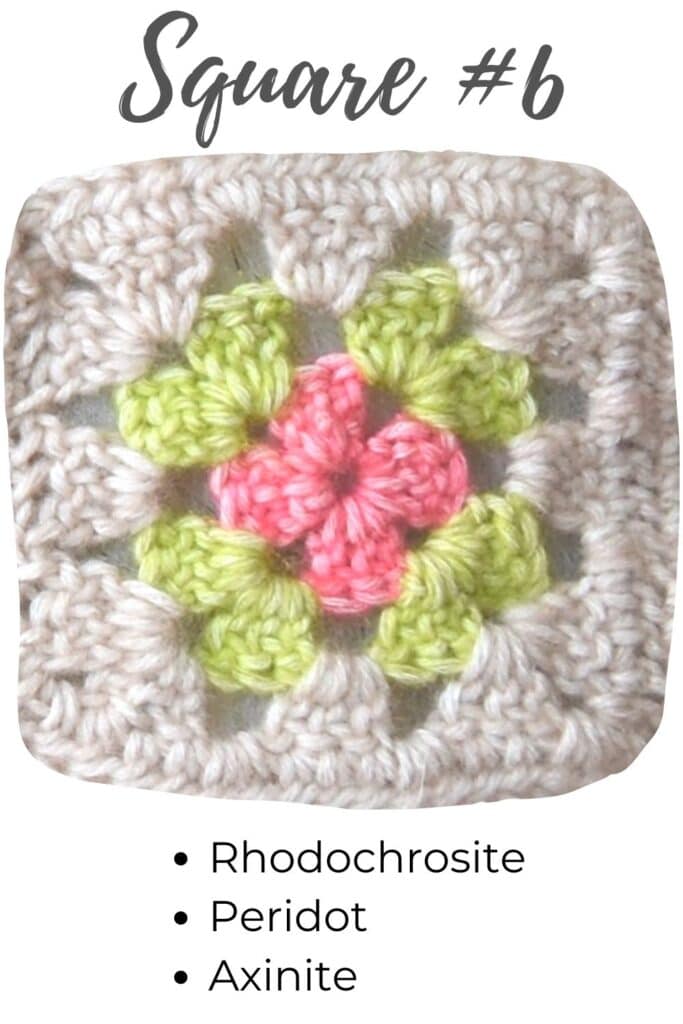
More Free Crochet Headband Patterns…
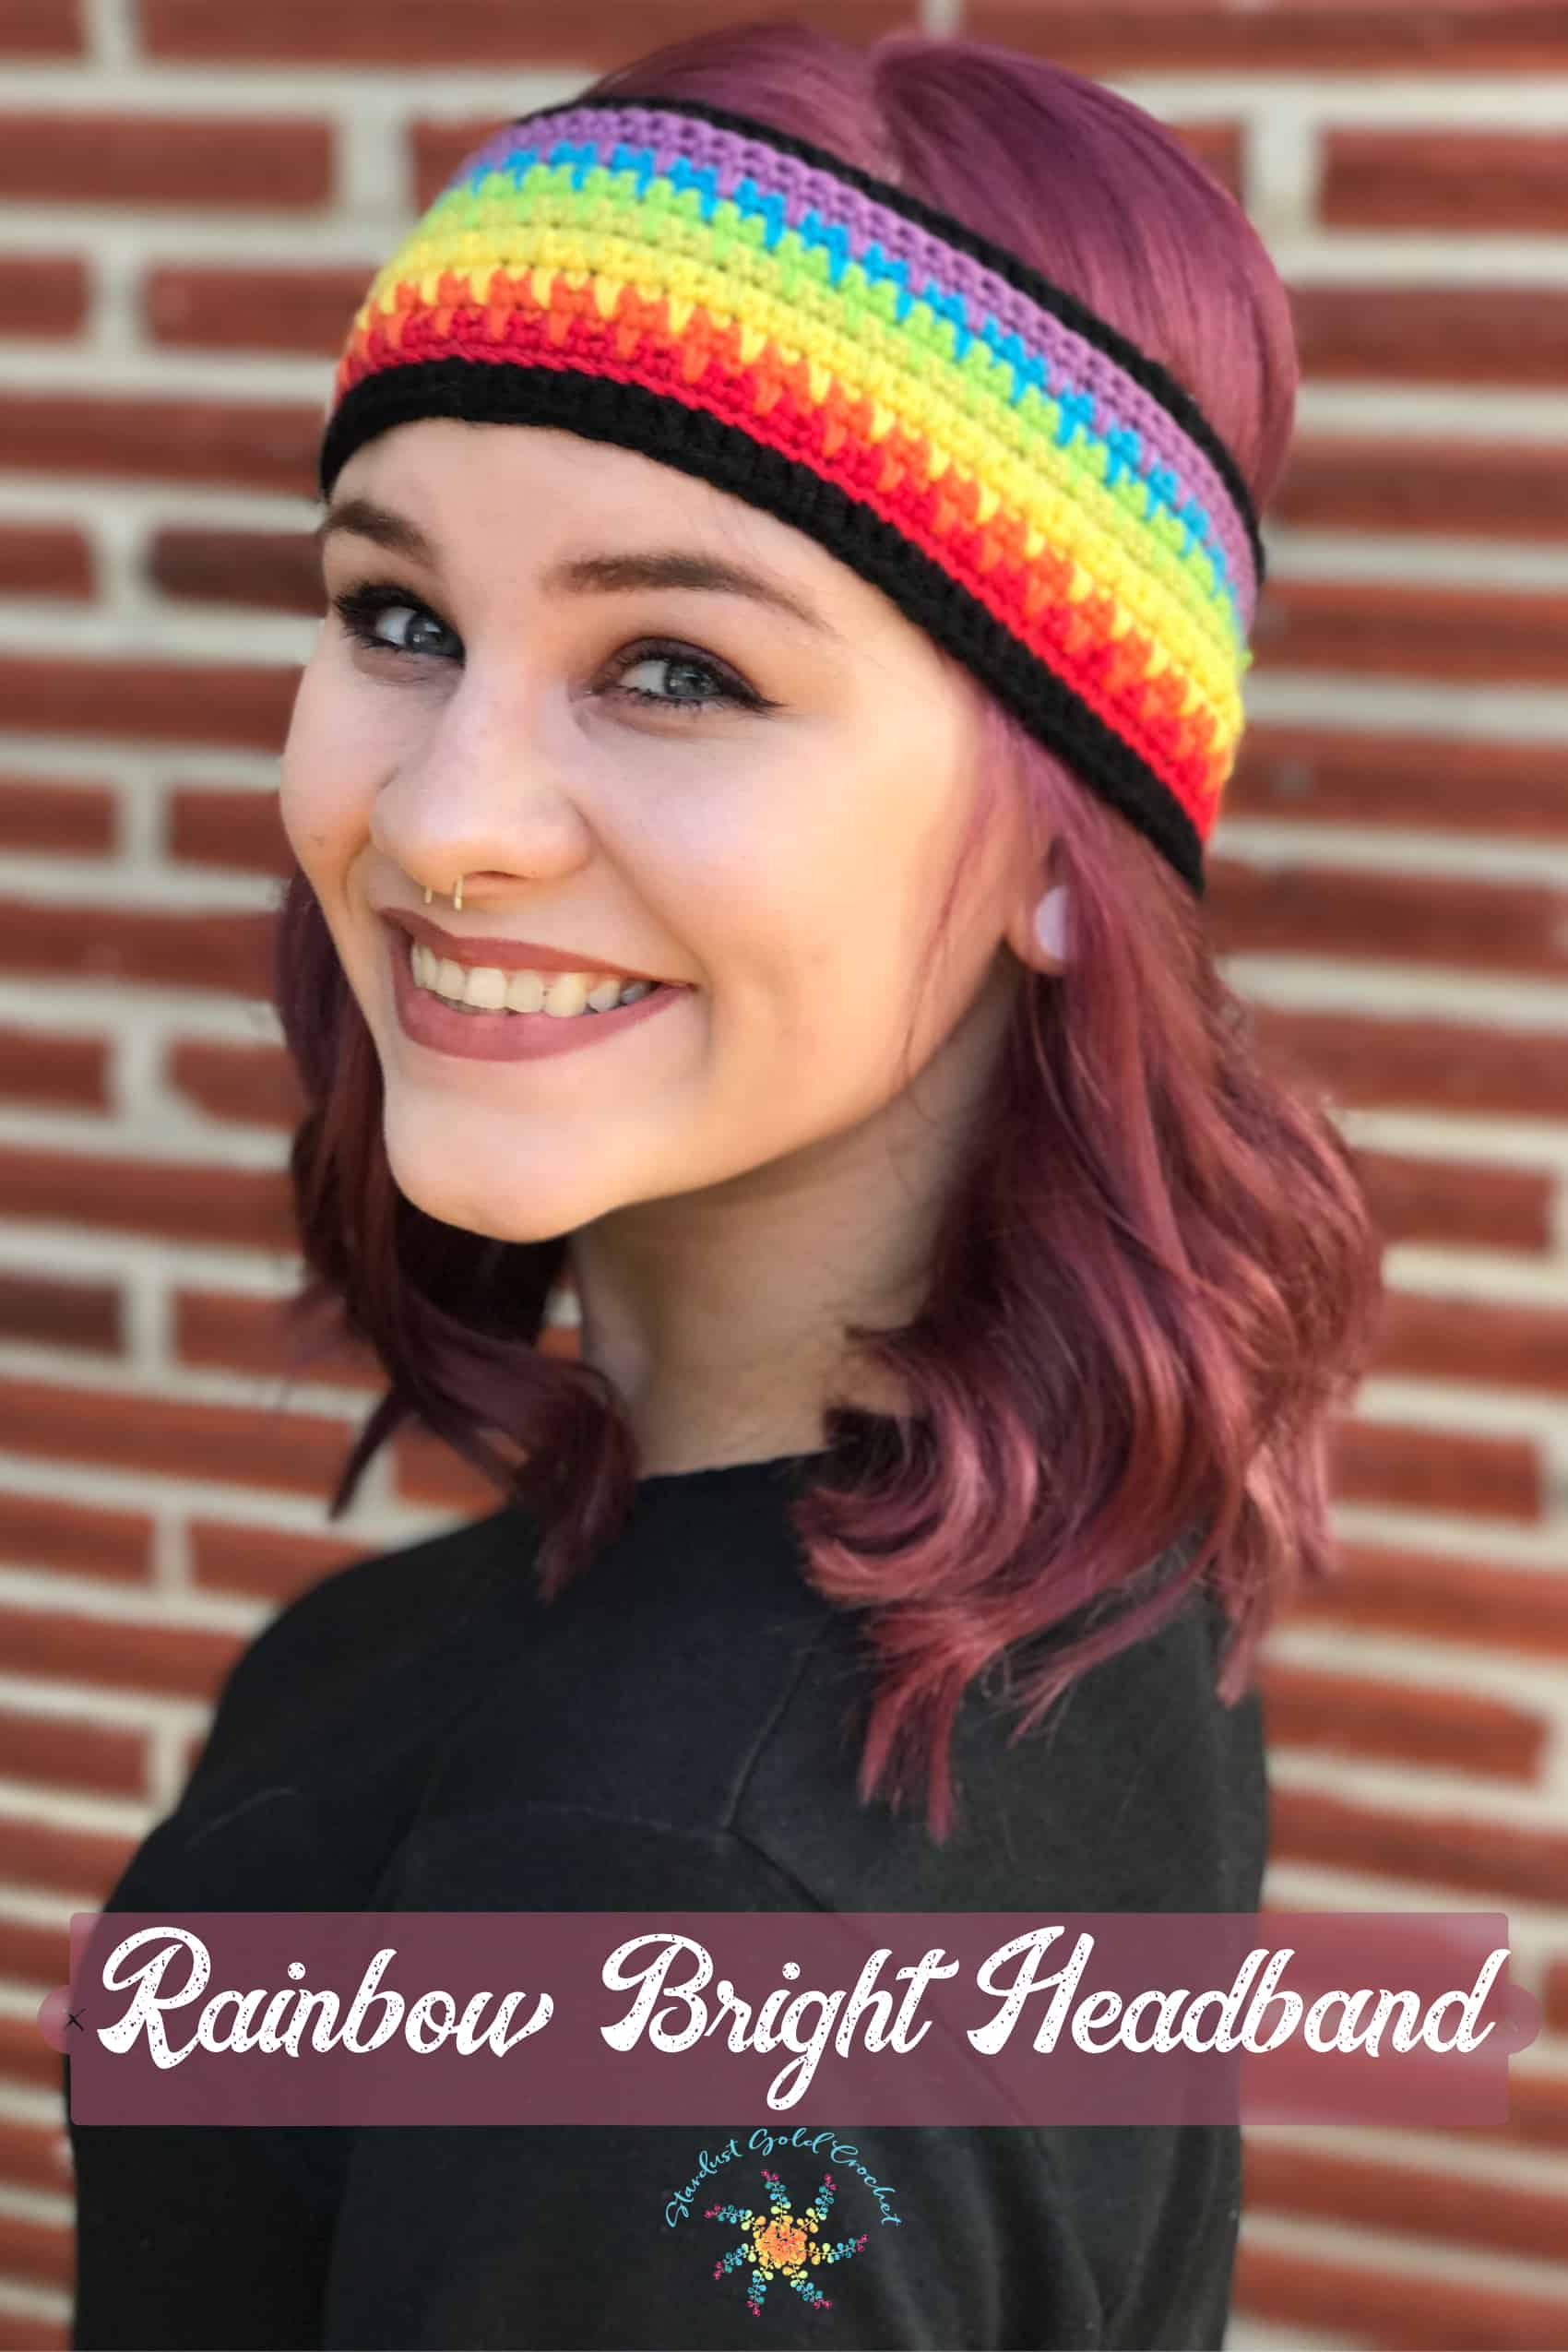
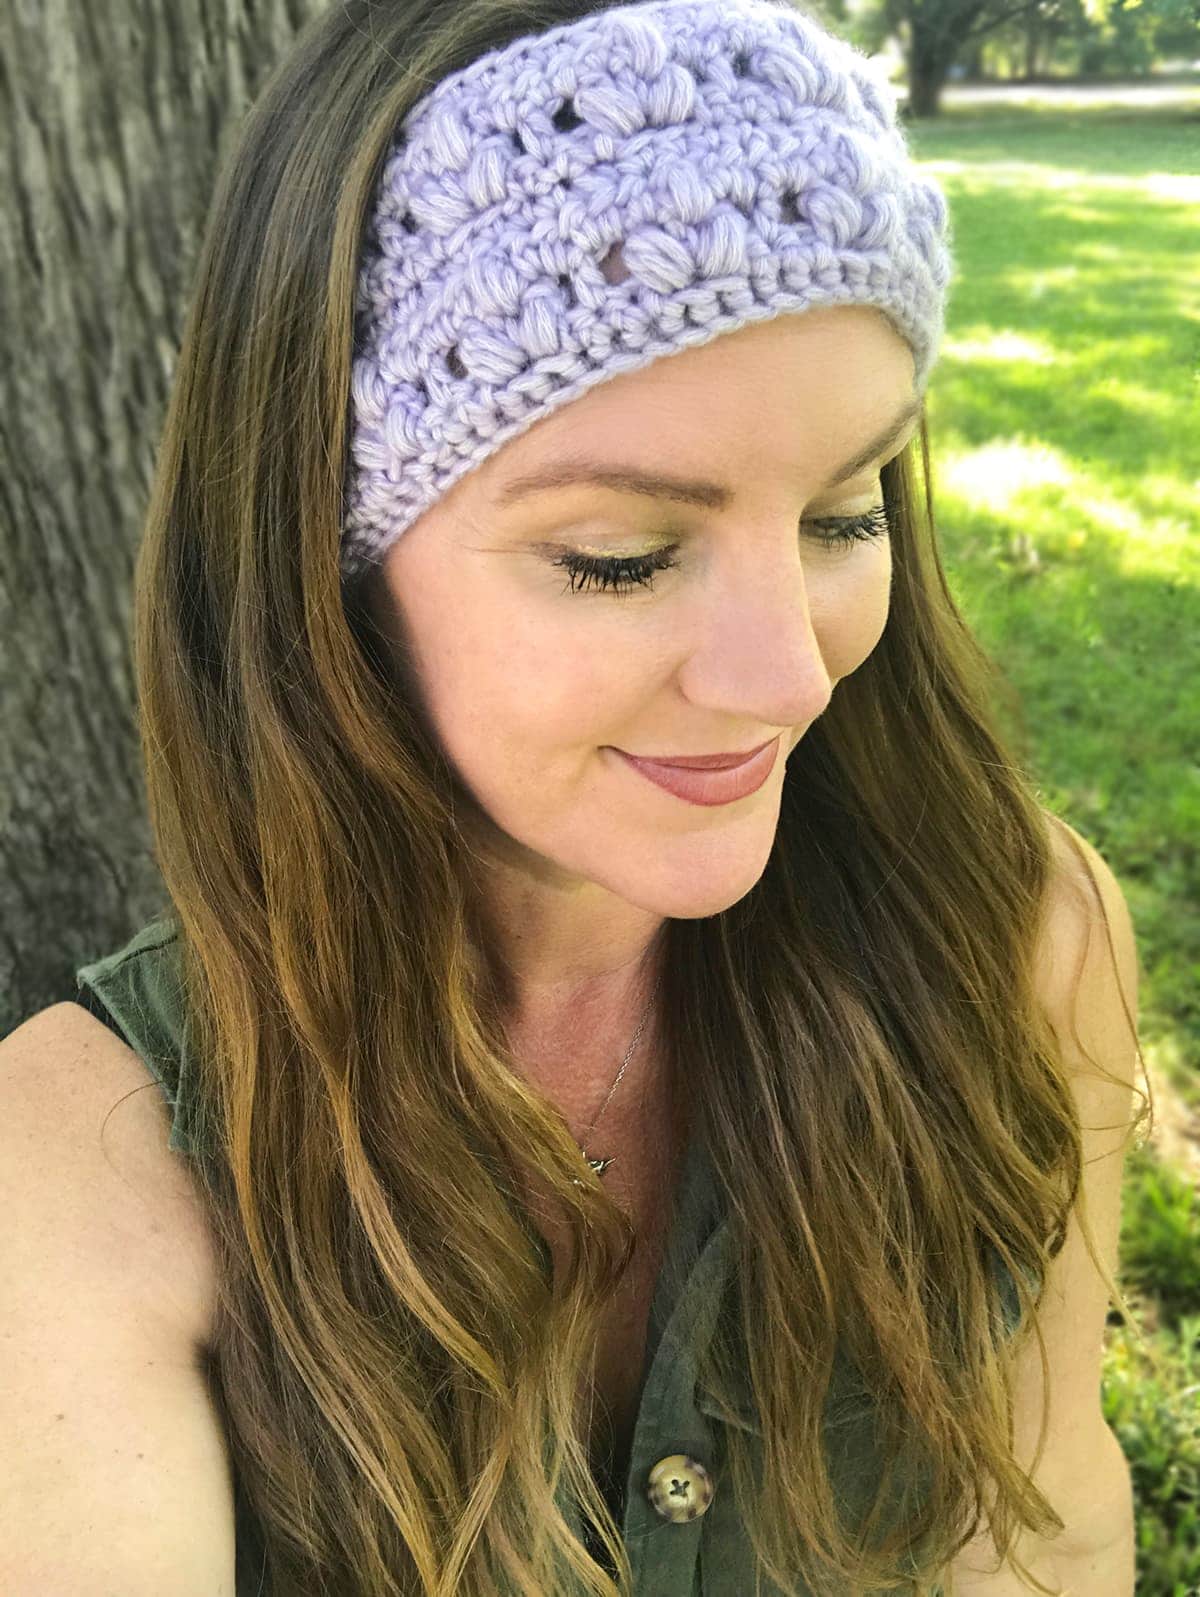
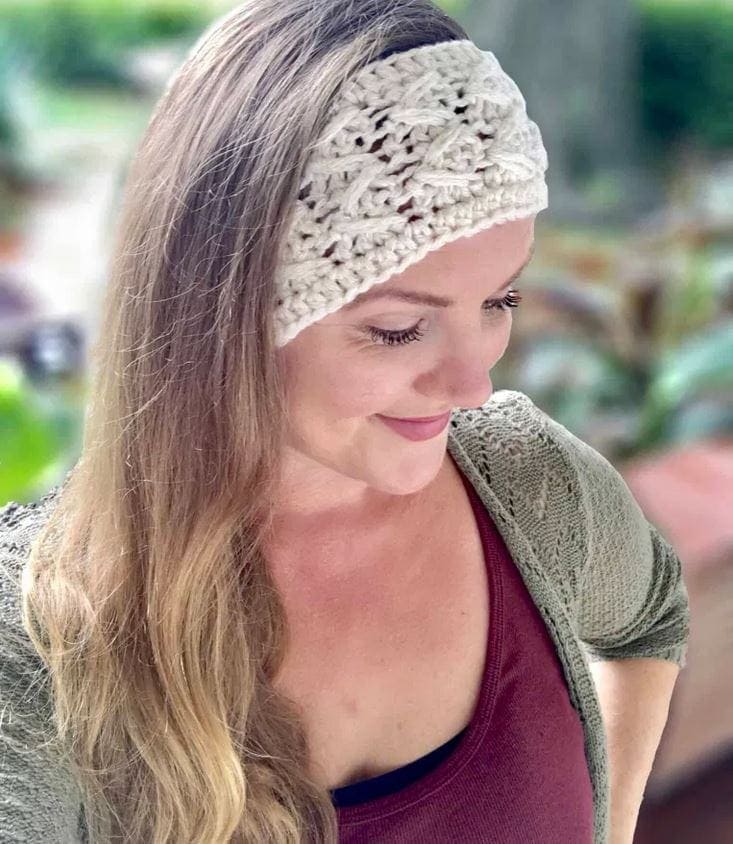
If you love making crochet headbands, I have quite a few other cute and fast crochet headband patterns here >>>
Granny Square Headband Pattern
Pattern:
Create a magic circle or chain 4, and join chains, then work first sc into ring.
Row 1: (Stacked dc, dc 2, ch-2) in magic circle, *(dc 3, ch-2) in magic circle, repeat from * 2 more times, join in top of stacked dc, cut yarn – 1 stacked dc, 11 dc, 8 ch-2.
Row 2: Attach next color in next ch-2 space, ch-1, (stacked dc, dc 2, ch-2, dc 3) in same ch-2 space, ch-2, *dc 3, ch 2, dc 3 in next ch-2 space, ch 2, repeat from * 2 more times, join in top of stacked dc, cut yarn – 1 stacked dc, 23 dc, 16 ch-2’s.
Row 3: Attach next color in next ch-2 space, ch-1, (stacked dc, dc 2, ch-2, dc 3) in same ch-2 space, *ch 2, dc 3 in next ch-2 space, ch 2, (dc 3, ch-2, dc 3) in next ch-2 space, repeat from * 2 more times, ch 2, dc 3 in next ch-2 space, ch-2, join in top of stacked dc, cut yarn – 1 stacked dc, 35 dc, 22 ch-2’s.

Assembly
Joining the Squares:
Using whatever color you choose…
Steps to Join the Squares:
Step 1: RS facing you, attach yarn in right-most ch-2 corner space.
Step 2: Ch-1, (hdc 1, ch-1, hdc 1) in same ch-2 space.
Step 3: *hdc in next 3 dc**, hdc 2 in next ch-2 space, repeat from * across, ending repeat at **, hdc 1 in next ch-2 space
Step 4: Join your next square – RS facing you – join by yarning over first, inserting your hook from front to back through the right-most ch-2 corner space of your next square.
Step 5: Complete the hdc (this hdc is considered the first hdc of the repeat in step 3).
Step 6: Continue adding squares in this manner, repeating the pattern from * in step 3.
Step 7: When you reach the left-most corner of the last square you attached, (hdc 1, ch-1, hdc-1) in corner, and continue working hdc’s in each dc and 2 hdc’s in each ch-2 across, join in 1st hdc of border round – do not cut yarn, continue to work triangle.
Triangle End Piece Number 1:
Row 1: Ch-1, turn, sc in each front hump of hdc across – 14 sc.
Row 2: Ch-1, turn, sc2tog (2 times), sc in next 6 stitches, sc2tog (2 times) – 10 sc.
Row 3: Ch-1, turn, sc2tog, sc in next 6 stitches, sc2tog – 8 sc.
Row 4: Ch-1, turn, sc2tog, sc in next 4 stitches, sc2tog – 6 sc. Row 5: Ch-1, turn, sc2tog, sc in next 2 stitches, sc2tog – 4 sc. Row 6: Ch-1, turn, sc2tog (2 times) – 2 sc.
Row 7: Ch-1, turn, sc2tog – 1 sc. Chain 36 for chain.
Triangle End Piece Number 2:
Rotate headband, flip so wrong side (WS) is facing you, attach yarn in chain just to the right of the first hdc.
Row 1: Ch 1, hdc in each front “camel hump” across – 14 hdc.
Rows 2 – 7: Repeat rows 2 – 7 from Triangle End Piece #1.
Wooden Beads:
I used 3 wooden beads for each end. Step 1: Tie 3 knots, slide bead onto yarn Step 2: Repeat step 1 – 3 times.
Step 3: Cut any excess yarn.
How to Do the Mattress Stitch
Sewing the gaps between each granny square is easy! Please see companion tutorial video for a detailed tutorial on how to do the mattress stitch.
Step 1: Weave in tails before performing the mattress stitch.
Step 2: WS facing you, use the mattress stitch to close the gaps between each granny square.
Please refer to the YouTube Video at the beginning of this post for this. It’s a simple and easy way to join squares that is seamless.
Congratulations! You Are Finished!
Pin it, Instagram it with #GrannySquareHeadband or #StardustGoldCrochet
I hope you enjoyed creating this easy beginner crochet pattern! Please share your finished works with me by using the hashtags mentioned above, I would love to see them.
Please leave any comments below, and thanks for visiting!
My socials
Facebook * Instagram * Ravelry * Etsy




*any FREE pdf download participants agree to my privacy policy.

