Reboot! This was one of my first patterns and I realized the blog post was looking a little shabby, and I also realized – my pattern kinda stinks! Live and learn right? So I updated the blog format and fixed the pattern. The video tutorial remains the same, but I realized I can improve on this basic pattern in so many ways!
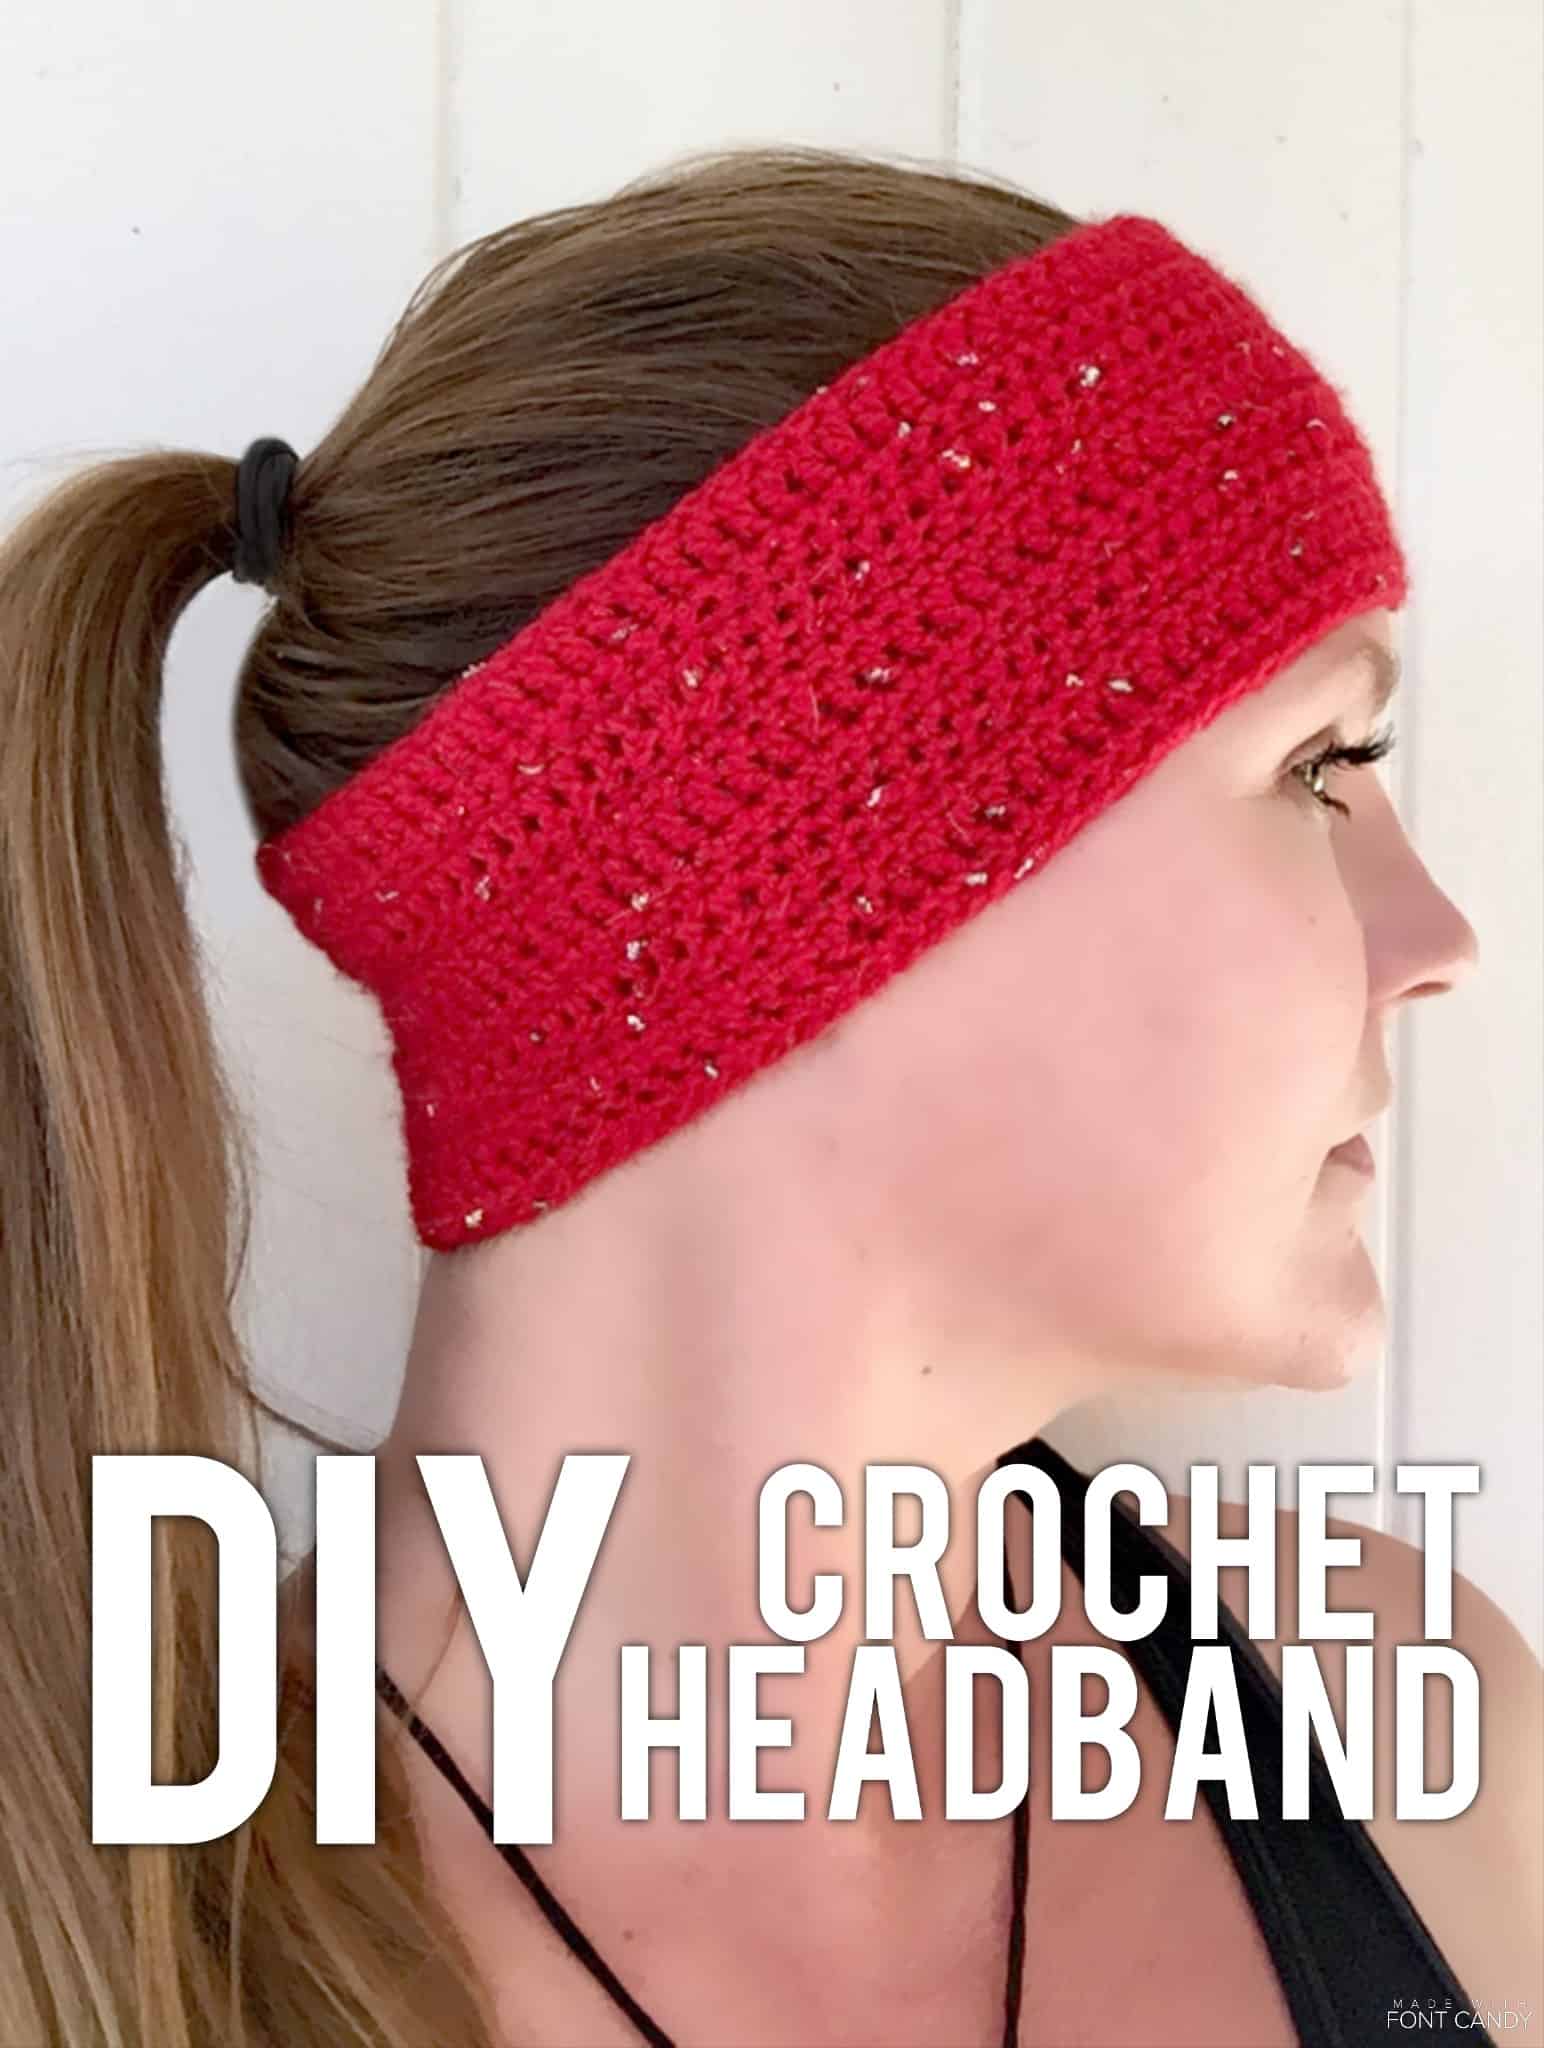
You can create this simple headband using any weight yarn you’d like, just use the measurement guides below.
Get the right head measurements first
First measure your head circumference. The best way to find your head circumference is to take a flexible measuring tape and wrap it around from your forehead to the base of your neck.
Materials:
- Suggested Yarn: Premier Yarns Isaac Mizrahi – Broadway yarn in Imperial colorway – Glitter, Sparkle Worsted weight (4) – 328 yd, 1 ball. I got mine at Michael’s, but it can be found online here.
- Hook Size: 4 mm hook, G or equivalent to achieve gauge if you use a different yarn. (Here is a link to a conversion chart if your needles are lettered or numbered: Hook Conversion Chart.)
- Scissors
- Darning needle to join edges.
+ Measurements
23” long (before joining), by 3 5/8 or 58.5 cm x 9.25 cm
Gauge:
16 sts and 20 rows = 4” x 4” or 10 x 10 cm.
Directions for gauge:
Using 4 mm hook, ch16, + 1, *sc in 1st ch from hook, and in each ch to end. ch 1, turn. *repeat to create 20 rows total.
Tip
Keep a tight tension, I usually pull tight after each sc or dc, but it’s preference. If you decide to crochet a little looser, the width will increase.
Abbreviations:
sc = single crochet
dc = double crochet
ch = chain
st(s) = st(s)
Pattern:
Chain 89. (89 chains with suggested yarn = appx 23”/58.5 cm.)
Row 1: sc in second ch from hook, and in each st to end of row. ch 2, turn. (88)
Row 2: dc in each st across entire row. ch 1, turn. (88)
Row 3: sc in each dc across, ch 2, turn. (88)
Rows 4 – 12 (or desired width): repeat rows 2 & 3.
I worked approximately 12 rows total. You can make it as thin or wide as you’d like.
+ Assembly:
Bring the two ends together, and join using your hook, or a needle and yarn. If using your hook, don’t tie off and join ends by inserting hook through both top loops on each end and pull though with a slip stitch. If using a needle, tie off, and sew pieces together in top loops.
You’re finished! See that was easy 😊


The written pattern is available on Ravelry *FREE*
I hope you enjoy this simple pattern! It looks great with a knit or crochet scarf in the same yarn <3.


Hi Tasha,Just a quick note you might want to take the word “Free” from this statement ” The written pattern is available on Ravelry *FREE*” as on Ravelry it has a price of $3.99 now. This is a cute headband/Ear Warmer!!! Thanks!