Hi Creators, I hope 2019 is treating you well! I skated today, and it was 60 degrees in Memphis <3 Yes!
Sooo….yesterday I spent a good 10 hours playing around with my website, and drafting a couple of blog posts. I wanted to create a list.
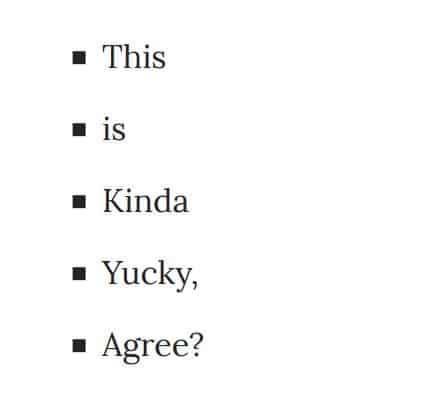
You know, they come in handy sometimes. Usually this is no big deal, but for some reason in WordPress, the lists look kind of yucky.
The fonts and font size fall short of looking cohesive. I had to change it once and for all! I’ve been avoiding using lists for too long. Let’s face it, so have you right? So let’s make those lists pretty in true crafty style.
how-to video is at bottom of post…
Before CSS modifications
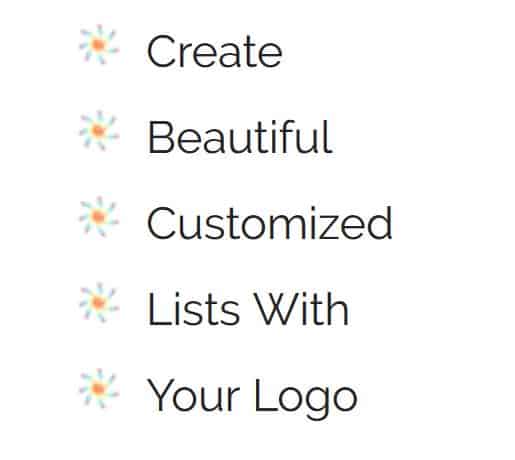
After CSS modifications 😀
This is what I did to mine. Cute right?!
I used my starburst logo, and changed the font size and font-family to match my website, with a little CSS modifications and guess what? It was all free 😉 .
Steps:
This is the short list. I will break these steps down for you below. There is also a tutorial video at the bottom of the page. <3
- Choose a photo or icon; Figure out what image you want to use. It can be anything, even icons work. Just make sure the background is transparent (clear) (either a .GIF or .PNG file) and use a program to size it down to 30 x 30 pixels or 20 x 20 pixels, then upload that to your media library and copy the URL.
- CSS code; Copy and paste the CSS code into your customize CSS section in WordPress.
- Paste the photo URL into the code below.
- Create a CLASS name (it can be anything you want), and enter that into the code. Hit publish!
- Then update your list block in the “advanced drop down” and enter your CLASS name there. Hit preview.
That’s it! Simple right? I hope so. So, let me break down these steps for you.
Step 1: Finding the Right Photo
Finding the right photo can be easy. I used my starburst logo. It’s a transparent GIF file. I put it into Photoshop and exported it as a .PNG file and reduced it’s size to 30 x 27 pixels.
This can be accomplished in Photoshop and in the Windows App called Paint. However, if you use paint, it tends to flatten the GIF transparency to black. So I recommend starting with a .PNG file for paint. You can also find apps out there that will convert your .GIF file to a .PNG file. This is what it looked like after I made it tiny.

Upload the photo to your media library, then copy the URL, paste it into notepad or a word editor for safe keeping, you’ll come back to it soon.
You can find the URL for a photo by clicking the “edit” button, it should look like this:


Step 2: Grab this CSS Code and paste it into the CSS customization section of your site
CSS stands for (C)ascading (S)tyle (S)heet. It’s an easy way to make global website modifications without individually changing pages or modifying the base of your theme. So they work great to override the themes parent page styles. You can modify font size, header size, font family, etc.
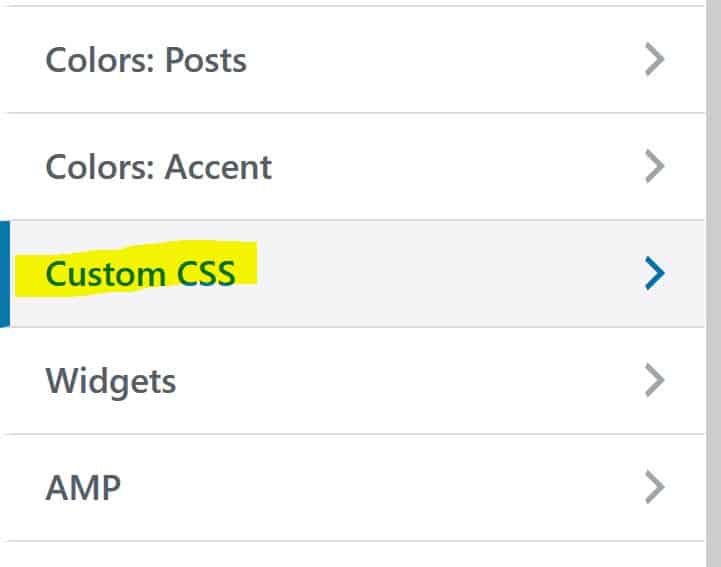
Copy the CSS code (in the blue blocks below) – then paste them into the customize CSS section. These are the sections of the code you will change after you paste it…
ENTER_YOUR_CLASS_NAME_HERE
and
ENTER_YOUR_FONT_HERE
and
ENTER_YOUR_PHOTO_URL_HERE
You can also change the font size – you can enter 10px, 14px, 16px, etc.
Make sure you don’t mistakenly delete a period or change the spacing in any way, or your code may not work. Also, do not delete the quotation marks. Computers are kind of funny like that – they only do what you tell them to do.
this is where you will paste the codes
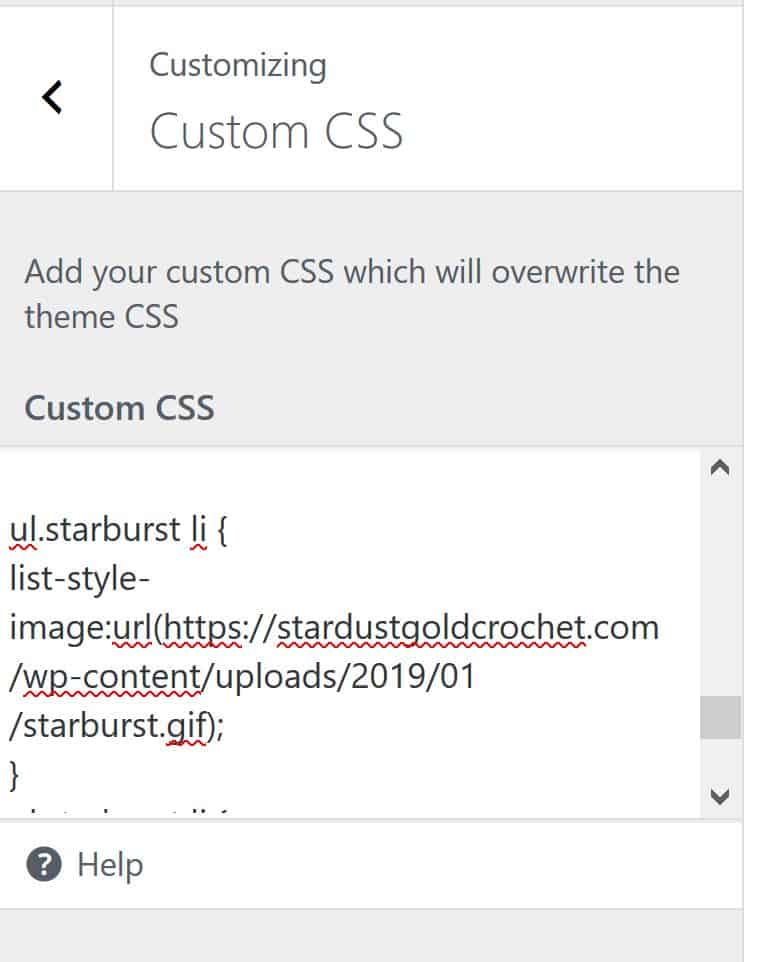
So, to help you better understand what all this means, it’s kind of like crochet patterns. “ul” is short for unordered list. “li” is short for list. the brackets separate information (kind of like repeats in a written pattern).
Don’t let the code scare you… :D. It’s just letters and symbols, like a crochet chart. ;). You only need to worry about the areas in ALL CAPS, anyway, so take a deep breath. You got this!
Unordered (bullet) list CSS code
ul.ENTER_YOUR_CLASS_NAME_HERE li {
list-style-image:url(ENTER_YOUR_PHOTO_URL_HERE);
}
ul.ENTER_YOUR_CLASS_NAME_HERE li {
font-size: 18px;
font-family: “ENTER_YOUR_FONT_HERE”;
}
Ordered (numbered) list CSS code
In this code, the “ol” at the beginning of the code means ordered list.
ol.ENTER_YOUR_CLASS_NAME_HERE li {
font-size: 18px;
font-family: “ENTER_YOUR_FONT_HERE”;
}
after you copy/paste it, it should look something like this:
WordPress doesn’t let you expand this white box, so some of the code is not pictured.
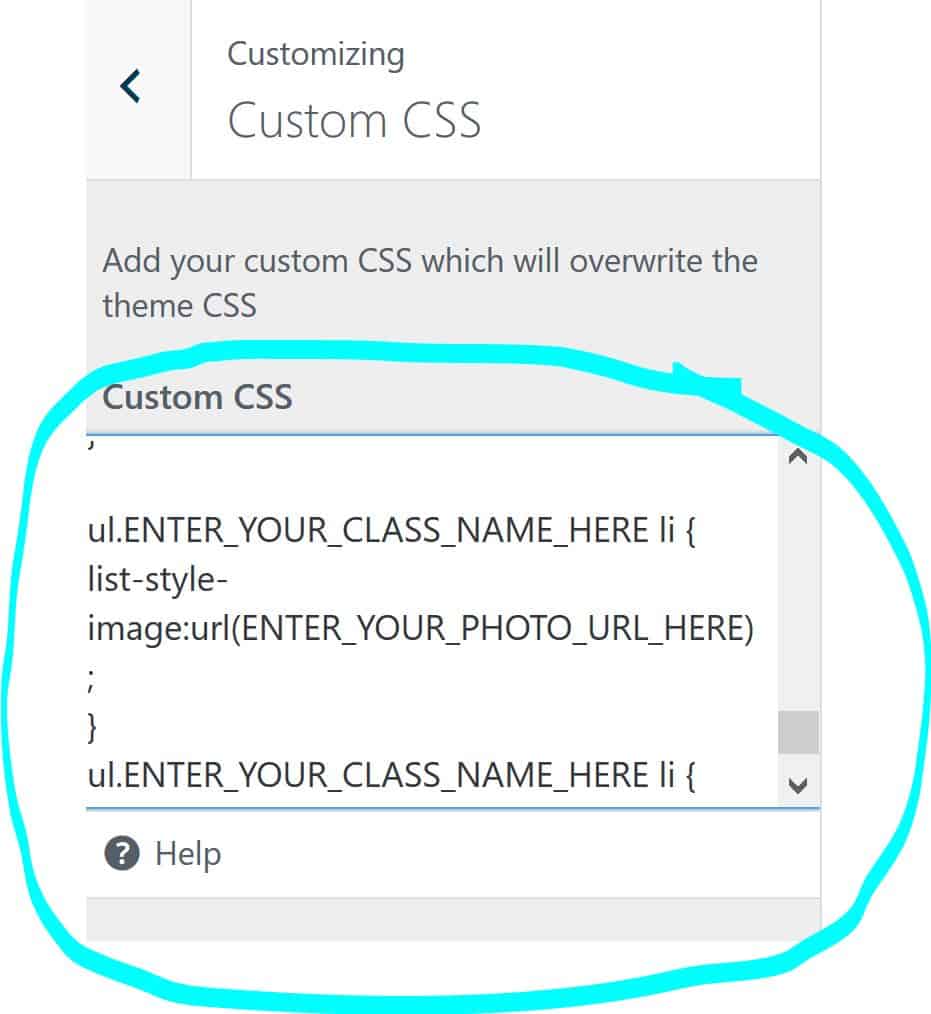
Step 3: Paste you photo URL into the code
In step 1, you copied your photo URL. Now is the time to replace the placeholder text with your photo URL. Replace the text that says: ENTER_YOUR_PHOTO_URL_HERE , but do not delete the (parentheses) and keep the spacing the same.
Step 4: Create a CLASS name
Class name. What’s a class? It’s just a label. It can be anything you want.
Replace this text: ENTER_YOUR_CLASS_NAME_HERE, with the name you made up.
If you are also changing the ordered list “ol”, make sure you use a different class name than the one you use for the unordered “ul” list.
For my unordered (bullet) list, I used the word starburst, and for my ordered (numbered) list, I used my name, Tasha.
Now that you are finished tweaking the code…
Step 5: Add your CLASS name to the “Advanced CSS Class” area.
Once you’ve replaced all the placeholder text, head back over to your blog post editor… and click on the list block you created. click the arrow on the right (circled in blue), and type in your class name. This will allow WordPress to use the code you created for this list style.

hit preview to see your new masterpiece!
If you don’t like it, go back to the customize CSS section and play around with different font sizes, play around with fonts, and make any changes you like (only to the areas you edited before though)
OMG you did it!
or at least I hope you did!
If you like what I do, you can buy me coffee…
and here is that video I promised you…
I really hope you enjoyed this tutorial. Please hit the share and like buttons to show some love <3
If you have any questions at all, please leave them in the comments below, and if this is all too confusing – check out the video – it’s only 5 minutes long :).
Happy Blogging!

