

Crochet an adorable Easter Bunny with Floppy Ears for under $4 using Dollar Tree yarn! 🐰 This beginner friendly amigurumi pattern is quick, budget friendly, and perfect for Easter baskets, gifts, or just because!
🧶 Why you’ll love this pattern:
- Beginner-friendly (just single crochets or hdc’s)🎄
- Works up fast!
- Practical, giftable, and EASY!✨
Get the PDF Printable Pattern
If you prefer a printable PDF Easter Bunny pattern (like I do)! Head over to the Infinite Yarniverse and download the pattern for a small fee.
Get notified of new pattern releases by becoming a Stargazer (my newsletter) Sign up here!. Grab all my patterns in the Lifetime Bundle! 140 patterns + ALL future patterns (excludes exclusive colorwork club patterns) – get 70% OFF NOW.
Support My Work
If you want to provide continuous support AND receive two EXCLUSIVE patterns each month – sign up for the Colorwork Crochet Club!
I hope you enjoy this easy pattern. Pattern support? Head over to Stardust Gold Crochet & Friends.
Grab the LIFETIME CROCHET BUNDLE FOR 70% OFF!
👉 Get the Lifetime Crochet Bundle here.
Get it today for 70% OFF !
- 📘 Get all 140 patterns in one place!
- 📄 140 pages (it’s a big one! 😍)
- 🧵 Beautiful instructions, photos, and how-to guides
- 🎥 Video links & more
- 📚 Get all 140 patterns all in one place! 🪄💫
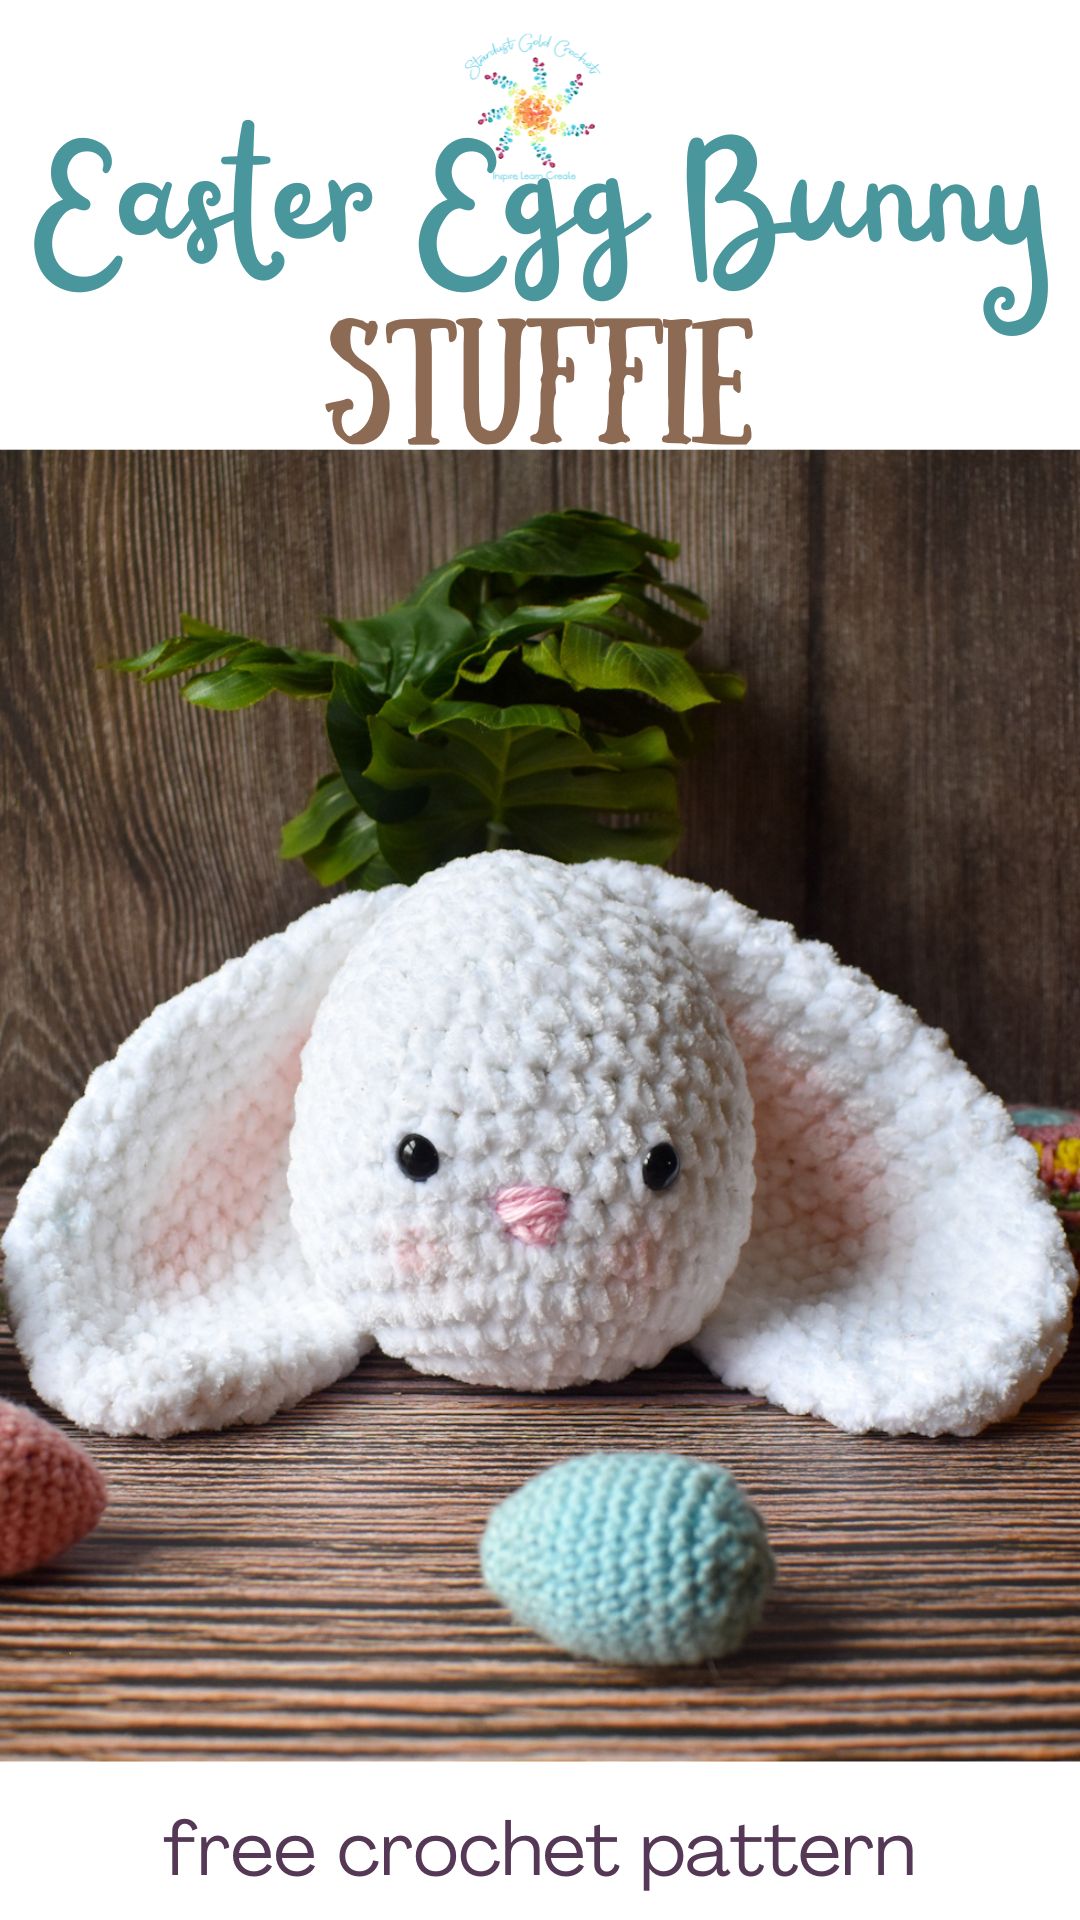
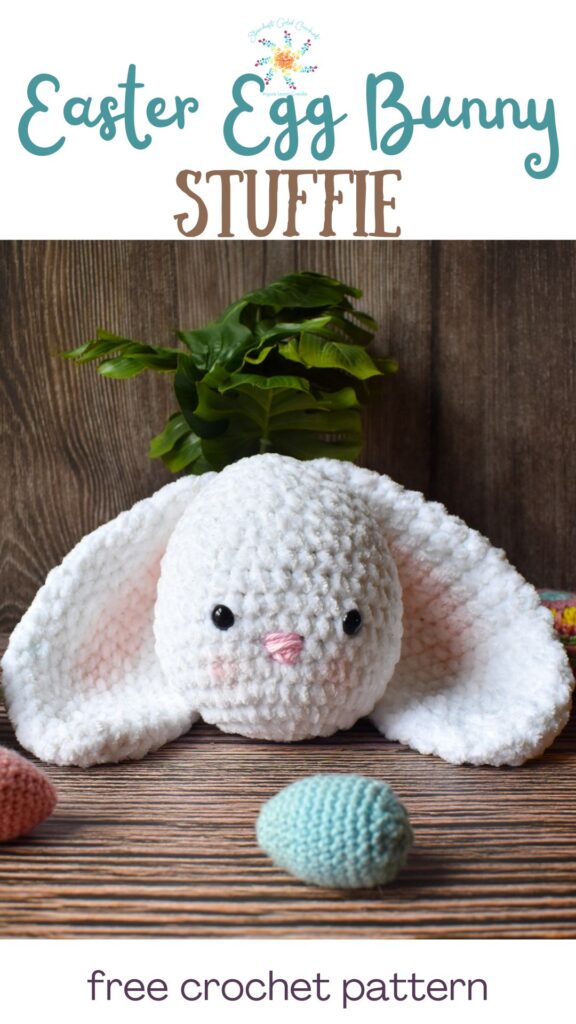
eASTER EGG FLOPPY EARED BUNNY CROCHET PATTERN
PATTERN: Easter bunny Crochet Pattern
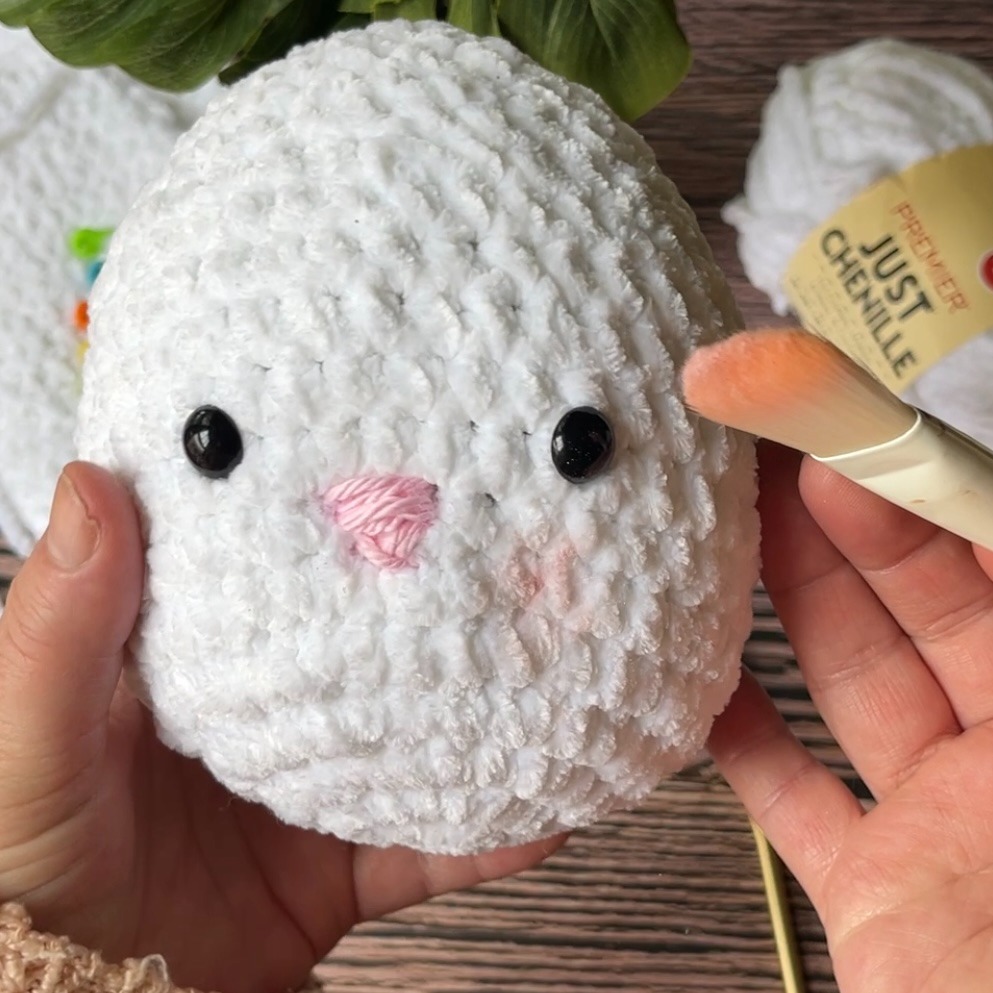
I went with Premier Parfait Just Chenille – trying out Dollar Tree Yarn! Check out my full assembly video and short review on this one here >>> Easter Bunny Assembly and Stitch Guide. This yarn is so soft and great for amigurumi projects and stuffies.
Yarn Subs: This is an easy one! There are tons of super cute yarns that are similar to Premier Just Chenille (Dollar Tree) – check them out here.
How to Crochet an Easter Egg Bunny YouTube for the assembly and stitch tutorials.
Materials & Notions
Suggested Yarn: Premier Just Chenille or equivalent 100% Polyester, 65 yds (60 m), 1.76 oz (50 g) in white (or preferred color)
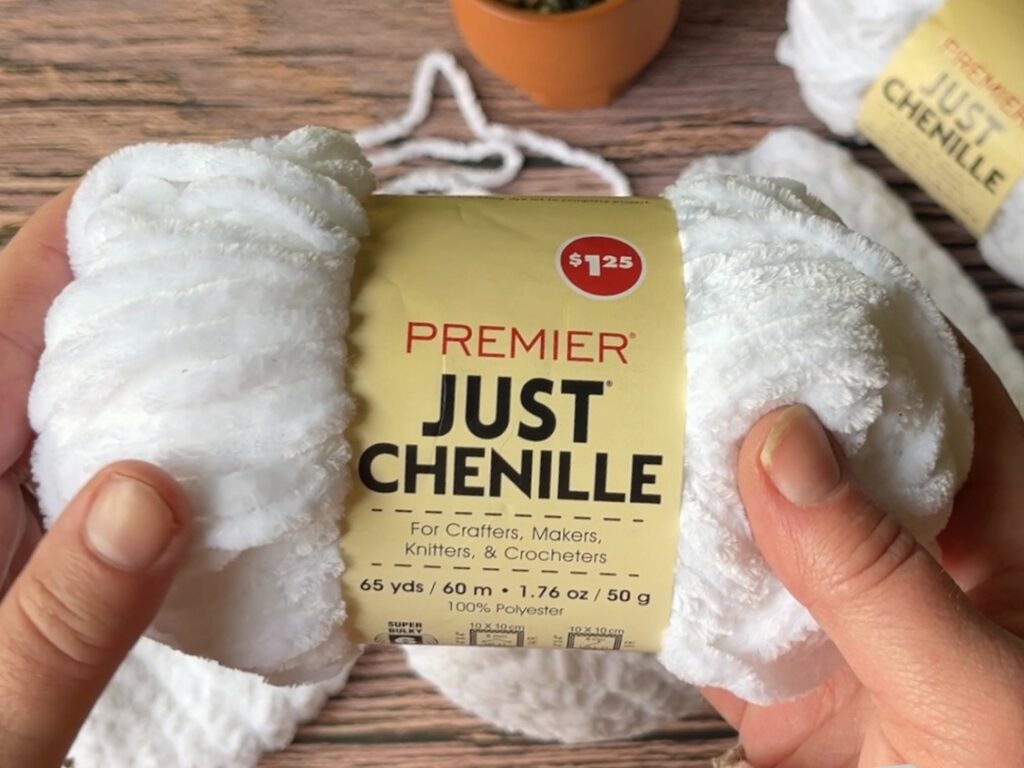
Yardage Needed: 3 skeins approximately
- Hook Size: 5 mm hook (USA H6)
- Scissors
- Darning Needle
- Flexible Measuring Tape
- 10 mm Safety Eyes (or any of your choice)
Sizes / Finished Measurements:
Dimensions: 6″ (15.24 cm) tall x 4.5″ (11.43 cm) wide.
Ears: 8″ (20.32 cm) tall
Abbreviations
- Ch (s) – Chain (s)
- St (s) – Stitch(s)
- Sc – Single crochet
- Sc-inc – Single crochet increase
- Sc2tog (sc-dec) – Single crochet 2 together
- Hdc – Half double crochet
- Hdc-inc – Half double crochet increase
- Hdc2tog (hdc-dec) – Half double crochet 2 together
- Yo – Yarn over
- (…) – Repeat instructions between the (…) as many times indicated.
Stitch guide:
Sc – Single Crochet
Insert hook in indicated stitch, yo, draw up a loop, yo, draw through two loops
Sc-inc – Single Crochet Increase
Crochet 2 single crochets into the same stitch.
Sc2tog (sc-dec) – Single Crochet Two Together
Insert hook in indicated stitch, yo, draw up a loop (2 loops on hook), insert hook in next stitch, yo, draw up a loop (3 loops on hook), yo, draw through all 3 loops on hook – 1 sc decrease created.
Hdc – Half Double Crochet
Yo, insert hook in indicated stitch, yo, draw up a loop. Yo, draw through all the loops on the hook.
Hdc-inc – Half Double Crochet Increase
Crochet 2 hdc’s into the same stitch.
Hdc2tog – Half Double Crochet Two Together
Yo, insert hook in indicated stitch, yo, draw up a loop (3 loops on hook). Yo, insert hook in next stitch, yo, draw up a loop (5 loops on hook), yo, draw through all 5 loops on hook – 1 hdc -decrease created.
How to create a crochet Magic Circle
Notes:
- Mark the beginning of each round with a stitch marker.
- Pattern works in continuous rounds – unless otherwise noted.
Color Palette
White! But of course, you can spice it up if you want to. 😀
HOW TO CROCHET AN AMIGURUMI EASTER EGG BUNNY WITH FLOPPY EARS:
Start off with a Magic Ring – or – chain 2 and work into the first chain.
Rnd 1: Sc 8 into the magic circle – or chain 3 and work 8 into the first chain. (8 sc)
Rnd 2: Sc–inc in each stitch around. (16 sc)
Rnd 3: (Sc 1, sc-inc) 8 times. (24 sc)
Rnd 4: (Sc 2, sc-inc) 8 times. (32 sc)
Rnd 5: (Sc 3, sc-inc) 8 times. (40 sc)
Rnd 6–12: Sc in each stitch around. (40 sc) >> add eyes (you can sew eyes on later if you’d like to.)
Rnd 13: (Sc 3, sc2tog) 8 times. (32 sc)
Rnd 14: Sc in each st around. (32 sc)
Rnd 15: (Sc 2, sc2tog) 8 times. (24 sc)
Rnd 16: Sc in each st around. (24 sc) >> Stuff egg.
Rnd 17: (Sc 1, sc2tog) 8 times. (16 sc)
Rnd 18: Sc in each st around. (16 sc)
Rnd 19: (Sc 2, sc2tog) 4 times. (12 sc)
Rnd 20: Sc2tog 6 times. (6 sc) Draw yarn through remaining 6 sc, cinch closed, tie off, weave in all tails.
Adding the Eyes
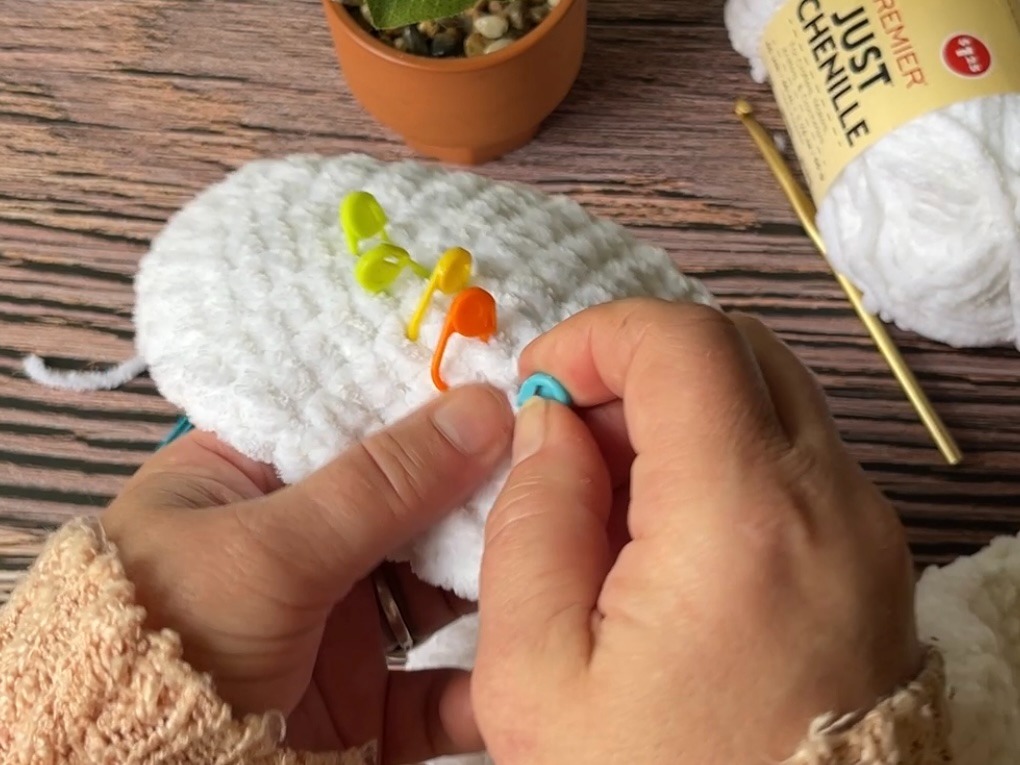
I placed my eyes between Rounds 8 and 9 – about 7 stitches apart from each other. (see images below)
More Amigurumi Patterns You May Love…

Bunny Ears (Make 2)
The smaller ears are not pictured – skip down to the large bunny ears to match the sample photo – also, use hdc to match the sample.
I used Hdc in the sample – the instructions for hdc-inc, hdc2tog (hdc-dec) and hdc are all in the abbreviations & stitch guide above.
Small Bunny Ears:
Rnd 1: Sc 6 into the magic circle – or chain 3 and work 6 into the first chain. (6 sc)
Rnd 2: Sc-inc in each stitch around. (12 sc)
Rnd 3: (Sc 2, sc-inc) 4 times. (16 sc)
Rnd 4: (Sc 3, sc-inc) 4 times. (20 sc)
Rnd 5: (Sc 4, sc-inc) 4 times. (24 sc)
Rnd 6 – 11: Sc in each stitch around. (24 sc) >>> mark each of these rows with stitch markers.
Rnd 12: (Sc 4, sc2tog) 4 times. (20 sc)
Rnd 13: Sc in each stitch around. (20 sc)
Rnd 14: (Sc 3, sc2tog) 4 times. (16 sc)
Rnd 15: Sc in each stitch around. (16 sc)
Rnd 16: (Sc 2, sc2tog) 4 times. (12 sc)
Rnd 17: (Sc 1, sc2tog) 4 times. (8 sc)
Flatten together and sc 4 to join. Ch1, tie off. Leave a long tail for sewing.
As Pictured (Large) Bunny Ears
For the sample, substitute hdc for sc, hdc-inc for sc-inc, and hdc2tog for sc2tog throughout all large ear rounds.
Rnd 1: Hdc 6 into the magic circle – or chain 3 and work 6 into the first chain. (6 hdc)
Rnd 2: Hdc-inc in each stitch around. (12 hdc)
Rnd 3: (Hdc 2, hdc-inc) 4 times. (16 hdc)
Rnd 4: (Hdc 3, hdc-inc) 4 times. (20 hdc)
Rnd 5: (Hdc 4, hdc-inc) 4 times. (24 hdc)
Rnd 6: (Hdc 5, hdc-inc) 4 times. (28 hdc)
Rnd 7 – 12: Hdc in each stitch around. (28 hdc) >>> mark each of these rows with stitch markers.
Rnd 13: (Hdc 5, hdc2tog) 4 times. (24 hdc)
Rnd 14: Hdc in each stitch around. (24 hdc)
Rnd 15: (Hdc 4, hdc2tog) 4 times. (20 hdc)
Rnd 16: Hdc in each stitch around. (20 hdc)
Rnd 17: (Hdc 3, hdc2tog) 4 times. (16 hdc)
Rnd 18: Hdc in each stitch around. (16 hdc)
Rnd 19: (Hdc 2, hdc2tog) 4 times. (12 hdc)
Rnd 20: (Hdc 1, hdc2tog) 4 times. (8 hdc)
Flatten together and sc 4 to join. Ch1, tie off. Leave a long tail for sewing.
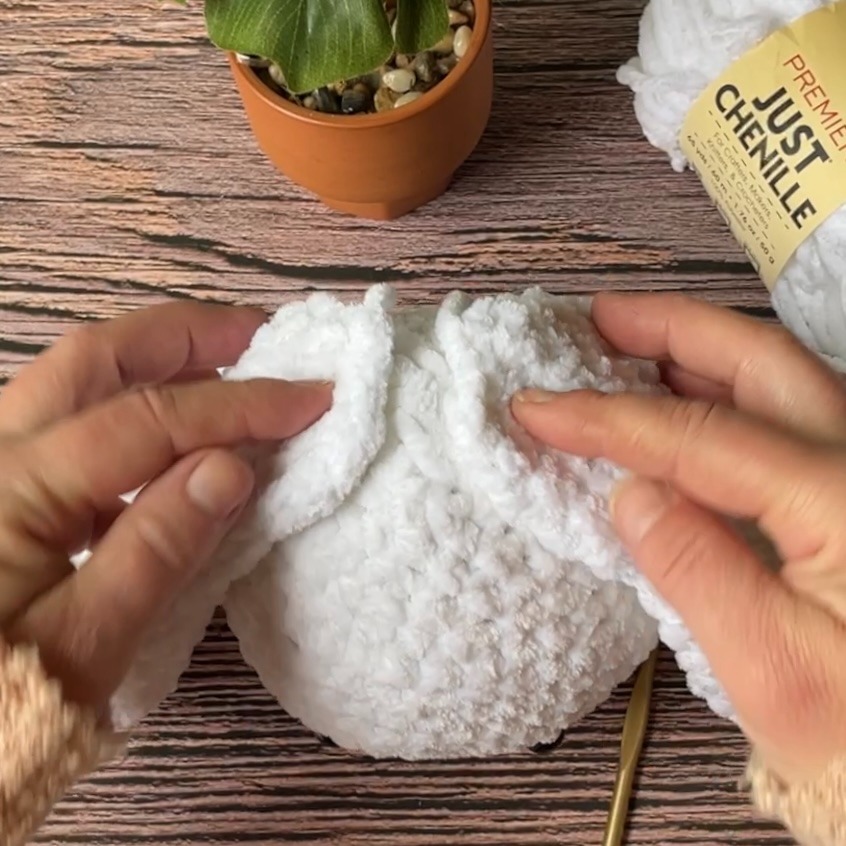
Assembly & Finishing Touches
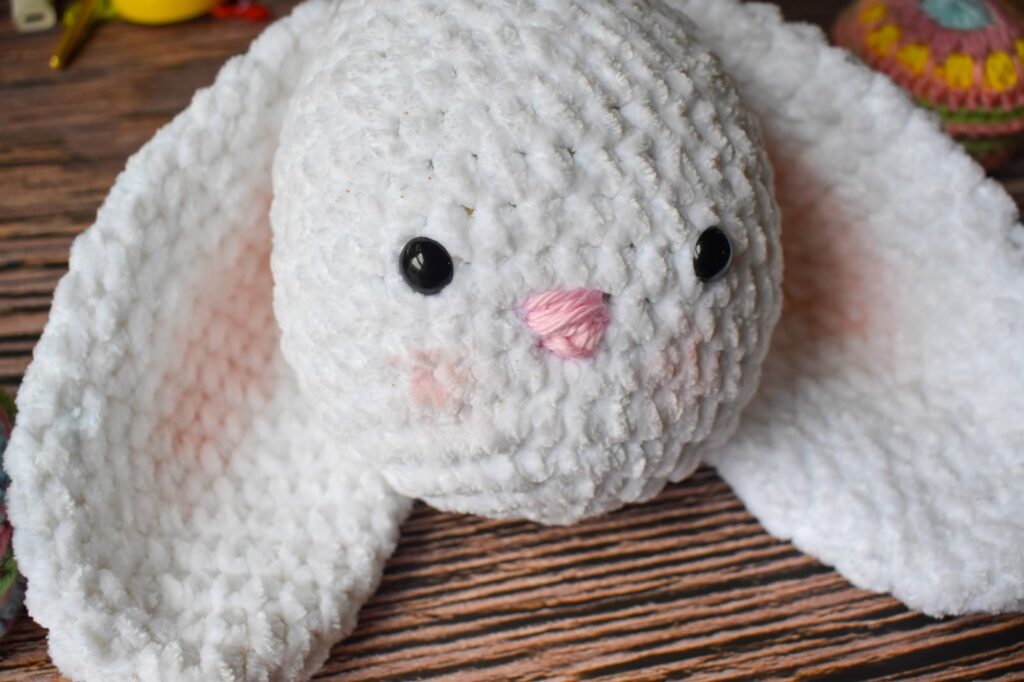
Once you’re finished with the body & ears, position them like this and sew them on using the long tail.
Step 1. Place the ears on top and slightly back as pictured (or wherever you’d like!) Secure with stitch markers.
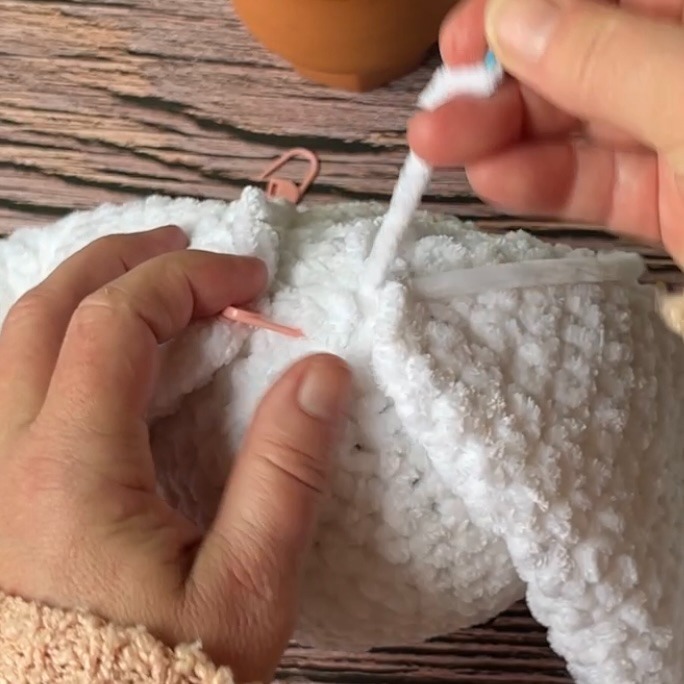
Step 2. Once your ears are attached, we’re going to create a little nose. I used I Love This Cotton in Pink. You can use any pink scraps you have lying around.

I went around and around until I got what looked like a bunny nose. LOL. You can watch the video if you need more help with this, I just winged it really.

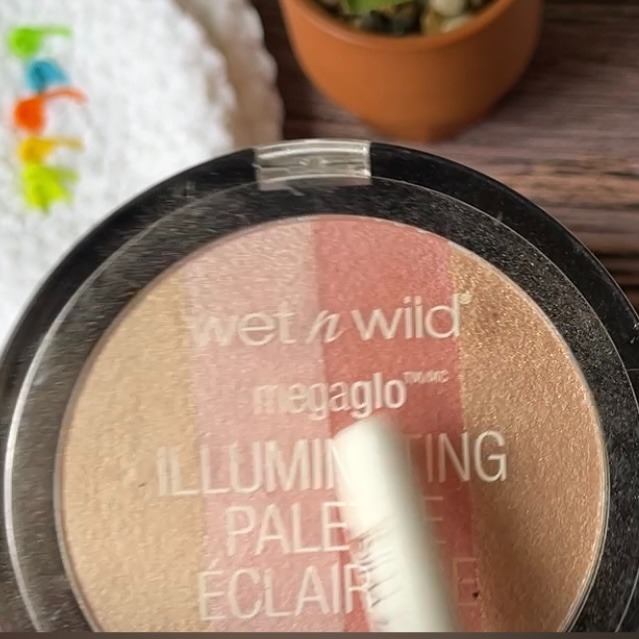
Step 3. I used some blush and a make up brush to add some cheeks and inner ears to give it a little depth.
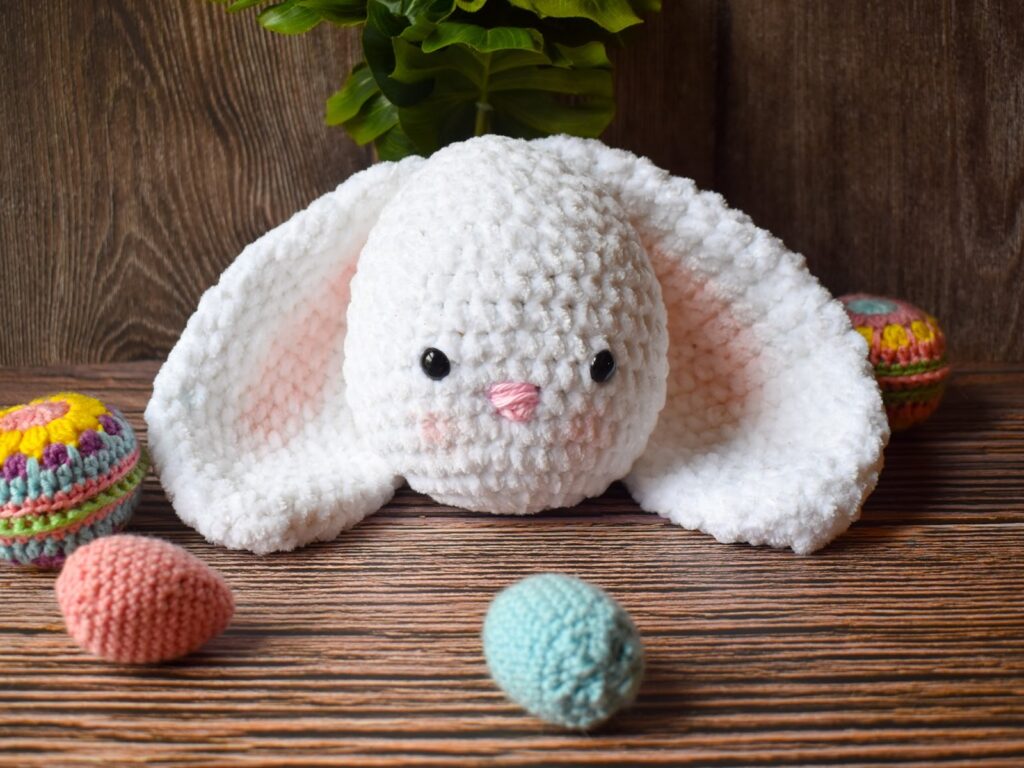
It turned out so cute! I didn’t add a mouth, but that would look super cute too!
Congrats! You are finished!
Please leave any comments below, and thanks for visiting!


*any FREE pdf download participants agree to my privacy policy.
i use it usually when i’m in my alley.
I love your pattern. The Bunny is really cute. I’m new to crocheting. Is it possible to crochet like a blanket bottom with little feet on it and arms similar to what you see on some of the other YouTube channels that I’m sorry, is beyond me at the moment. How many stitches wood, I use show the blanket fits the head.Would appreciate any help thank you
I fail to understand why you advertise this pattern as”free” when you then are charging $6.50! It leaves me with an uncomfortable feeling.