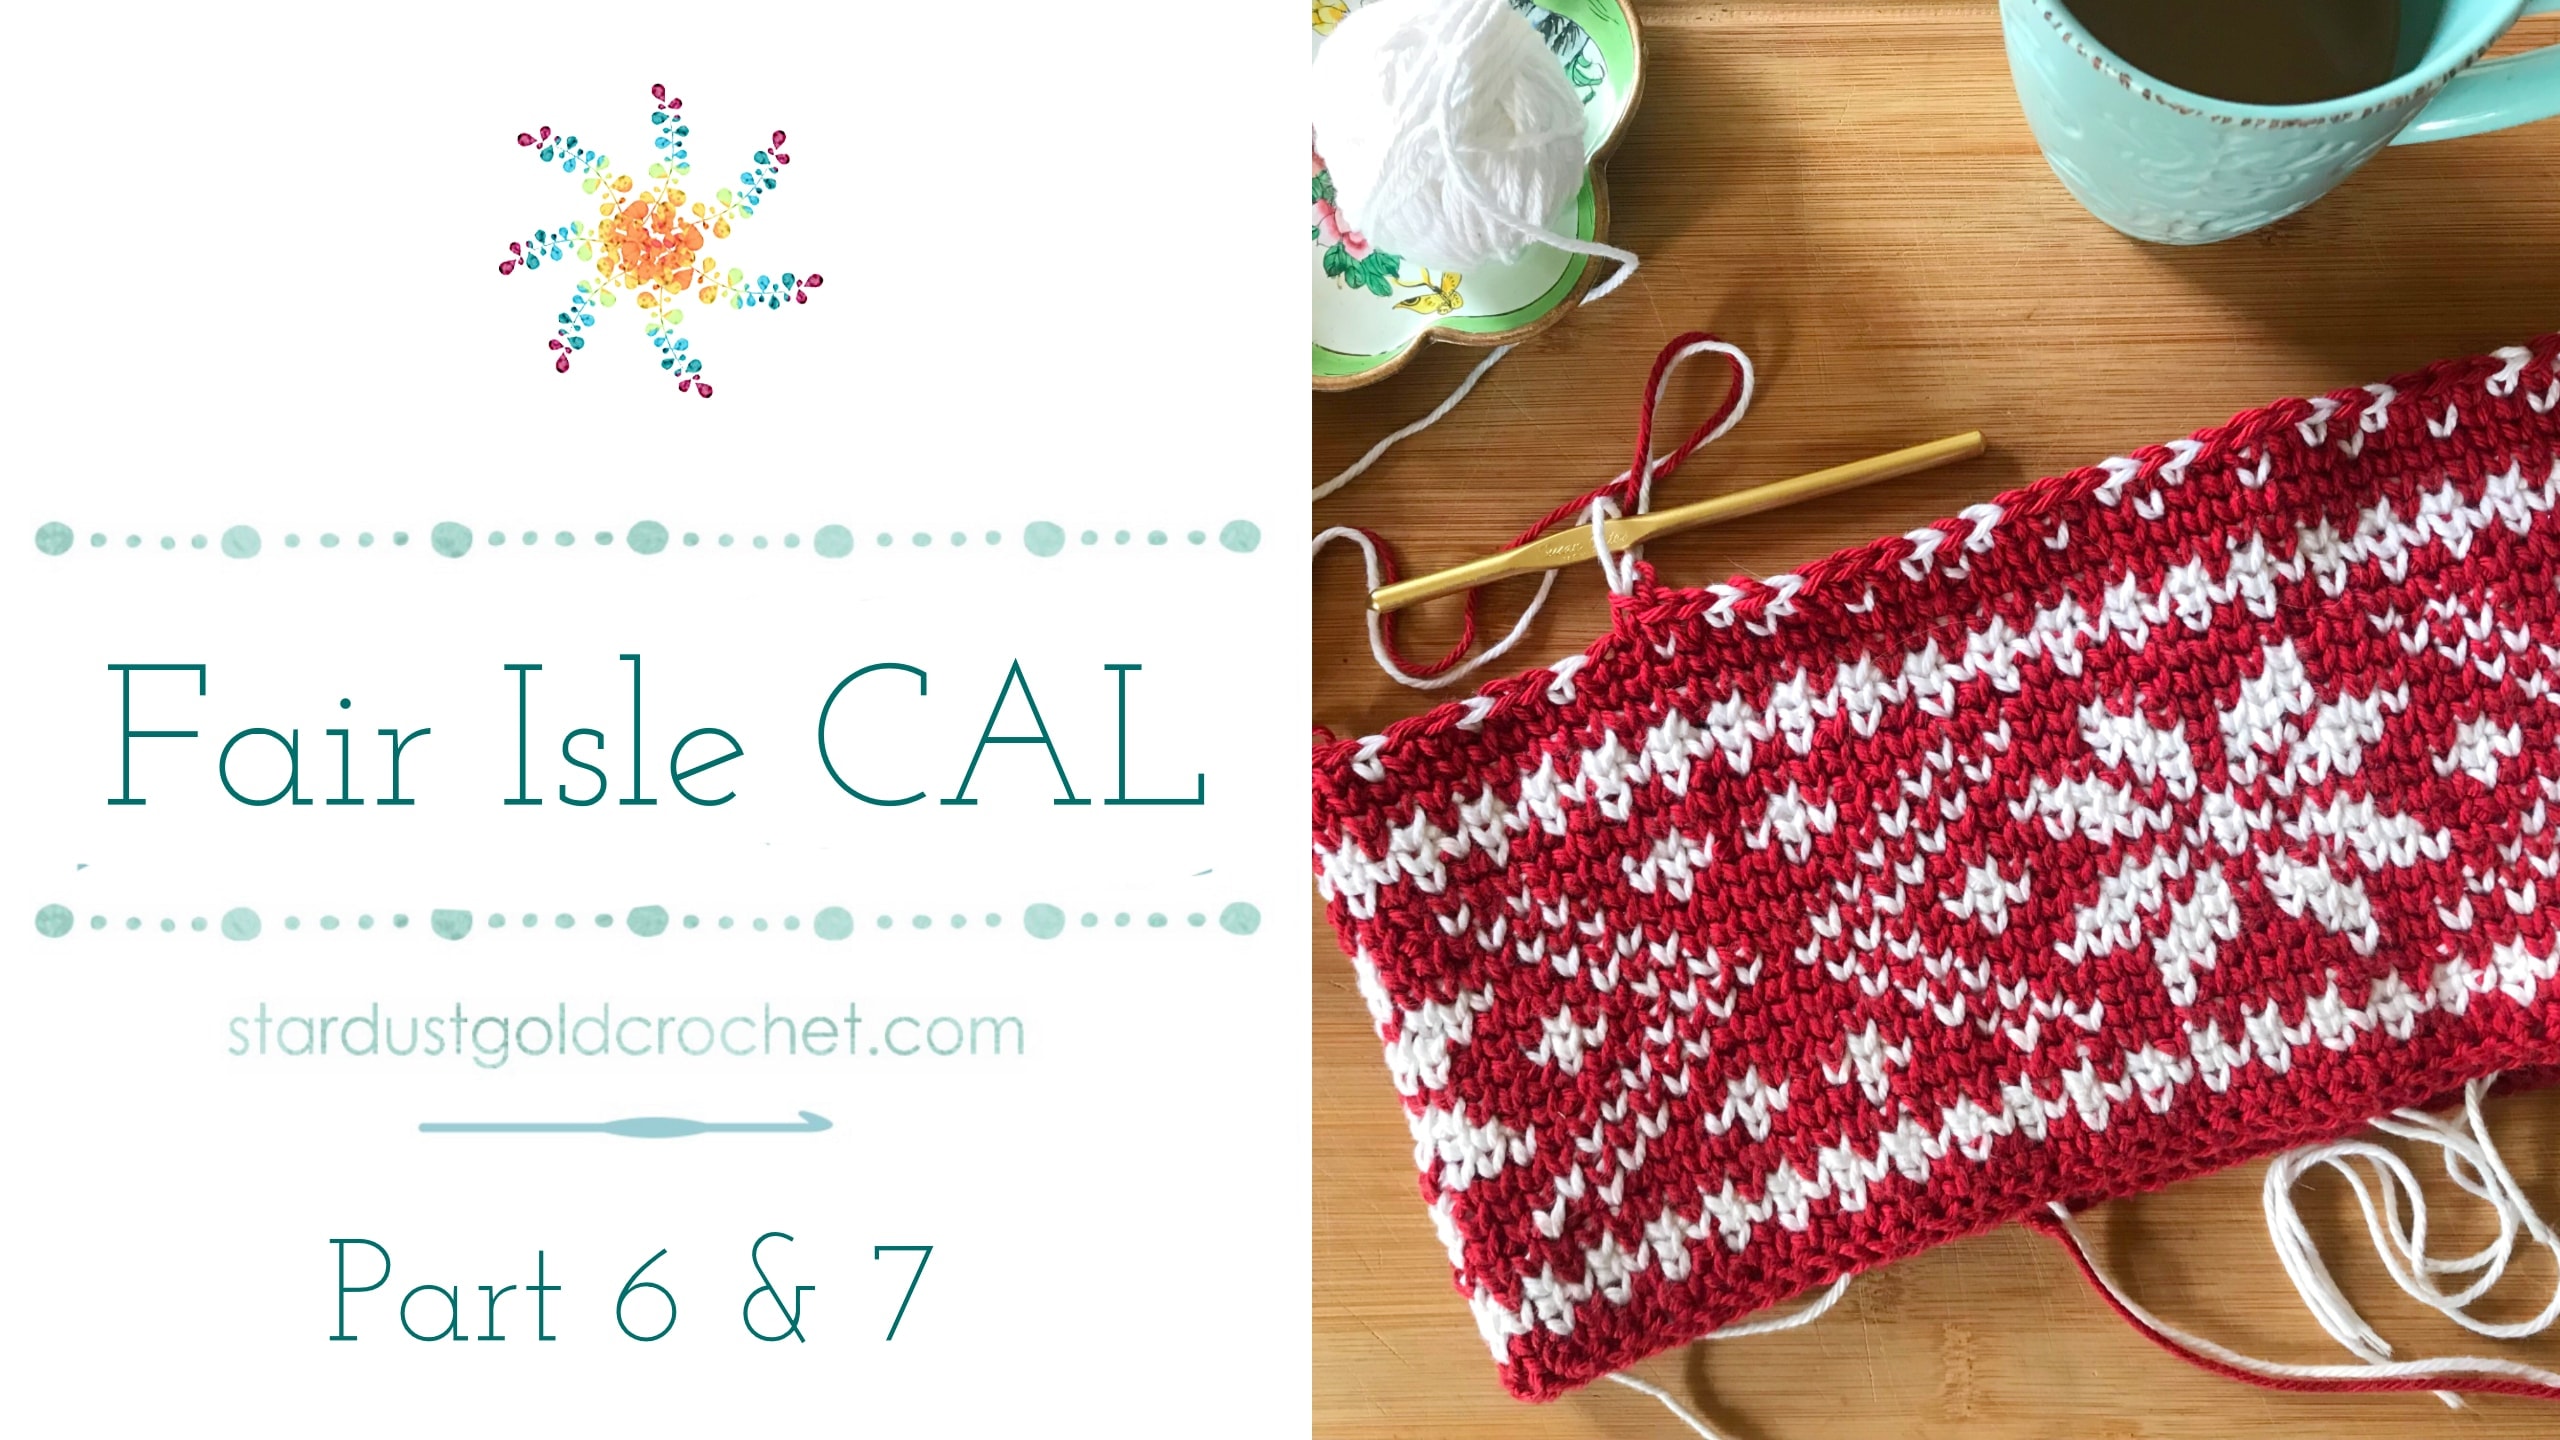
Welcome to the Fair Isle CAL Week 3 (Part 6 & 7)! I hope everyone is having a great time learning Fair Isle and working the knit stitch! Thanks for joining and here is where we are so far. If you’ve landed here and want to catch up, see the Introduction, then Part 1, Part 2, Part 3 , Part 4, & Part 5, finished up rows 13 – 24 and I posted 24 – 34. No matter where you are, just remember that you can come back and work these parts at any time. They will be left up indefinitely for you.
In this post I am combining parts 6 & 7 because I missed Friday’s post. I am so sorry for that. I lost a dear friend and attended her funeral this week, as well as have been experiencing some personal turmoil. I’m sure you understand. It’s been very difficult to concentrate, and these life changes are just a bit overwhelming at the moment. I am slowly getting back into the swing of things, and hope to get my blog posts up and regular again.
I really appreciate everyone’s support of my blog, and I urge you to please share as much as possible, because it helps keep my blog alive and well.
Sunday| October 13, 2019
- Continue working Rows 24 – 34 if you haven’t already finished them up!
- Working rows 34 – 47
- Working the Brim (video will be posted Wednesday)
- Adding the Pom Pom
- Post your Photos to Stardust Gold Crochet & Friends
Scroll down for the remainder of the pattern!
Hope everyone has a great time learning together, and please subscribe to my Stargazers mailing list here to get notified when the new posts and videos go LIVE!
I am so grateful you are all here and hope you are enjoying the crochet along 
Please feel free to ask me questions about it, if there is something you are stuck on or having trouble with, I’m glad to help. You can message me via e-mail to: [email protected], or join my Facebook friends group (link in the blue box below). I am always happy to answer questions and talk crochet!
Scroll down for the remainder of the pattern!
note: If you want to skip forward, you’re welcome to purchase the pattern in the Infinite Yarniverse, on Ravelry or Etsy, (use code FAIRISLECAL for a 40% discount on the PDF).If you are landing here and want to start from the beginning, please visit the CAL page below where you will find all posts related to this CAL.
#StardustGoldCrochet #FairIlseCAL2019
 Let’s Crochet!
Rows 24 – 34
Rnd 24: Ch 1, (MC) ks 90 (60). Join.
Rnd 25: Ch 1, (MC) ks 90 (60). Join.
Section 2 – Diamond
Rnds 26 – 34: Diamond Graph – as with snowflake graph, for each round, work graph three times, for a total of 90 sts using the ks. Join.
Toddler: work graph 2 times for a total of 60 sts. Join.

Section 3 – Hearts Pattern
Rnds 35 – 44: Heart Graph – as with previous graph, for each round, work graph three times, for a total of 90 sts using ks. Join.
Toddler: work graph 2 times for a total of 60 sts. Join.

Rnd 45: Ch 1, (MC) ks 90 (60). Join.
Rnd 46: Ch 1, (MC) sc2tog to end of rnd – if you end with 3 sts left, sc3tog over last 3 stitches. Join.
Use tail at beginning to sew/join bottom of fsc round.
Finished with top of hat!
+ Assembly:
Assembly of Top of Hat:
Lay flat, with seam in the center. WS out and top side up.
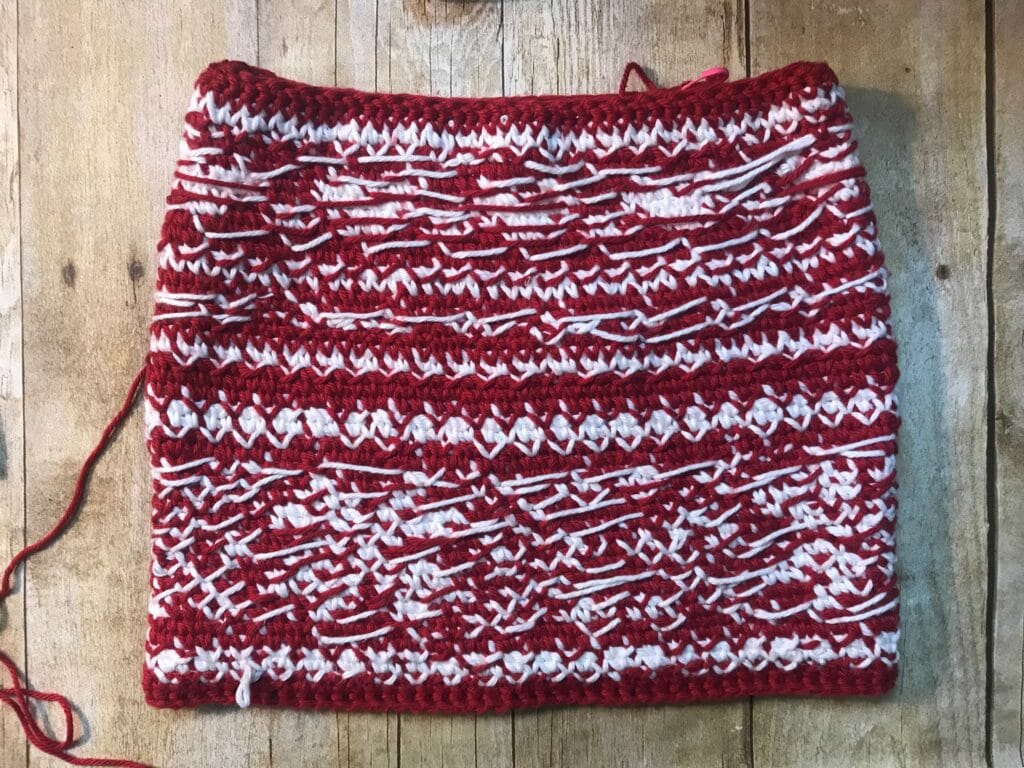
Sew together both pieces as pictured below, working through top loops of the stitches. Draw in the other two corners – to create an X with four corners.
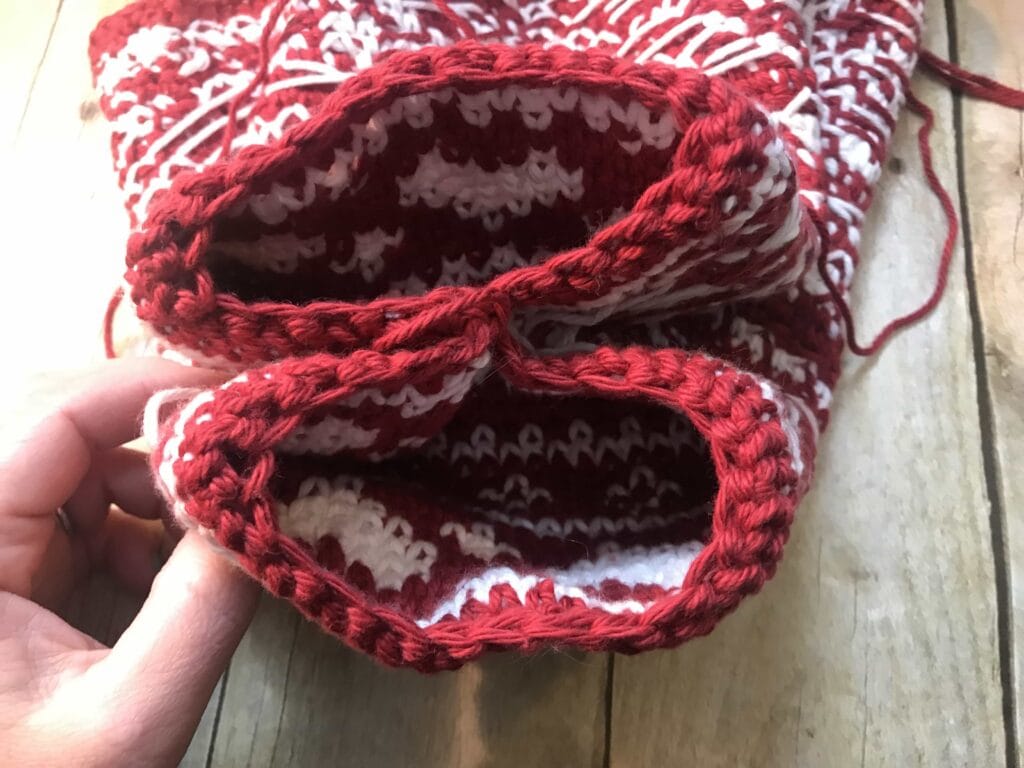
Sew together the two corner you just pulled in. Then do the same with the four corners of the X, drawing them in and sewing to the center. This creates 8 corners.
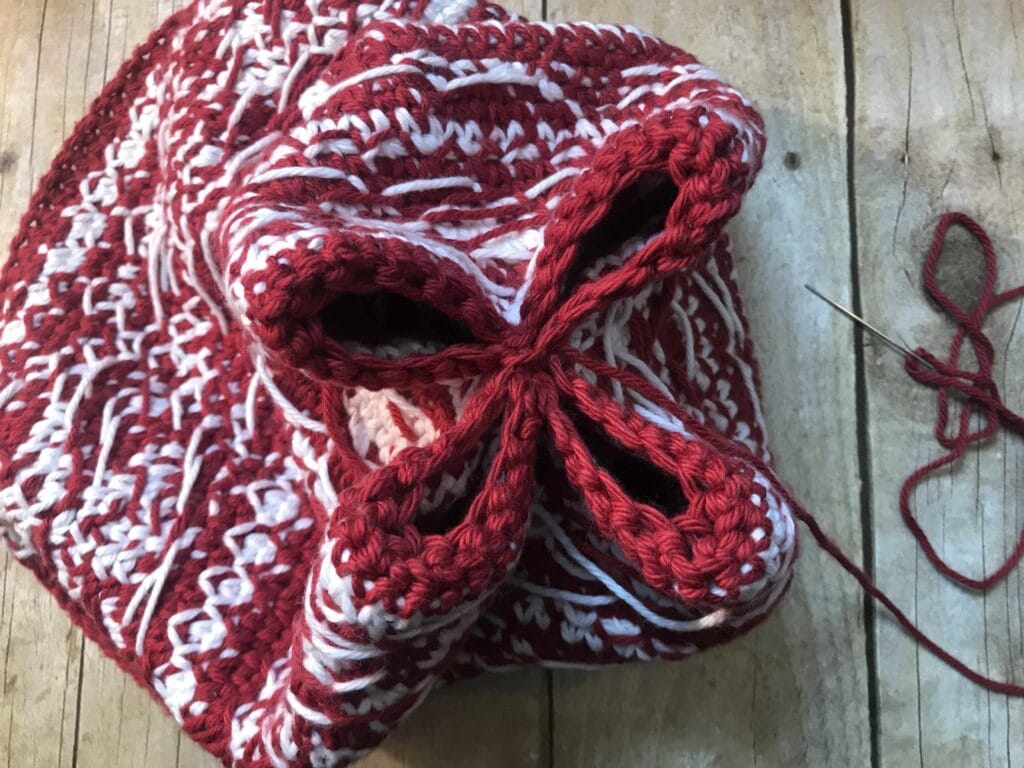
Keep pulling in and sewing corners to the center, until all the corners are sewed in. Leave a long tail for sewing. It kind of looks like a mish mash, but just keep sewing up all the little holes.
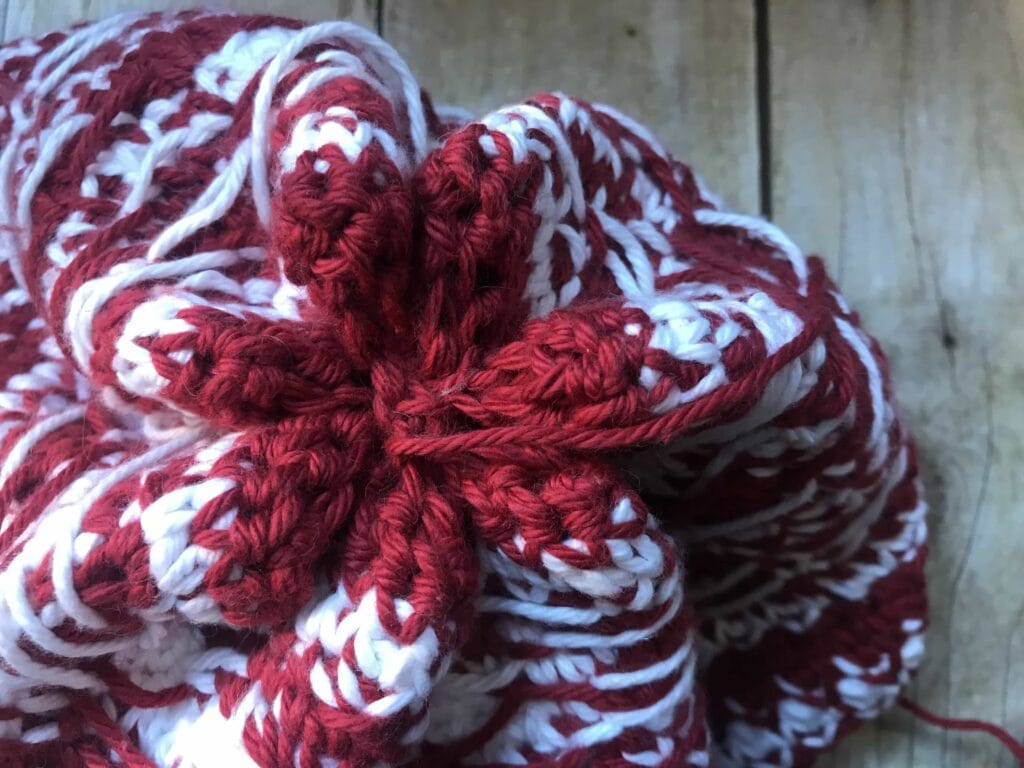
Turn RS out.
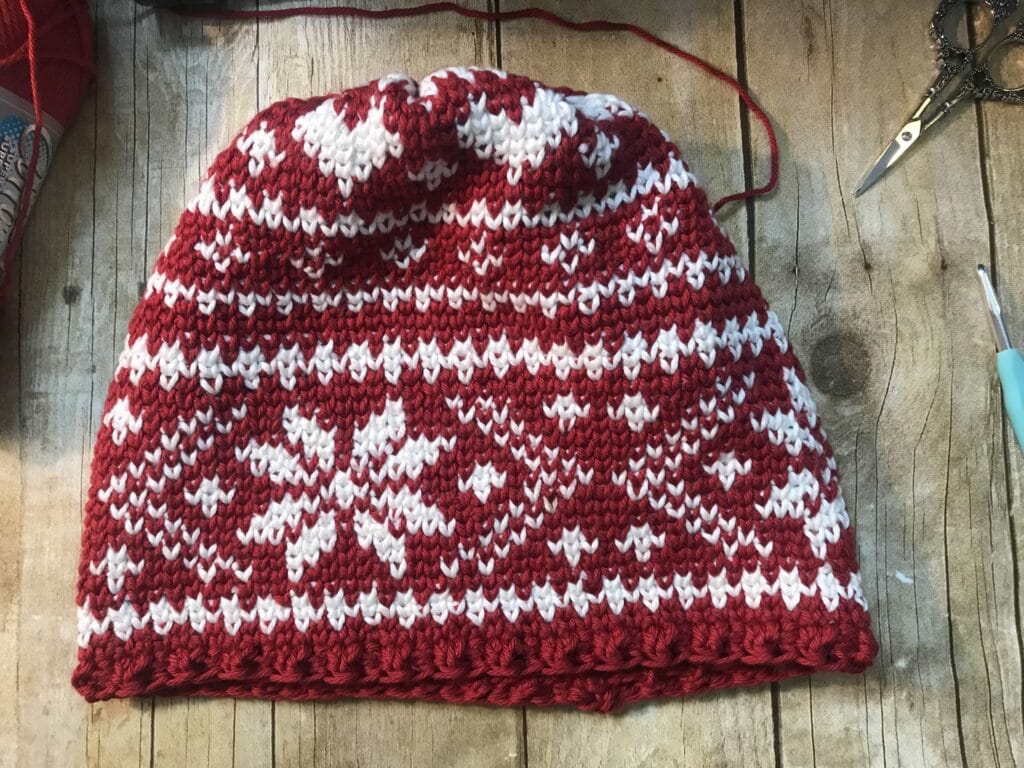
Brim:
The brim is where we do all the major sizing. I’ve written instructions on how to work for each size below, but of course, you can work the brim however you’d like. My beanie fits loose, because that is my preference, however, you’re welcome to tighten it up even more.
Adult Medium/Large:
With Bottom of hat facing up, RS out – attach yarn (MC) in st directly to the left of the seam.
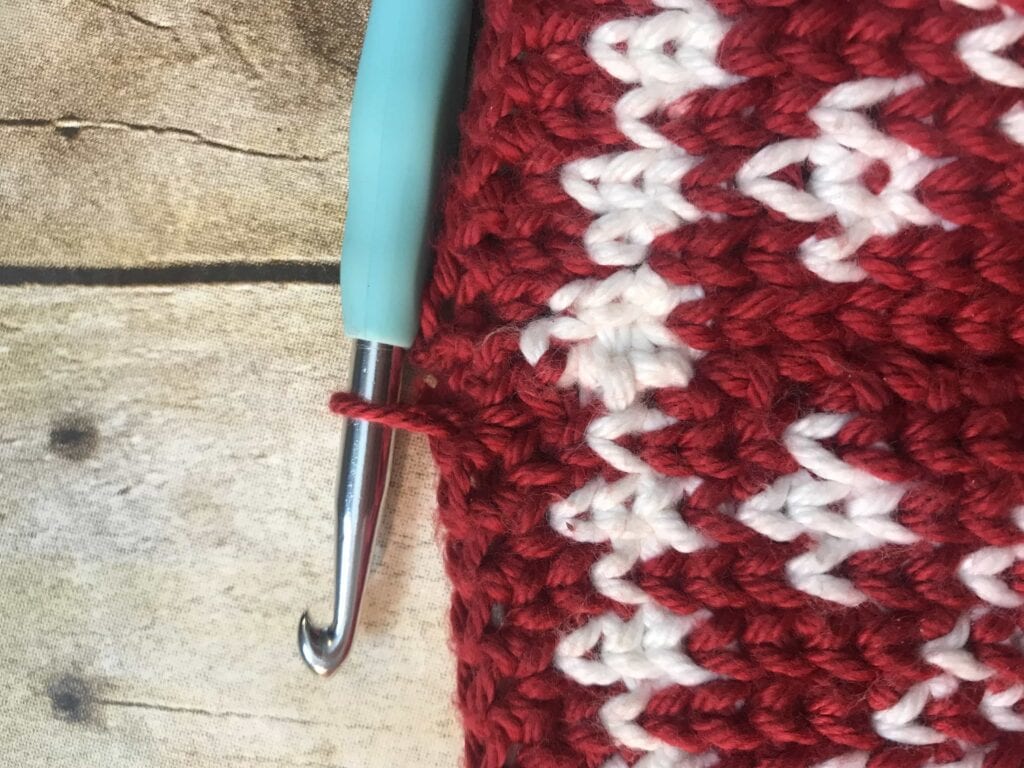
Ch 2. *FPdc2tog (beginning in first post directly below join), sk 1 st post, BPdc2tog* – repeat from * to * to end of round, There should be one post left to work, plus the seam – FPdc2tog around that last post and the seam. Join, tie off, and weave in tails.
Adult Small:
With Bottom of hat facing up – attach yarn in st directly to the left of the seam.
Ch 2. *FPdc3tog (beginning in first post directly below join), sk 1 st post, BPdc2tog* – repeat from * to * to end of round. Depending on how many posts remain, use FPdc2tog to finish off. Join, tie off, and weave in tails.
Toddler:
Use pattern for Adult Medium/Large.
How does it fit?
I reworked the brim several times over to get a good fit. If it doesn’t fit properly, you can make the following adjustments to the pattern:
Too big?
For Medium/Large: Substitute the FPdc2tog with FPdc3tog. You can also skip 2 bars instead of just 1.
Toddler/Small: Substitute BPdc2tog with BPdc3tog
For Small/Toddler: Substitute BPdc2tog with BPdc3tog.
Too small?
Don’t skip any stitches and/or replace the any of the front post stitches from FP/BPdc3tog to FP/BPdc2tog.
Follow the adjustments advice if it doesn’t fit, the way you like. It’s easy to adjust the brim if you work in multiples of 2 or 3.
Pom Pom is optional as well! I went ahead and bought some online at Amazon that have a little loop at the bottom, so I can safety pin it when I feel like a pom pom and just take it off when I don’t want one 😉.
We are finished!!!
I really hope you enjoyed working this pattern together with me! Please feel free to head over to my Facebook group and share your finished works. I will put together a bit of a giveaway and see what we can come up with!
In case you missed it! You can watch the Floating the Yarn tips video below and the other parts of the of the CAL are listed in the first paragraph.
Hope everyone has a great time learning together, and please subscribe to my Stargazers mailing list here to get notified when the new posts and videos go LIVE!
I’d love to see your work! Use hashtags on FB & IG
#stardustgoldcrochet #fairilseCAL2019
Thanks for stopping by and making beautiful things with me, PLEASE SHARE AND PIN! IT’S HOW I KEEP MY PATTERNS FREE!
If you’d like to collaborate with me, please send me a message or leave a comment, I would love to work with you!

All photos and pattern are property of Stardust Gold Crochet.
Feel free to sell items created from this pattern, but please do not copy, distribute, or sell this pattern as your own.
This post contains affiliate links, if you happen to purchase from my links, I will earn a few cents :). Thank you for that!



 Let’s Crochet!
Thank you for an awesome pattern and easy to follow videosPat
I found this waaay after you’d posted it and I was so happy to see it still up in its entirety! Thank you so much. This is clearly a big pile of work and it’s very much appreciated!
Thank you so much for this beautiful hat. Fair isle crochet was completely new for me, but I love it. Sorry to hear about your friend, take your time with that. Big hug and I will post my beanie in your fb group when I finished it. <3