Learning how to crochet mittens is easy and fun! 

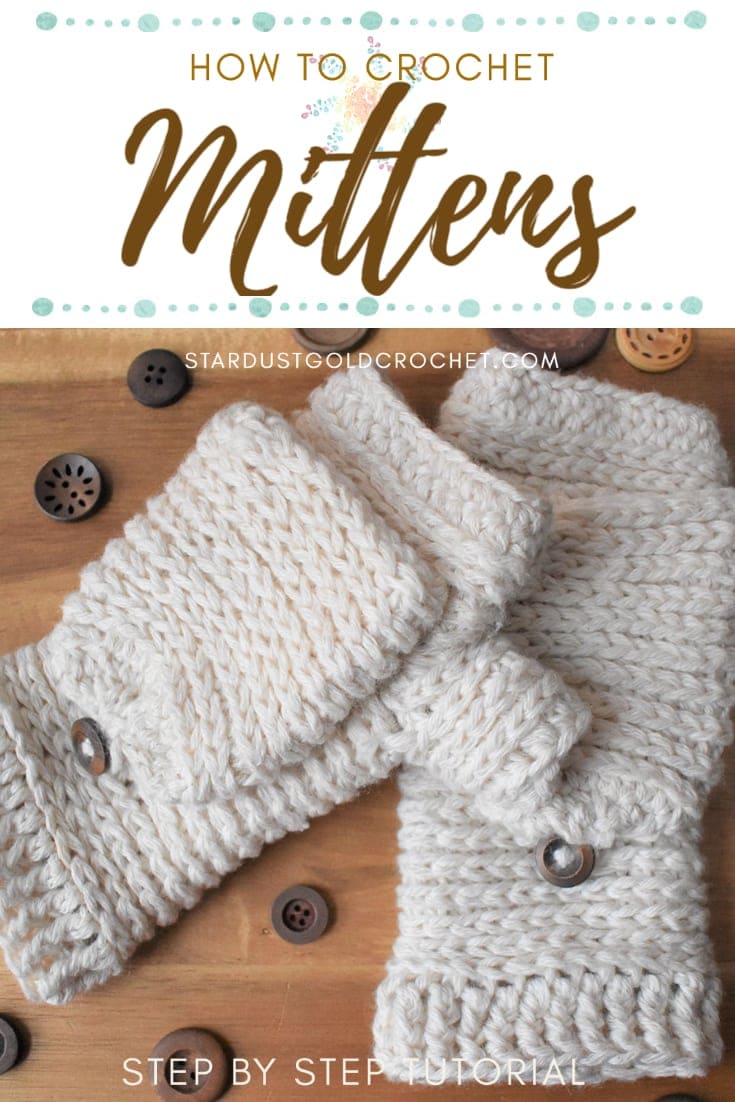
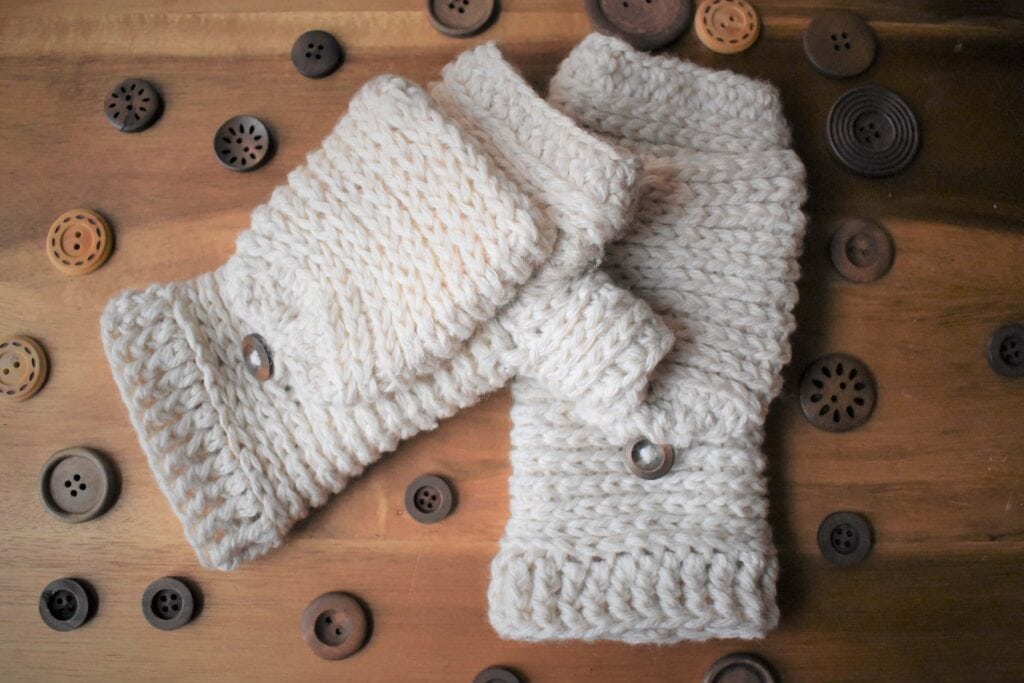
The crochet design pictured below was inspired by a pair of knitted mittens I have that had a flap to cover my fingers when they got cold. I love these mittens, but the design didn’t make sense to me for 2020. We use our phones – a lot. So I wanted to create some mittens that combine fashion and function by leaving an opening in the thumb. This means that you can text while keeping those fingers warm. 
I hope you enjoy creating your beginner crochet mittens!
In this post you will learn:
- How to crochet mittens (click here for Tabby Star Mittens Free Pattern)
- Taking Measurements
- Designing your own mitten style
- Best stitches for mittens
- How to get creative with your crochet mittens
- Finishing techniques
Video Tutorials at Bottom of Post
If you would like to join my pattern support group, you can find that here or click the button below.
Types of Crochet Mittens:
Let’s see, there are so many types of crochet mittens and here are a few styles you can create. Creating beginner crochet mittens is fun and you will enjoy making them your own.
- Traditional crochet mittens – fingers closed in, with a closed thumb.
- Finger-less crochet mittens – finger-less mittens with an opening for fingers and either with or without a thumb.
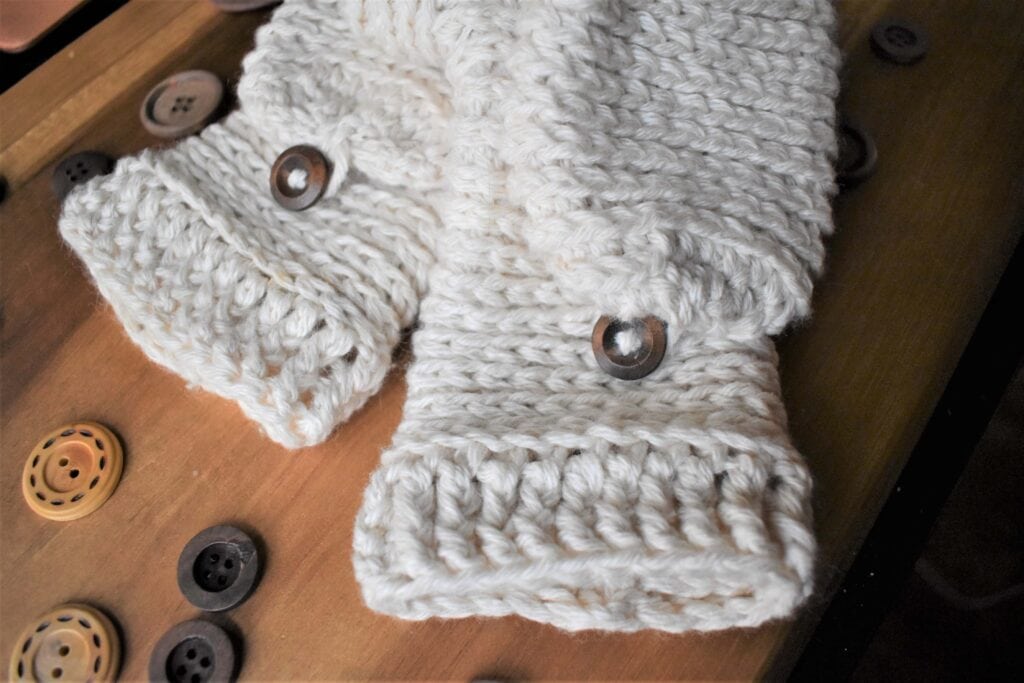
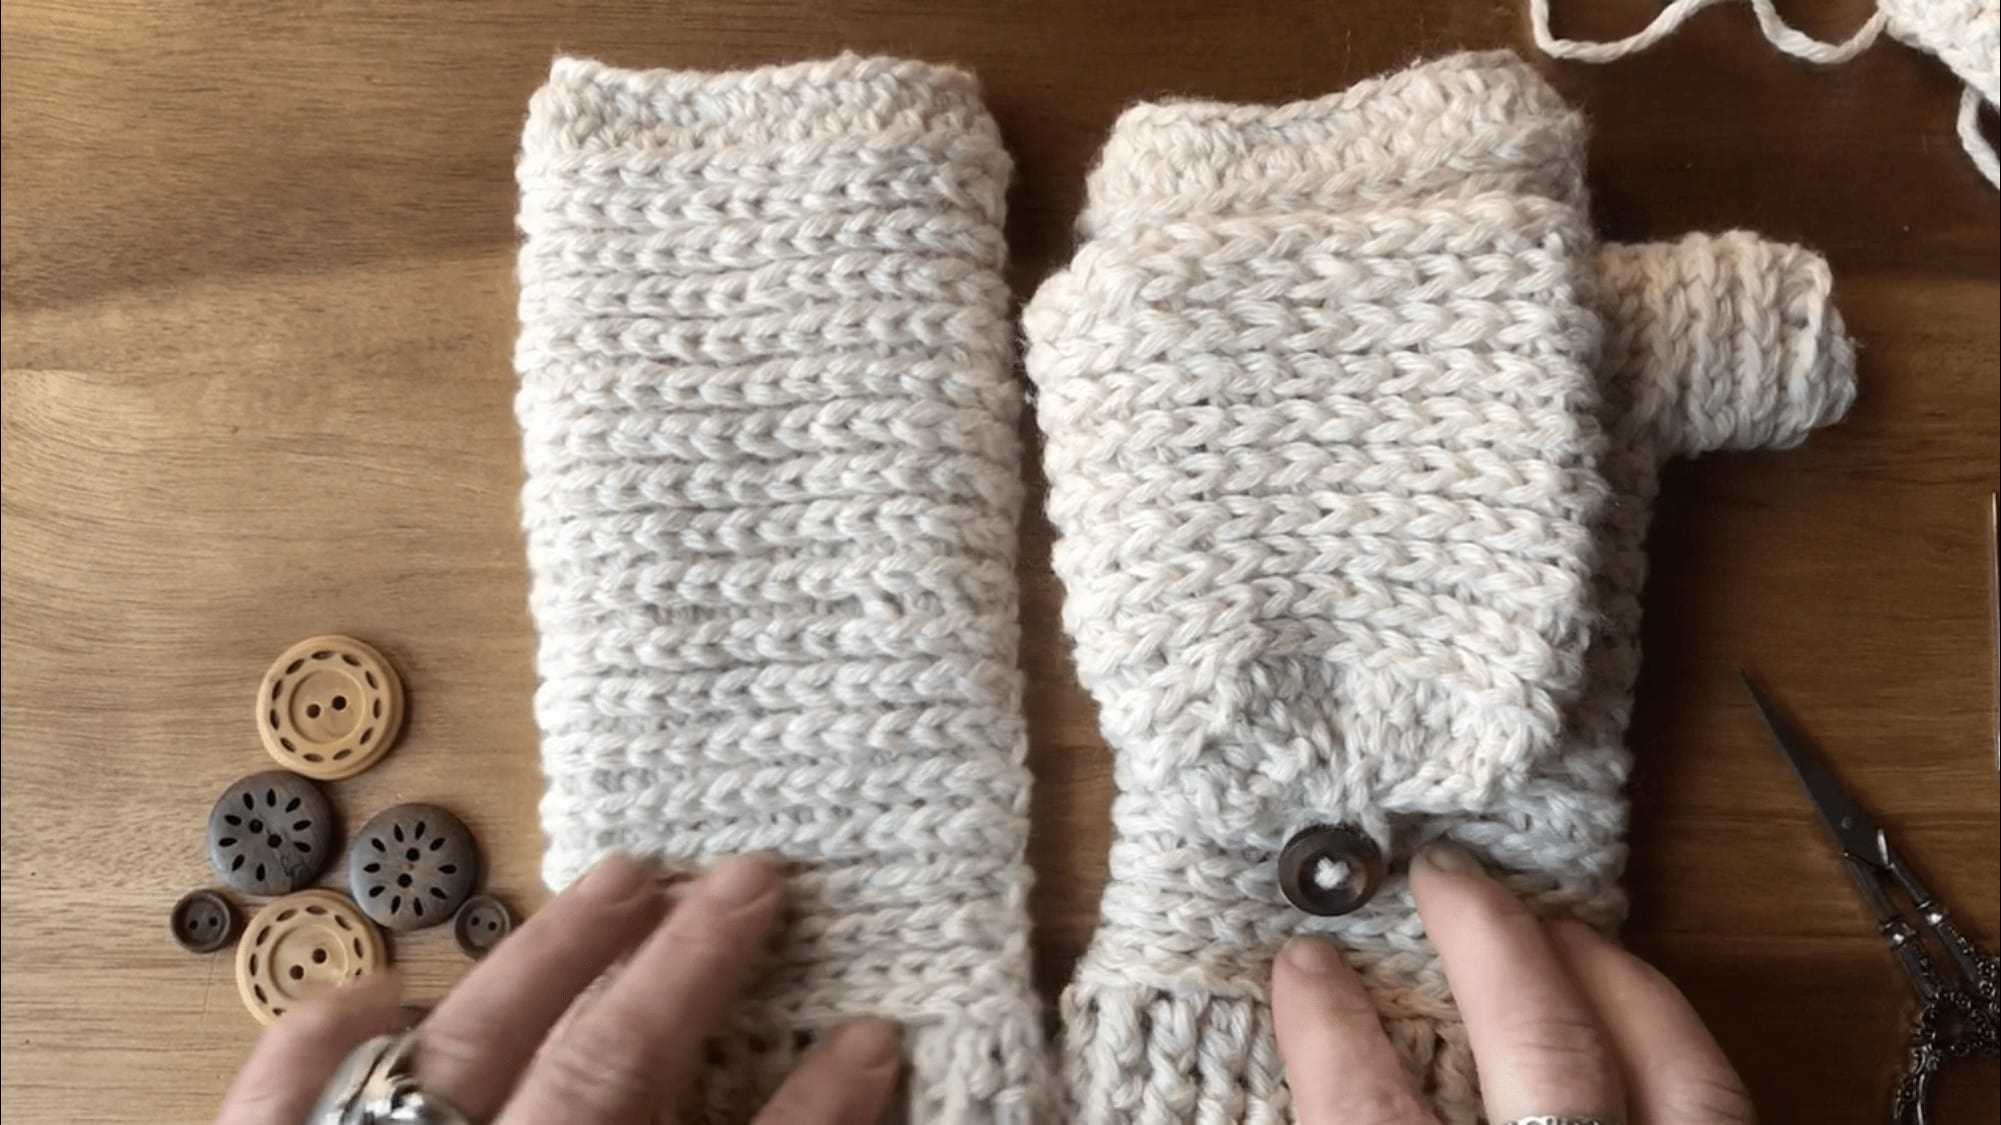
- Interchangeable Mittens – like the Tabby Star Mittens, these mittens are interchangeable from finger-less to traditional mittens.
- Fingered mittens – also known as gloves, because they enclose all fingers.
In this tutorial, you will learn how to crochet mittens in the traditional, finger-less, and interchangeable ways.

How to Crochet Mittens Step by Step
Getting started  :
:
beginner crochet mittens
First decide…do you want to create finger-less mittens? Interchangeable mittens? or a solid tradition style crochet mitten? Either way, this tutorial will help walk you through all three! If you want to skip this tutorial and make some interchangeable mittens, head over this post to create your own crochet mittens from a pattern. This beginner crochet mittens pattern tutorial will help.
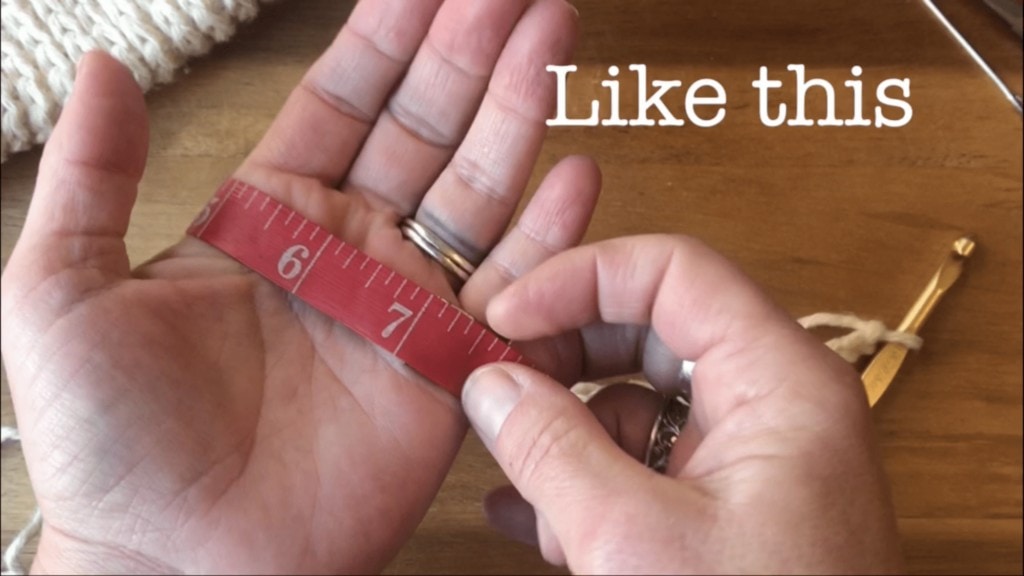
1. Measure Your Hand
Using a flexible measuring tape – measure around the base of your fingers. You want your starting chain to be 2 chains smaller than your final measurement.
- Finger-less Mittens: Worked in one piece with a thumb hole.
- Interchangeable Mittens: Works in two pieces and top part of mitten is sewn on.
- Traditional Mittens: Worked in one solid piece with thumb hole.
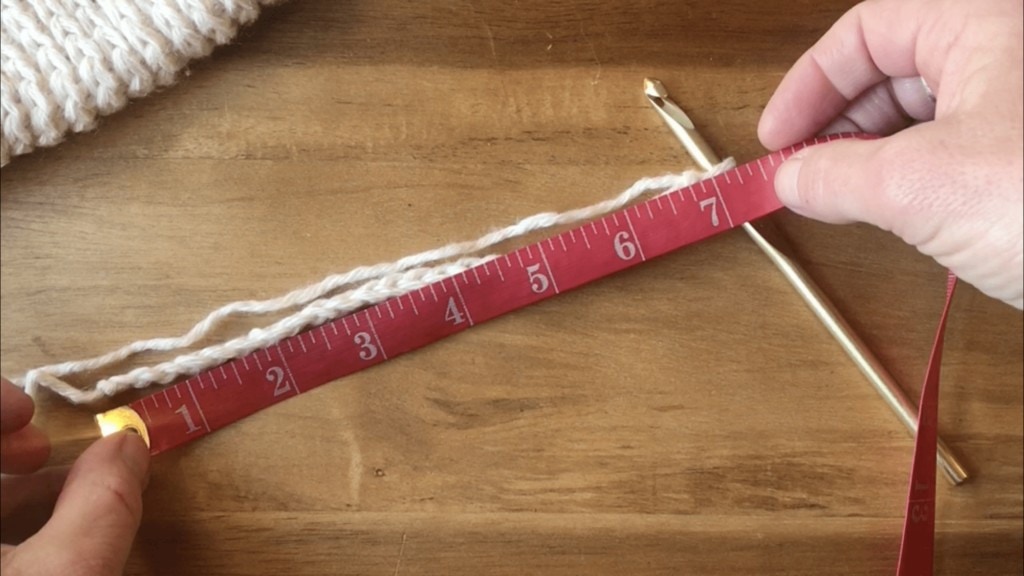
2. Create Your Starting Chain
Chain the number of chains you need to reach your measurement from above.
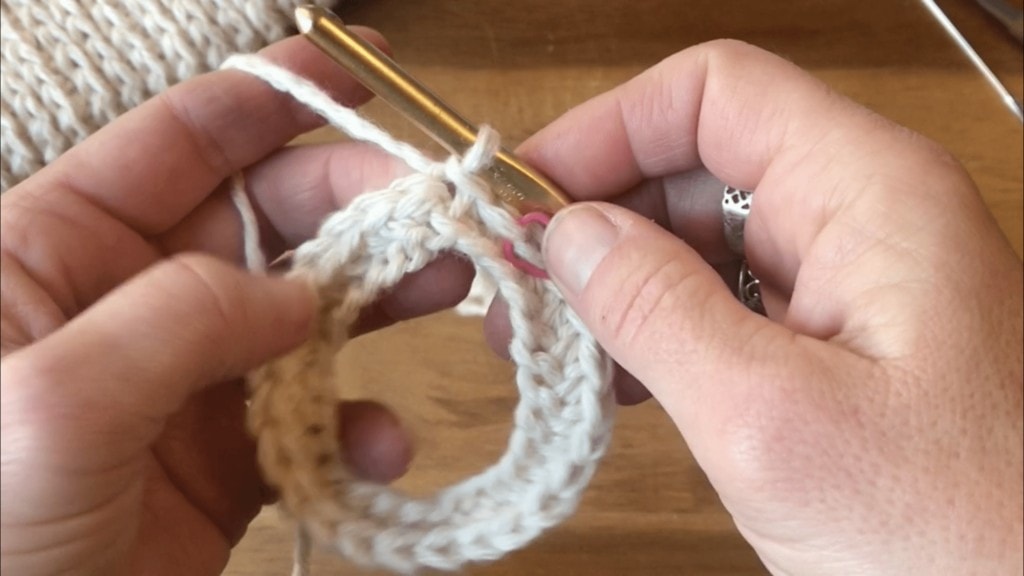
3. Join Your Chain Together
- Join your chain (remember not to twist it).
- Use a single crochet or a half double crochet stitch (these are smaller stitches that don’t let a lot of air through)
- Another good stitch for crochet mittens is the Tunisian Simple Stitch.
- Vary your stitch by working in the back loops only (to create a ridge)
- Join your rounds in the chain for a seamed mitten or…
- Do not join, mark the first stitch of each round and work in continuous rounds.
4. Test to See How Your Mitten Fits so Far
Place your mitten over your hand and see how it fits. If it feels too tight, rip it out and create a longer chain. If it is too loose, add a few more chains.
Remember: Yarn stretches with wear. A negative ease is sometimes better to start your project.
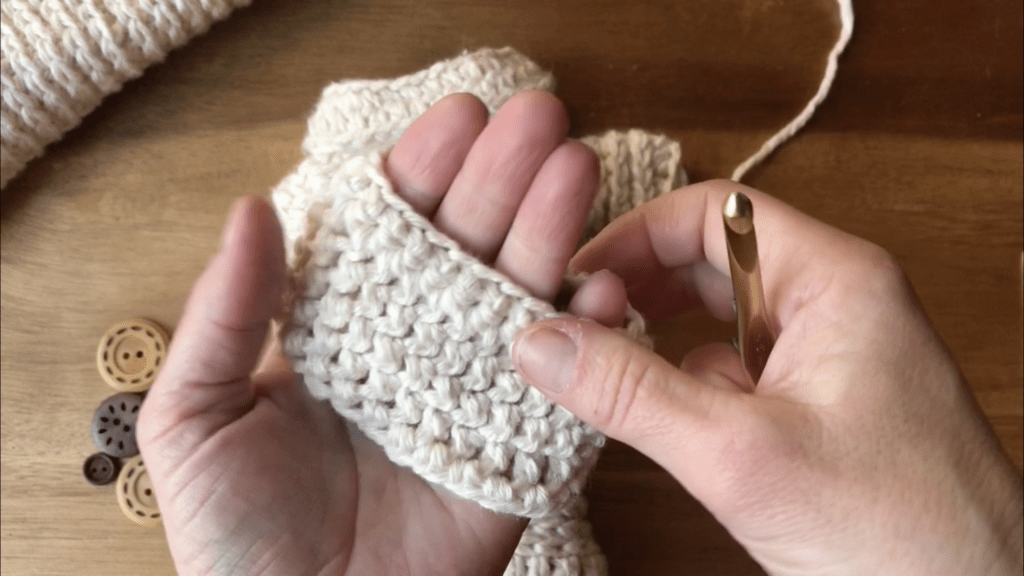
5. Continue Crocheting Your Mitten
Continue to crochet your mitten until you reach these milestones:
- Finger-less Mittens: Crochet until the height starts at the knuckles or base of fingers, and lands directly above your thumb.
- Traditional Crochet Mittens: When your project measure from the tip of your fingertips to just above your thumb.
- Interchangeable Mittens: Decide if you want your mittens to start at the knuckles or just above the bottom of your fingers, then work until it reaches just above the thumb (as pictured below, and stop there), then create a bottom piece that comes up to just above your thumb.
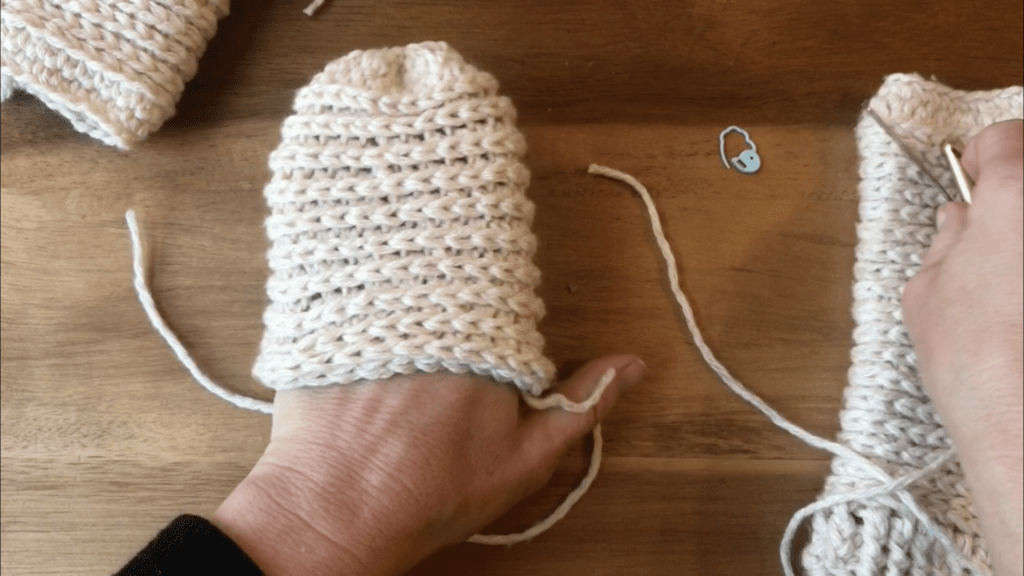
6. Create the Thumb Opening
For Traditional Mittens:
- Place your mitten on your left or right hand with seam (if you created a seam) on the inside of your hand. Mark the stitches on both sides of your thumb. Take note which hand you are working.
- Left Hand: You will usually work more stitches to start and reach thumb hole.
- Right Hand: Will usually have fewer stitches to start the round until you reach your first stitch marker.
- Crochet until you reach your first stitch marker.
- Count the number of stitches in between the markers, then chain that many.
- Skip those stitches from the row below and make your next stitch in the next stitch marker.
- Child size may be as few as 2 chains and skipping 2 stitches. Adults are usually 3 to 4 stitches depending on the yarn and hook size.
- Example: Chain 4, Skip 4 Stitches
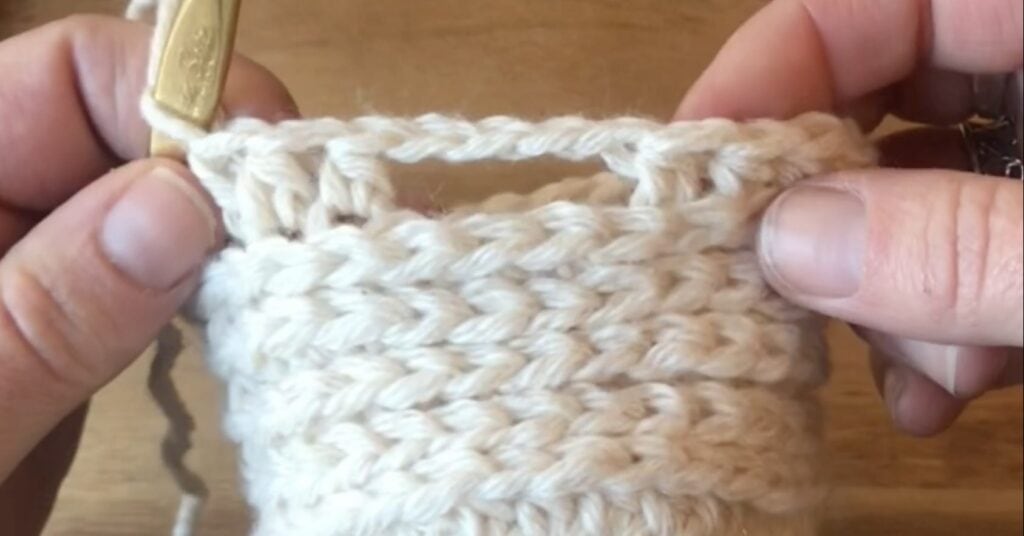
For Interchangeable Mittens:
- You’ve now completed the top section of your mitten. Stop working the top piece.
- Set it aside.
- Work a second mitten exactly like you worked the piece you just completed, except, stop when you reach just above the thumb.
- Follow instructions above for traditional mittens to create a thumb hole. You will attach the top of the mitten to this new piece after your complete the steps below.
- Skip to Step 7.
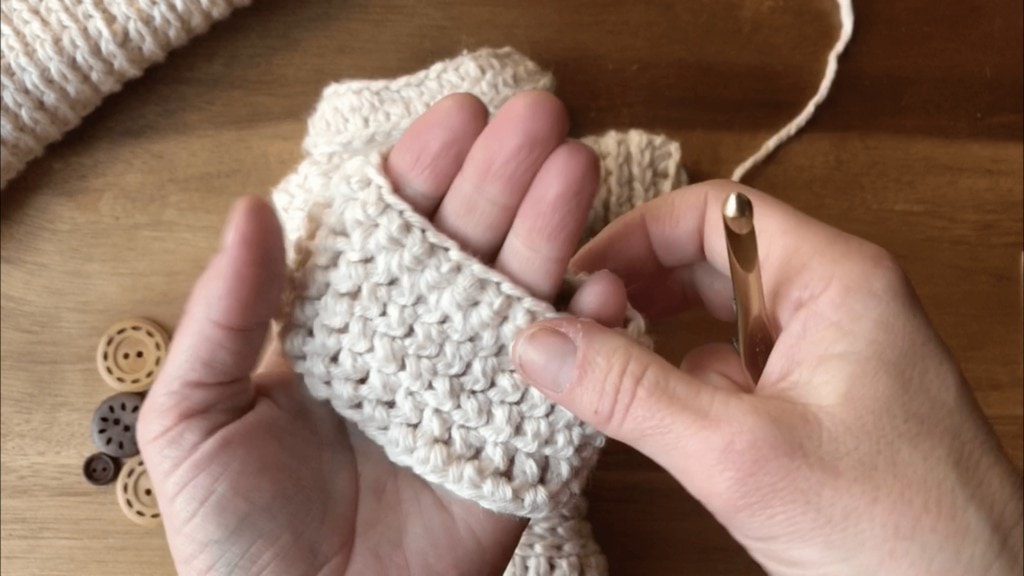
For Finger-less Mittens:
- Following steps 1 through 10.
- Step 10 will show you how to attach the top of the mitten to the base.
7. Crochet Until You Reach Desired Length of Mitten
When you come to the chain from your thumb hole, work into each chain. Continue to crochet until you reach the length you’d like. This can be:
- Just below the wrist.
- Mid forearm.
- Almost to the elbow.
- To the elbow.
- Past the elbow.
Remember: If you want to add a cuff, leave 1.5″ to 2″ for a cuff.
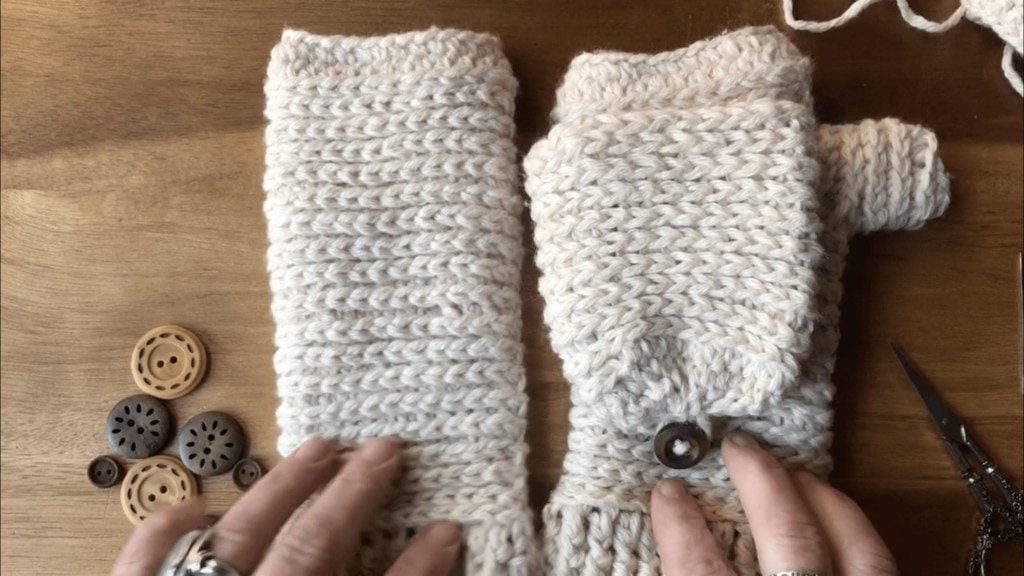
8. Create a Cuff
Creating a cuff is easy to do, and usually consists of a longer stitch, like the double crochet. Front post stitches work great for cuffs because they create a ribbing. Examples of good cuff patterns:
- Rib stitches – these can be created and sewn on, or working directly off your current rounds. This is a great technique to learn.
- Front Post Stitches – these are worked as a continuation of your current rounds.
- Picots, or decorative borders are fun too! These will take a little more math.
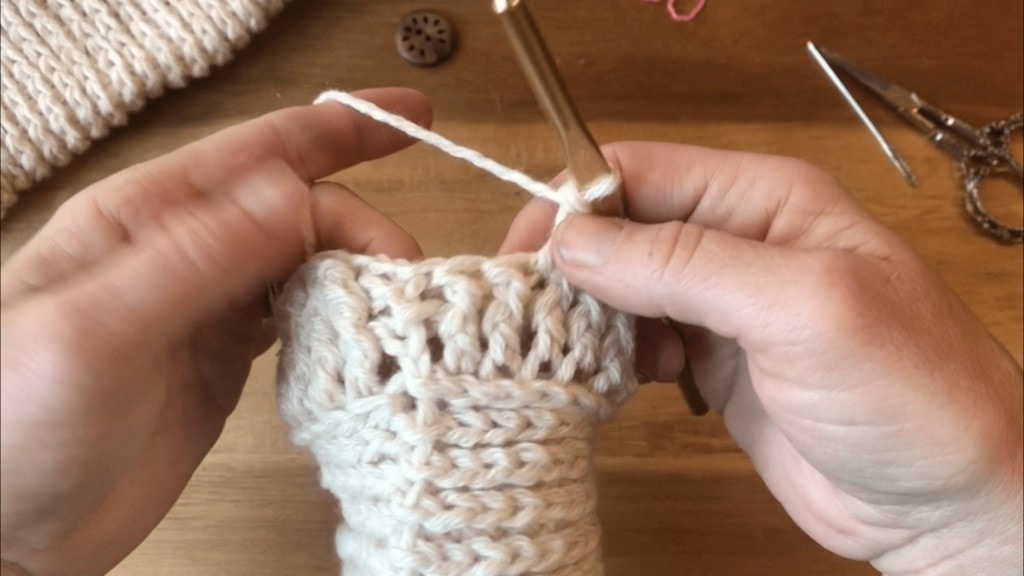
9. Crochet The Thumb
Depending on the style of stitch you choose will determine if you need to turn your work inside out or not. Play around and see what you feel looks the best.
- Attach your yarn in the inside corner of the opening, around the post of your stitch.
- Crochet around in each stitch, and each chain until you reach the height you’d like your thumb to be.
- You can choose to close the thumb up or leave it open for texting of course!
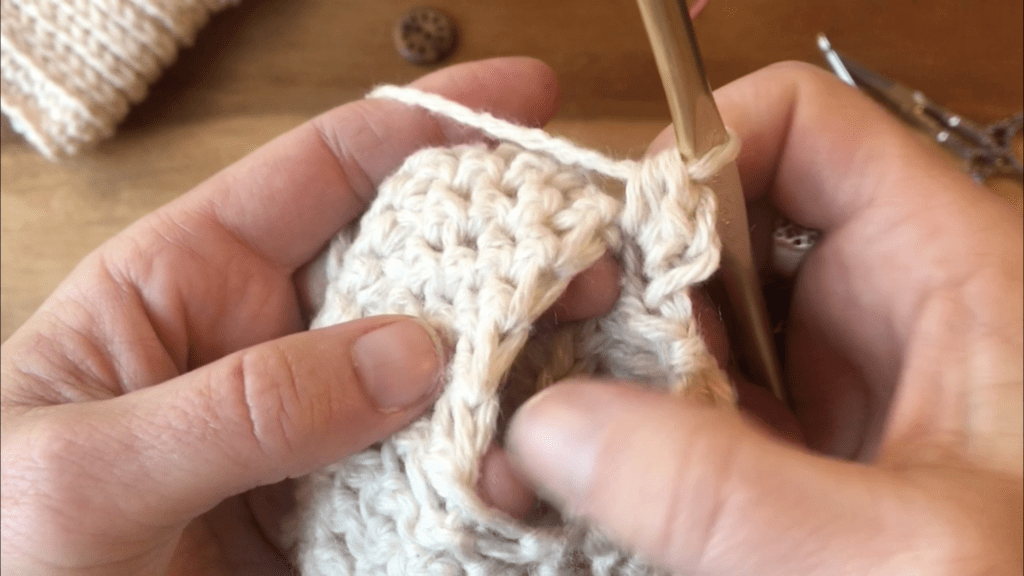
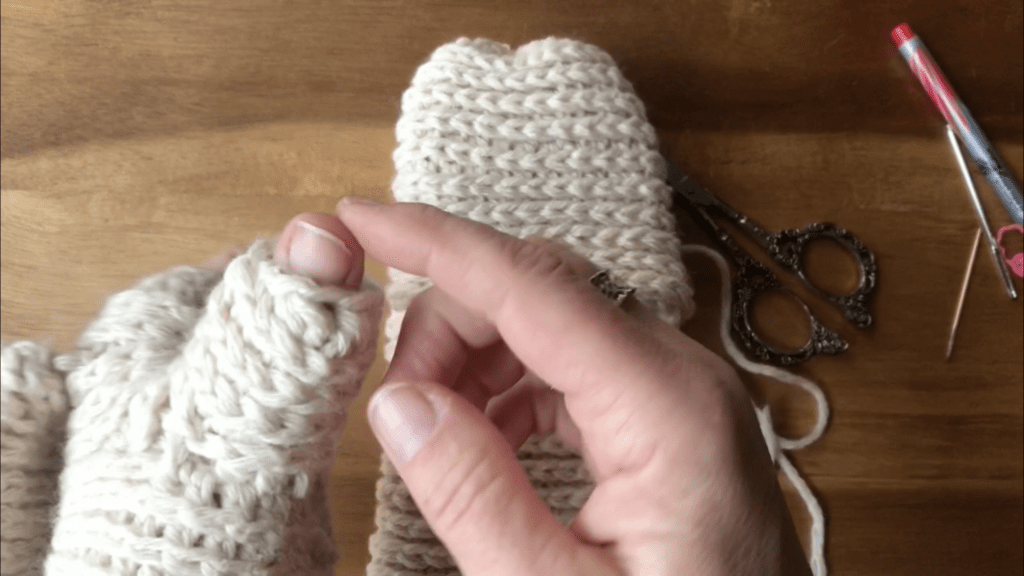
10. Finishing
Finger-less mittens
You don’t have to sew anything, just weave in all tails and you are finished!
Traditional mittens
At this point you should have one long mitten with a completed thumb. That means the final step is to close up the hole on top! Then you are finished! See Instructions below for closing the top.
Interchangeable mittens
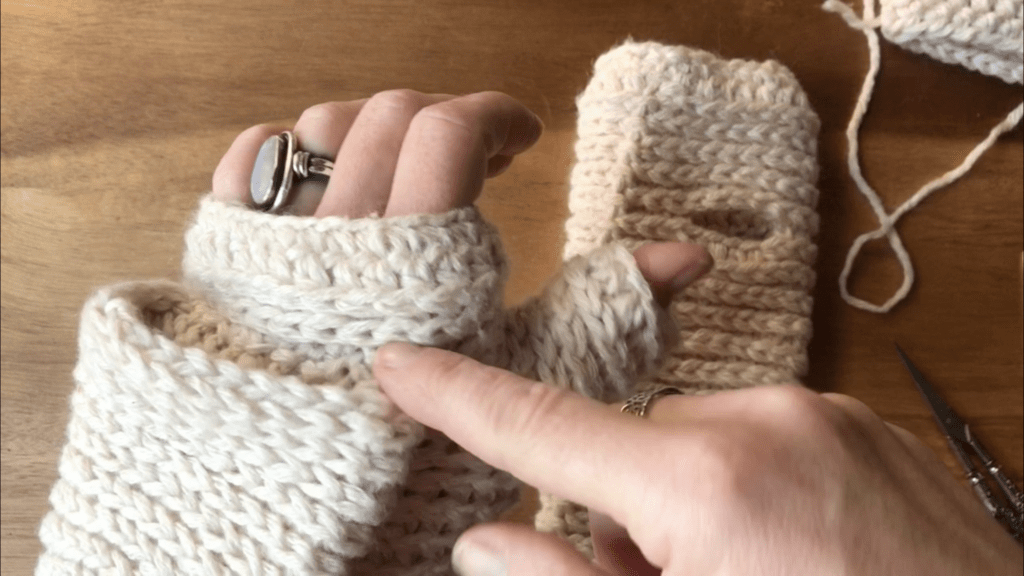
At this point you should have two pieces – a mitten top, and a main mitten. Follow instructions below to close up top and attach mitten top to main mitten.
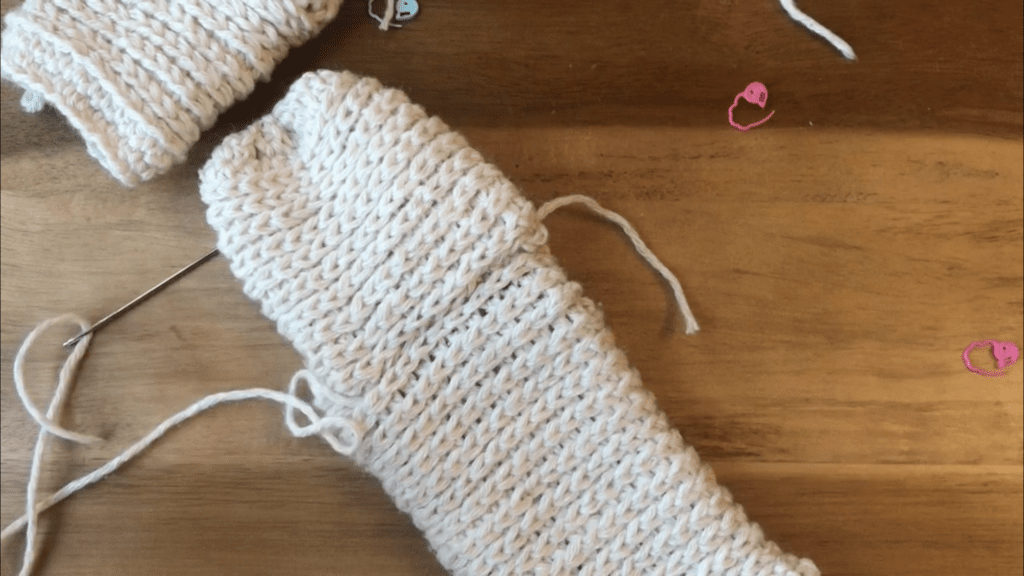
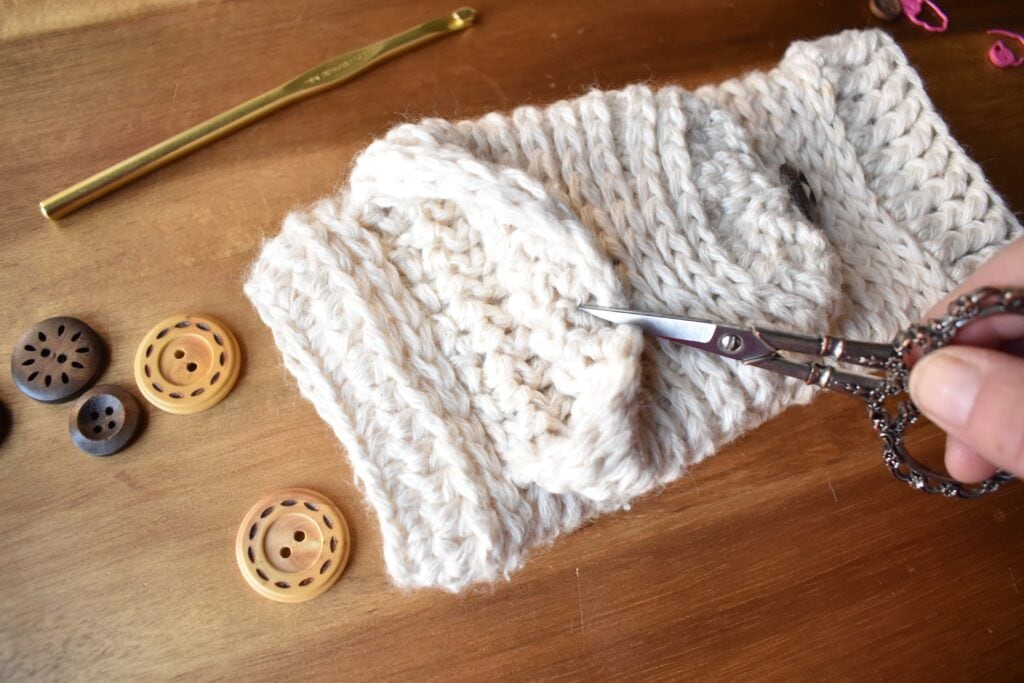
- Then place your mitten top on top of mitten with top of mitten top facing the cuff.
- Sew along the inside through the innermost loops of the mitten top and the posts of the stitches on the main mitten.
- This technique helps the stitch pattern remain consistent.
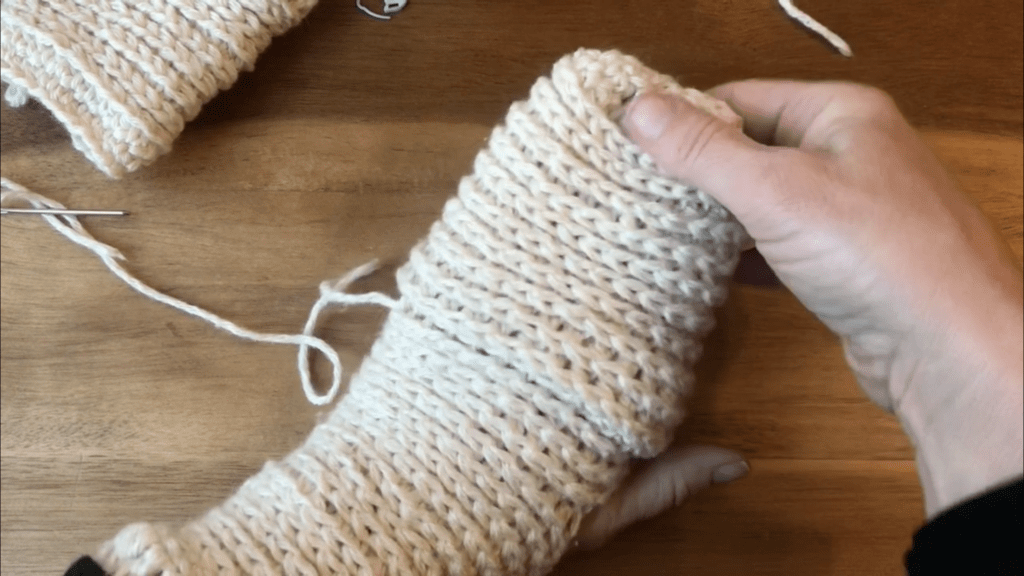
Sewing the Top
Sew the top of the mitten as shown below. Sew all the holes together until there are no more holes, leaving a long tail to create a loop.
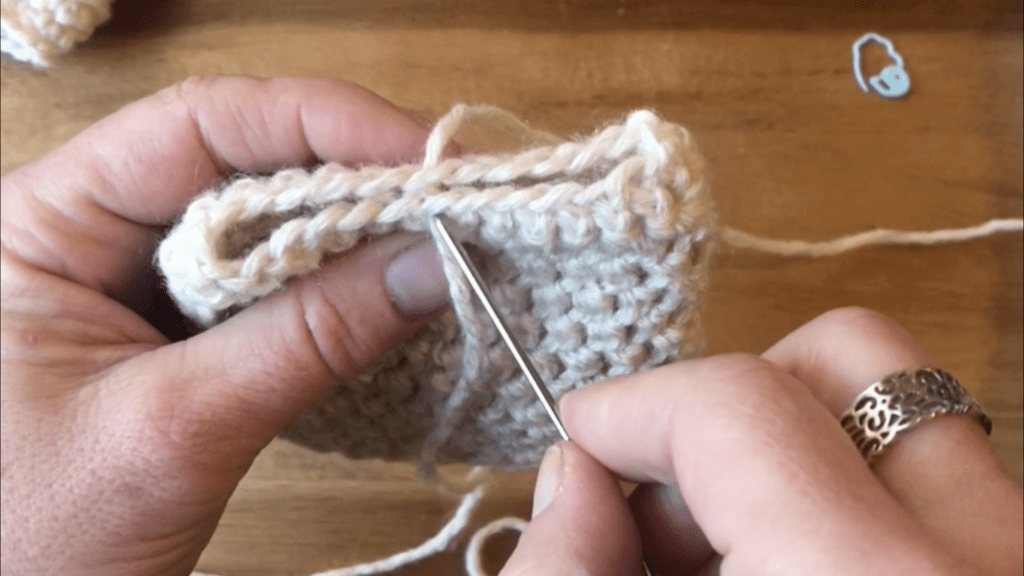
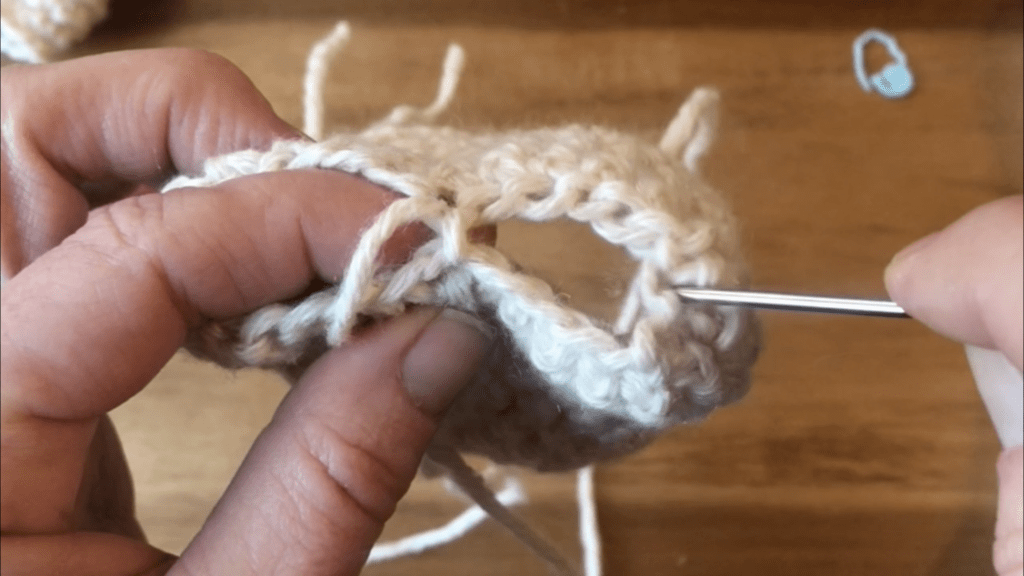
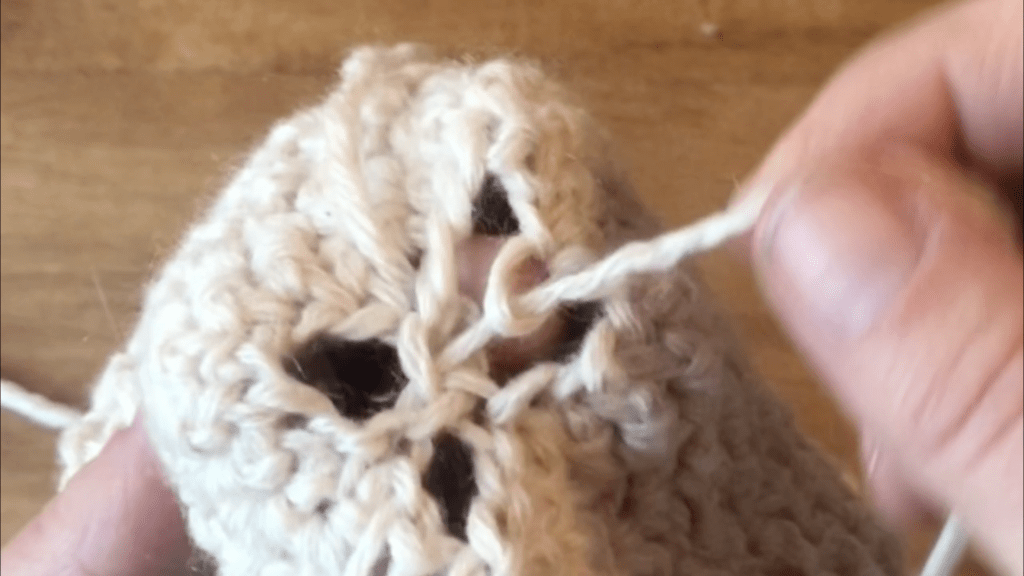
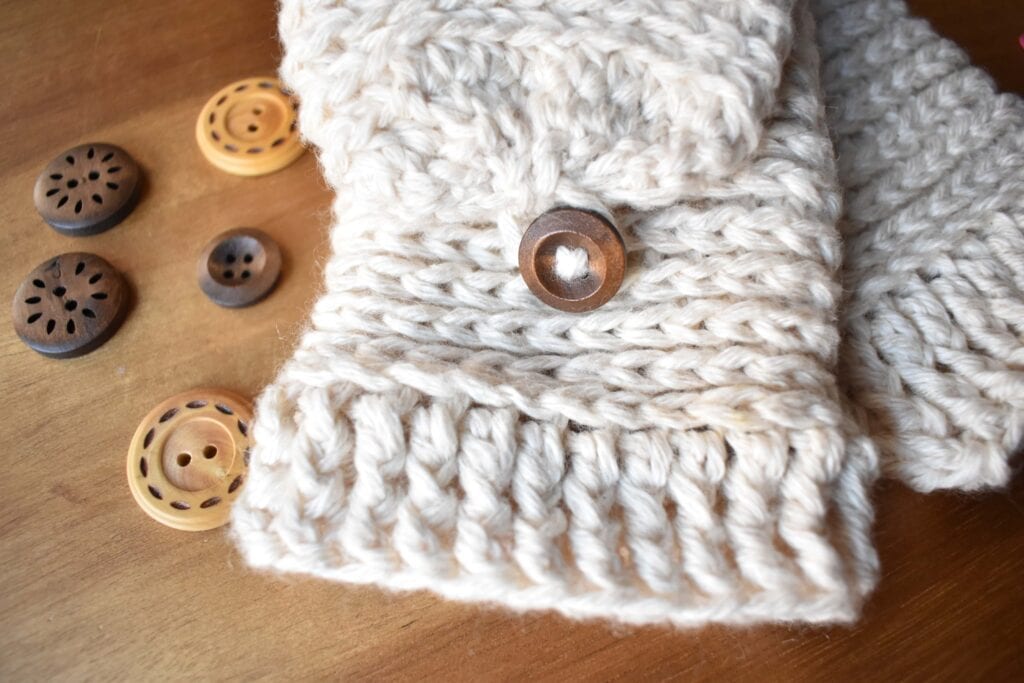
Create the loop large enough to go over your button, and use a fishermans knot to secure it on the inside of your glove.
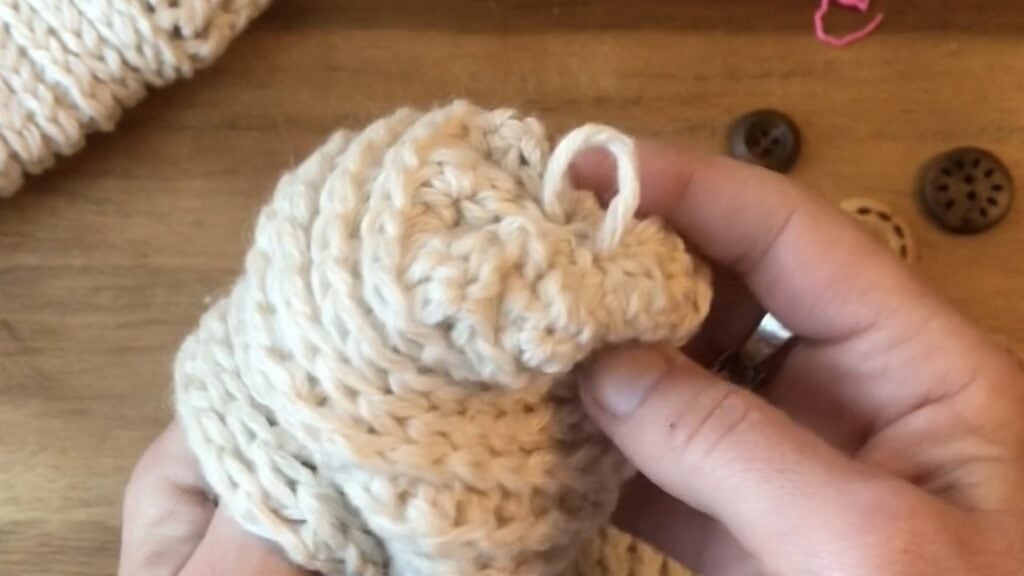
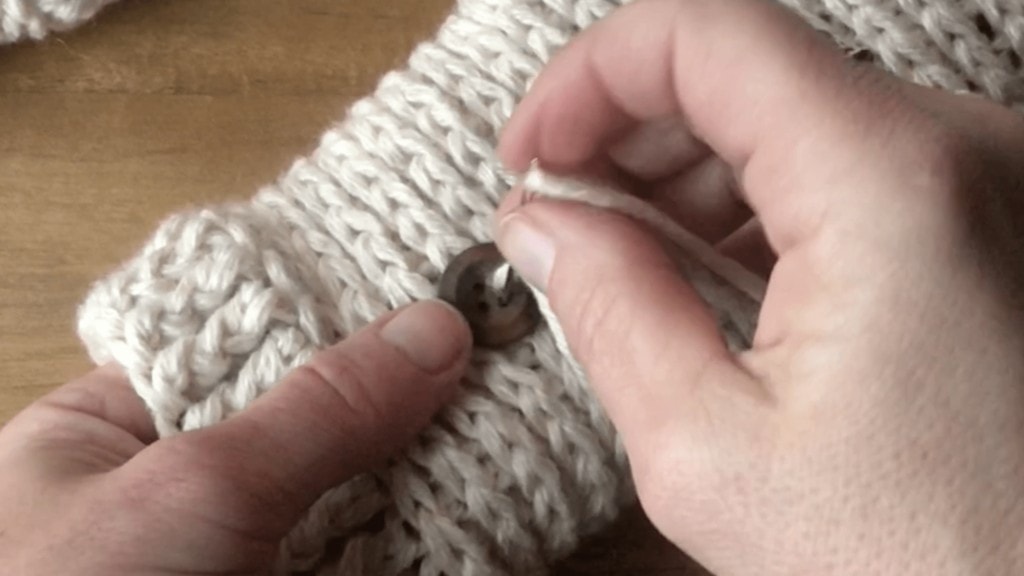
Place your button and sew using a cross stitch.
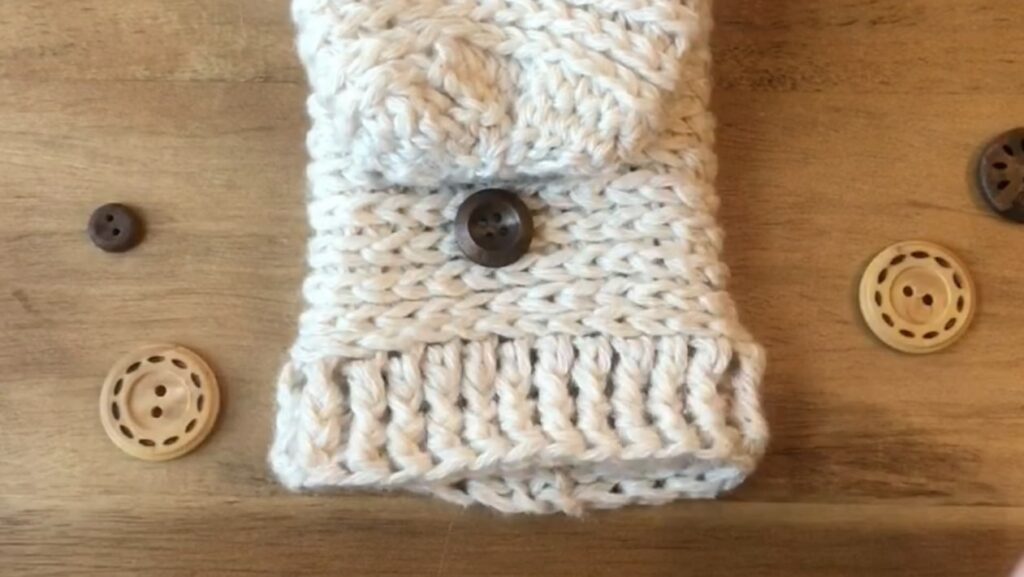
Congratulations! You Are Finished!
How To Crochet Mittens Part 1
How To Crochet Mittens Part 2 – Thumb & Mitten Top
Pin it, Instagram it with #HowtoCrochetaMitten or #StardustGoldCrochet
Are you a visual learner?
The full video tutorial can be found on YouTube here.
I hope you enjoyed this tutorial! Please share your finished works with me and share with your friends by using the hashtags mentioned above, I would love to see them.
My socials 


Subscribe to my YouTube Channel for more great crochet video tutorials!


 :
: 
1 thought on “How to Crochet Mittens| Step by Step Crochet Tutorial with Video by Stardust Gold Crochet”