
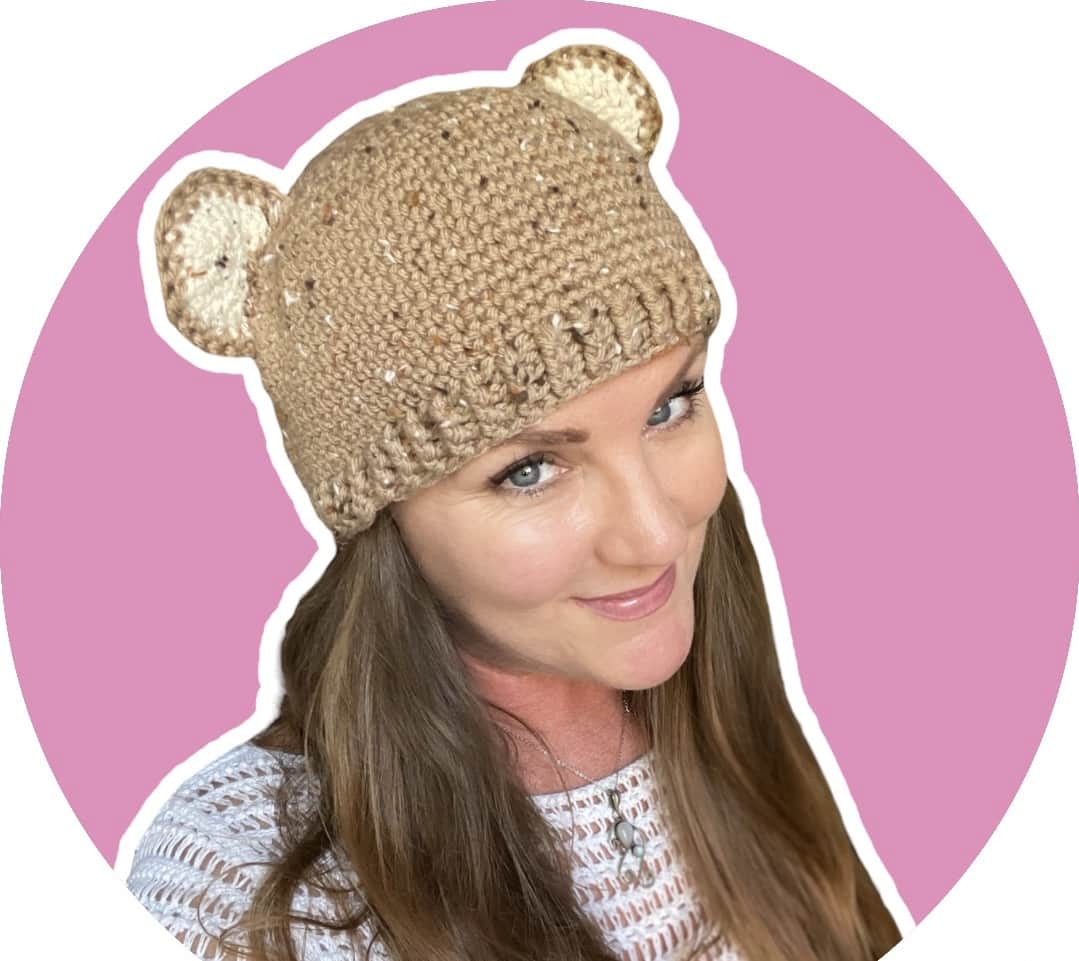

Ready to embrace the chilly days with a touch of cuteness? The Cubby Bear Beanie is here to warm your head and melt your heart! This beginner-friendly crochet bear beanie pattern 🐻 combines simple stitches with adorable bear ears for a hat that’s both practical and playful.
So, grab those hooks, some cuddly yarn, and let’s dive into the cozy world of making cute bear beanies!
What Makes the Cubby Bear Beanie 🐻 so Pawsome?
- Easy-to-follow instructions: Ideal for beginner crocheters, this pattern utilizes basic stitches and a straightforward construction.
- Cuteness overload: Those fluffy bear ears atop your head are guaranteed to bring smiles and snuggles.
- Warm and snug: Brisk mornings or snowy adventures? This beanie will keep your head cozy and comfortable.
- Perfect for personalization: Choose your favorite yarn colors, customize the size for all ages, and make it your own!

Tips and Tricks for Creating the Perfect Customized Crochet Bear Beanie:
- Mark the first stitch of each round: Use stitch markers to easily identify the first stitch of each round, especially if you’re a beginner.
- Don’t be afraid to frog it! Sometimes mistakes happen, and that’s okay! Simply unravel the section with the error and try again. The beauty of crochet is that it’s forgiving and allows you to learn as you go.
- Measure as you go: Since this beanie is being customized to fit your perfect head size or the size of a loved one, either follow the crown and hat height guides exclusively, or measure as you go!
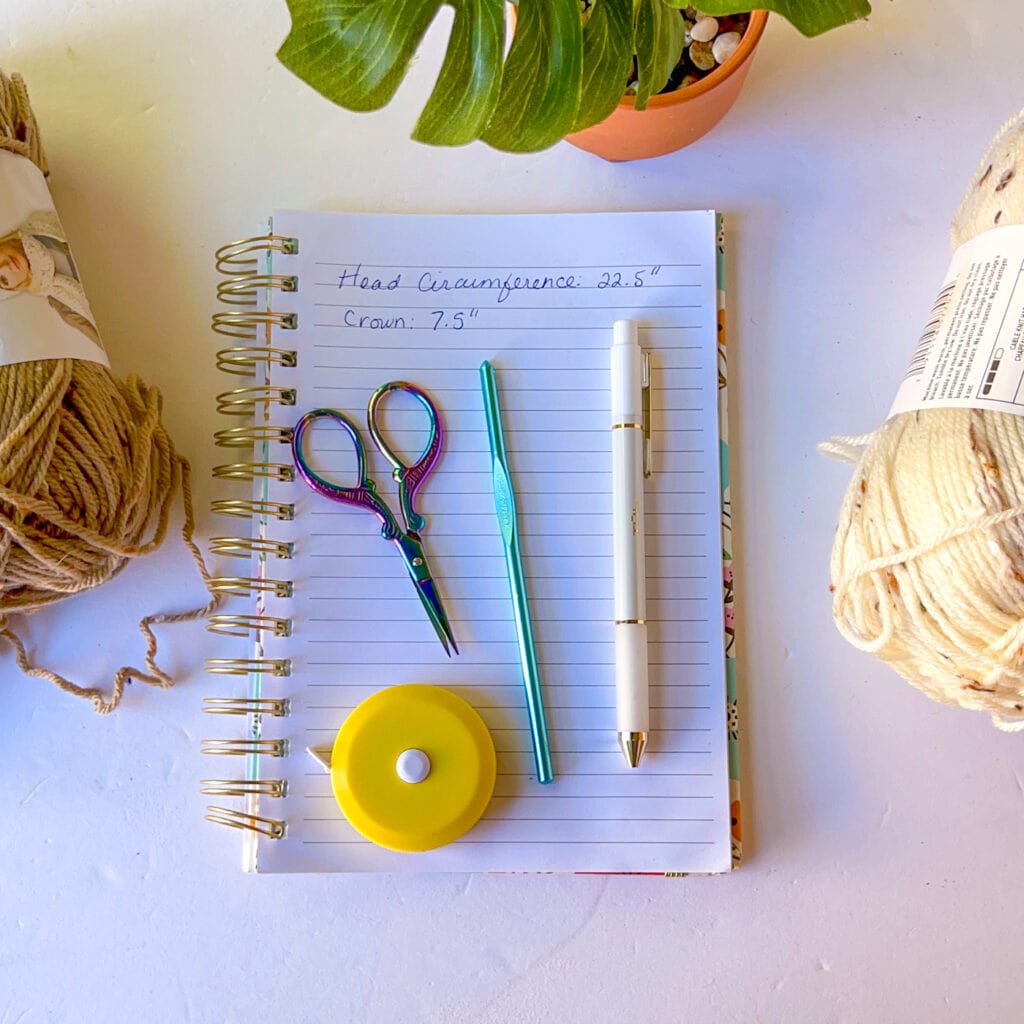
Gathering Your Essentials:
Before we embark on our beanie-crafting journey, make sure you have everything you need:
- Yarn: Choose a medium-weight yarn in your desired color. Opt for something soft and warm for that extra snuggle factor. I used Impeccable by Loops & Threads, you can find it at Michaels. In Ivory Tweed & Taupe.
- Crochet Hook: A 5mm (H) crochet hook is ideal for most medium-weight yarns, but check the recommended size if using a specific brand. I used a 5 mm crochet hook.
- Scissors: To snip yarn and ends with precision.
- Yarn Needle: For seamlessly weaving in those dangling ends.
- Stitch Markers (optional): These handy tools help mark important points in your pattern, especially for beginners.
- Measuring Tape: To ensure your beanie fits perfectly.
You can always opt to use a chunky yarn too! Go wild, be creative!
Mastering the Stitches:
This adorable crochet bear beanie requires just a few basic crochet stitches:
- Single Crochet (sc): The workhorse of this pattern, forming the main body of the beanie.
- Double Crochet (dc): Used to create the ears.
- Back Post Double Crochet (BPdc): Used to create the ribbing pattern (same as a front post double crochet except you insert your hook from back to front and to the back again around the stitch – see FPdc tutorial link below).
- Front Post Double Crochet (FPdc): Used to create the ribbing pattern.
- Slip Stitch (sl st): Used to join the last round.
Stitch Guide:
Sc – Single crochet: Insert hook in indicated st. Yo, draw up a loop (2 loops on hook). Yo, draw through both loops on the hook.
Sc INC – Single crochet increase: Crochet 2 single crochets into the same stitch.
Dc – Double crochet: Yo, insert hook in indicated st. Yo, draw up a loop (2 loops on hook). (Yo, draw through 2 loops) x 2 (1 loop left on hook)
FPdc – Front post double crochet: Yo, insert hook around indicated st (from front to back and out the front again). Yo, draw up a loop (yo, draw through two loops) x 2.
BPdc – Back post double crochet: Yo, insert hook around indicated st (from back to front and out the back again). Yo, draw up a loop (yo, draw through two loops) x 2.
Full Video Tutorial (click image):

Download the Free Crochet Beanie Sizing Guide (Printable):

Building the Bear Beanie:
Here’s a step-by-step guide for crafting your very own Cubby Bear Beanie:
1. The Crown:
- Option 1: Basic Increases: Begin with a magic ring / magic circle and crochet 6 single crochets into the ring. Follow the increase formula provided below: each row increases by 6 stitches. Continue crocheting rows using the formula until your beanie reaches the desired crown width (see printable crown height chart below).
- You may notice your beanie developing a hexagon shape. Start using the staggered increase formula below to solve that problem, or you can simply use staggered increases throughout.
- Option 2: Staggered Increases: Begin with a magic ring and crochet 6 single crochets into the ring. Follow the staggered increase formula provided below: alternate rows with standard increases and rows where the increases are staggered. This creates a more circular beanie with a smoother shape.
- Once you’ve reached the desired crown width, stop increasing and crochet rounds in single crochet without any increases until your hat reaches


Create the ribbed brim:
After you complete your last round of single crochets.
- Slip stitch into the next stitch, ch 1, FPdc around next sc, BPdc around next sc.
- In the next round, FRdc around each FPdc & BPdc around each BPdc.
- I crocheted 3 rounds to get my desired brim height, but you can create a wider brim if you’d like!
2. The Bear Ears:
Head over to the How to Crochet Bear Ears post to create these cute ears, then come back for finishing instructions.
3. Finishing Touches:
- Once both ears are complete, stuff the dangingling ends inside.
- Join the base of the ears to the body using a whip stitch and the long tail.


Basic Beanie Increase Formula for Crowns:
Create a magic circle – or – crochet 3 chains & work the first round into the first chain.
From rounds 3 on, you’ll repeat the short sequence (i.e., sc in first stitch, sc 2 in next is one sequence) as many times as needed to complete the round.
- R1: 6 sc into ring
- R2: 2 sc in each stitch (12 sc)
- R3: Sc in first stitch, sc 2 in next stitch. (12 sc)
- R4: Sc in next 2 stitches, sc 2 in next stitch. (18 sc)
- R5: Sc in next 3 stitches, sc 2 in next stitch. (24 sc)
- R6: Sc in next 4 stitches, sc 2 in next stitch. (30 sc)
- R7: Sc in next 5 stitches, sc 2 in next stitch. (36 sc)
- R8: Sc in next 6 stitches, sc 2 in next stitch. (42 sc)
Do you see the pattern? With each round, sc 7, increase in next stitch, sc 8, increase in next stitch, sc 9, increase in next, until you reach your crown width from the chart below.
Basic Beanie Staggering Increases Formula for Crowns:
If you want to stagger your stitches for the entire beanie, it’s a tad more advanced, but creates a perfectly round crown.
- R1: 6 sc into ring
- R2: 2 sc in each stitch.
- R3: Sc in first stitch, sc 2 in next stitch.
- R4: Sc 2 in first stitch, sc in next 2 stitches.
- R5: Sc in next 3 stitches, sc 2 in next stitch.
- R6: Sc 2 in first stitch, sc in next 4 stitches.
Continue staggering your increases by alternating the single crochet increase. So, you start off increasing at the beginning of the round, then on the next round work your single crochets, and end the repeat with your increase.
All the stitch counts remain the same. Doing it this way will not affect that at all.

Personalize Your Cubby Bear Beanie:
- Experiment with different yarn colors and textures! Classic brown for teddy bear vibes, playful stripes for a fun twist, or even luxurious faux fur for extra warmth – let your creativity flow!
- Add buttons, bows, or embroidered details to the ears or brim for a personalized touch.
- Don’t forget the accessories! Pair your Cubby Bear Beanie with matching mittens, a cozy scarf, or even a little stuffed bear friend for the ultimate snuggle package.
So, grab your hook, pick a color, and embark on your Cubby Bear Beanie adventure! With a little practice and these helpful tips, you’ll be crafting adorable and cozy hats in no time. Let your imagination run wild, embrace the cuteness, and enjoy the journey!
Thanks so much for being here and please leave any questions you have below. I’m happy to answer them.
Need pattern support?
Crochet Pattern Support
I hope you enjoy this easy pattern. Pattern support? Head over to Stardust Gold Crochet & Friends.
- If you are looking for a drama-free crochet group, check out my pattern support group, Stardust Gold Crochet & Friends
- We have fun and share crochet patterns, stories, and courses; you can ask me about any pattern in my library for support.


I believe there is a typo error in Round three. It should be 18 stitches instead of 12. That results in the next rounds stitch counts being off.