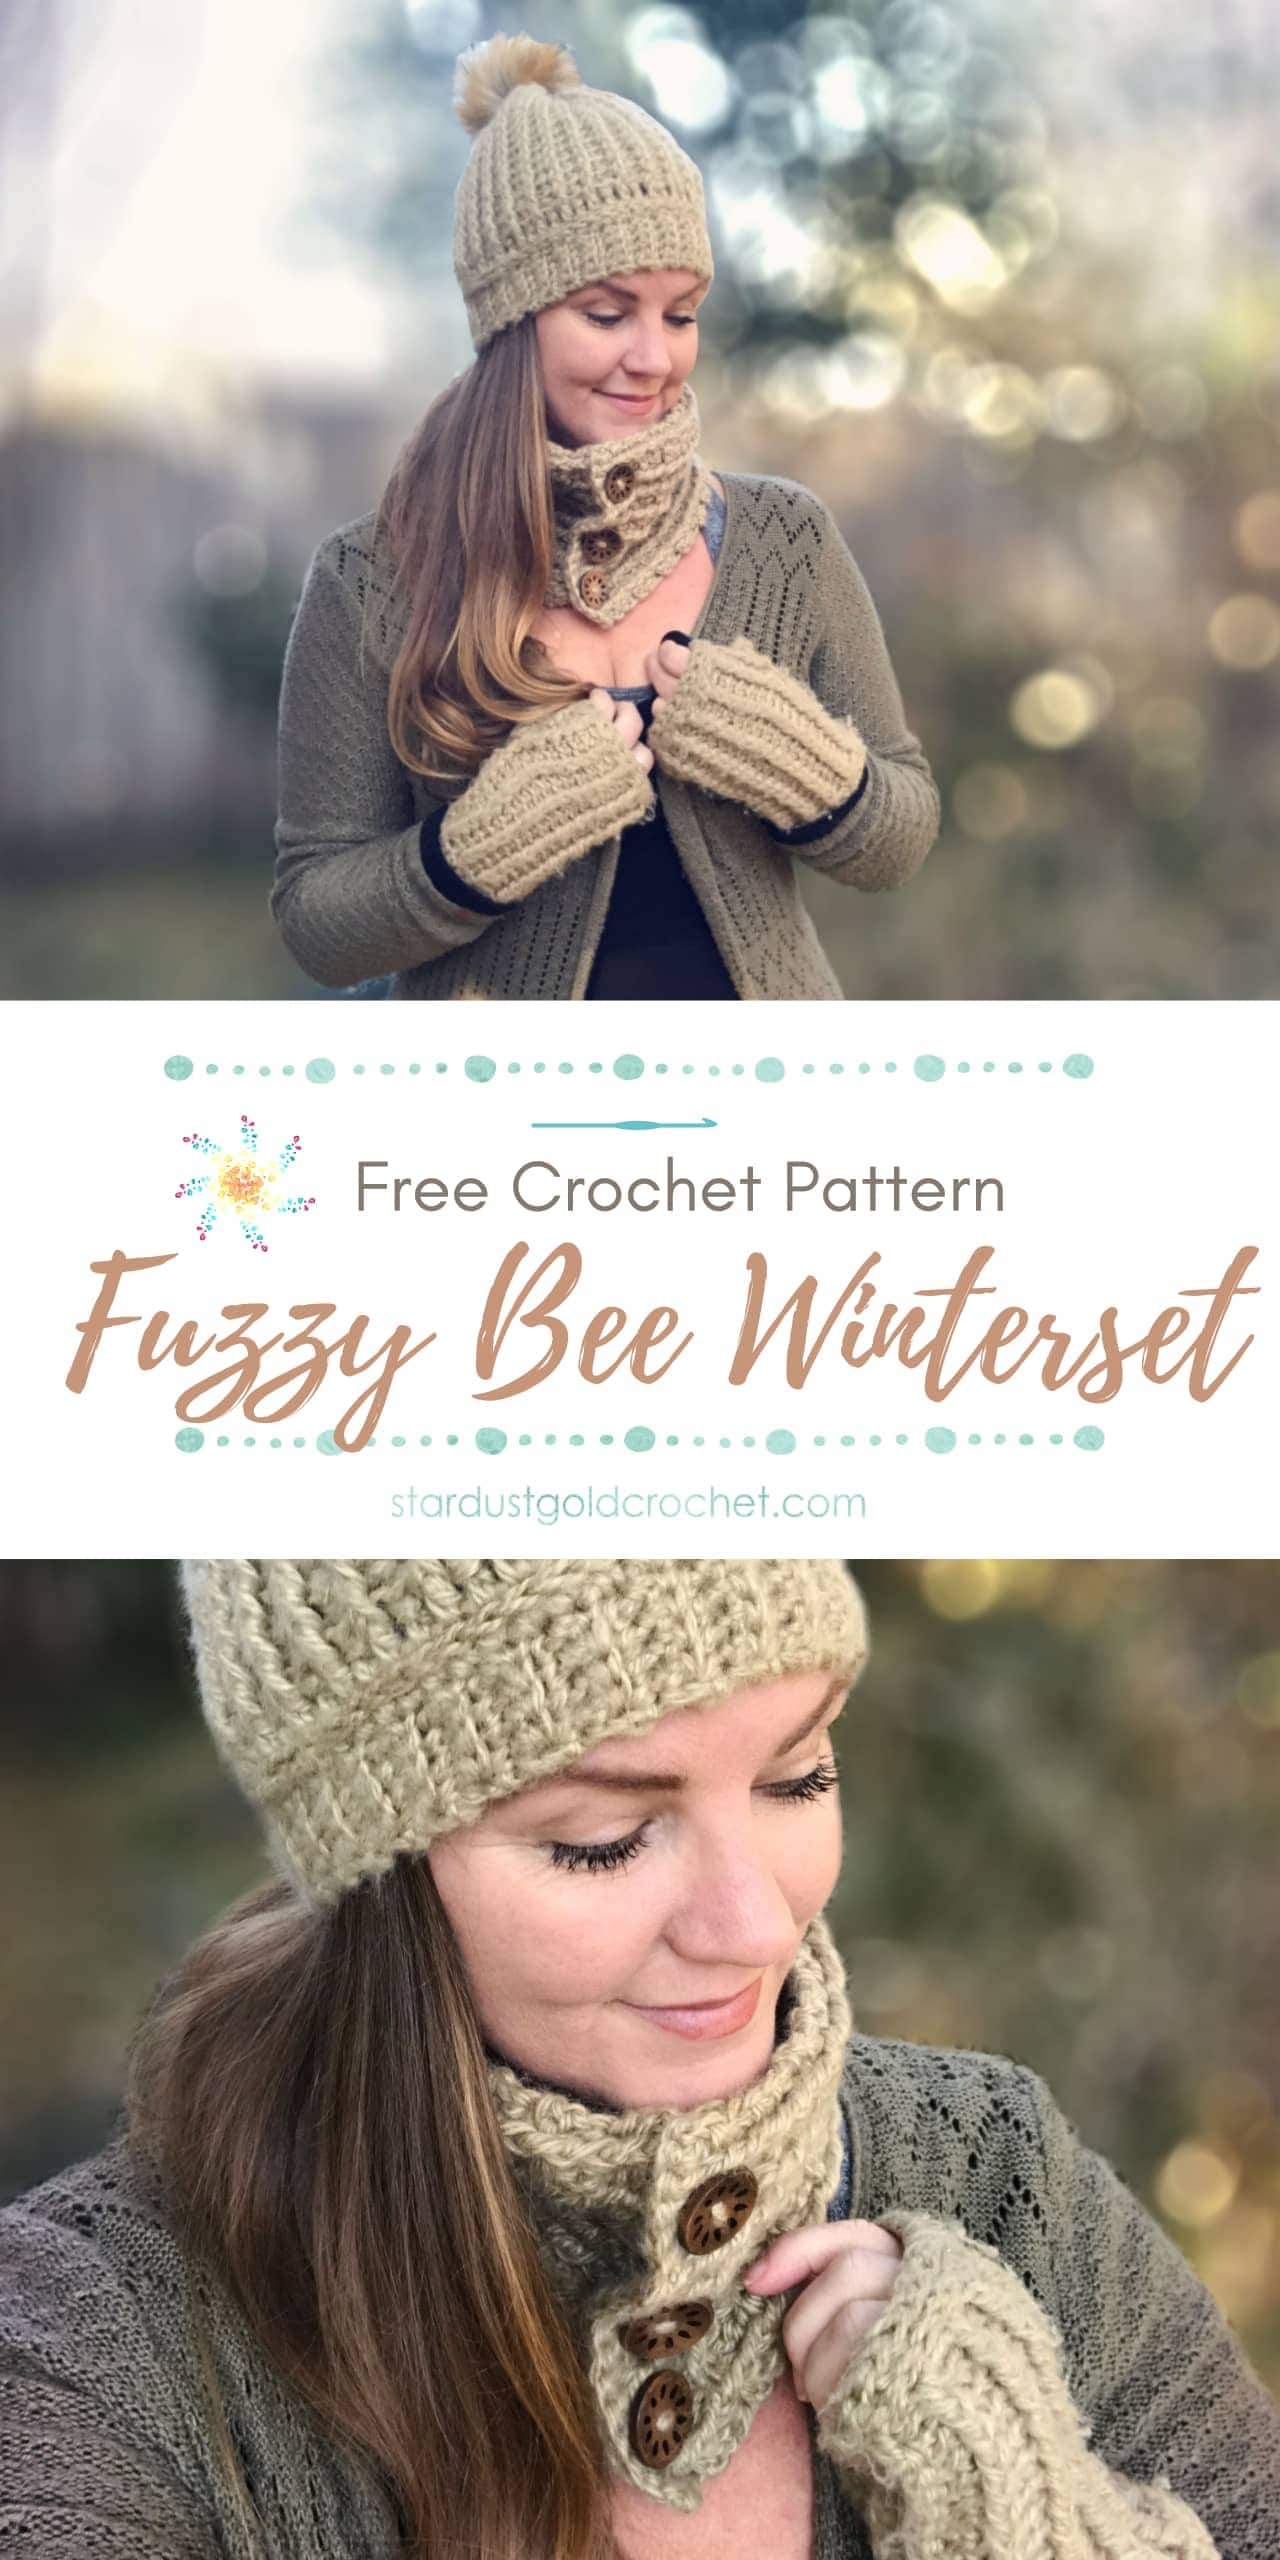
The Fuzzy Bee 
I wanted to design a set where each aspect (beanie, hand warmers, cowl) use up 1 skein of yarn!
It worked out perfectly (almost!) 
If you need Pattern Support, please join my private Facebook Group Here
I hope you enjoy this pattern!
Hashtag #FuzzyBeeWinterSet or #stardustgoldcrochet so I can see your creations!
Table of contents
A little bit about the yarn…
Hobby Lobby Tender Touch is a bulky (5) weight yarn, and comes in all sorts of colors, including soft blues, pinks, browns & greys.
There are so many to choose from. This yarn has been around for a while and I don’t think it’s going anywhere, but just in case, I will post below some great yarn subs!
Yarn subs…
The best place to check for a yarn substitute is at Yarnsub website here.

A little note about how this pattern is written…
The Beanie:
The brim is worked first, joined, then worked in rounds to top and sewn together. Add a pom pom as you want.
The Hand Warmers:
These are worked in the round, top down, with thumbs added afterwards.
The Cowl:
The cowl is worked flat in rows and buttons attached.
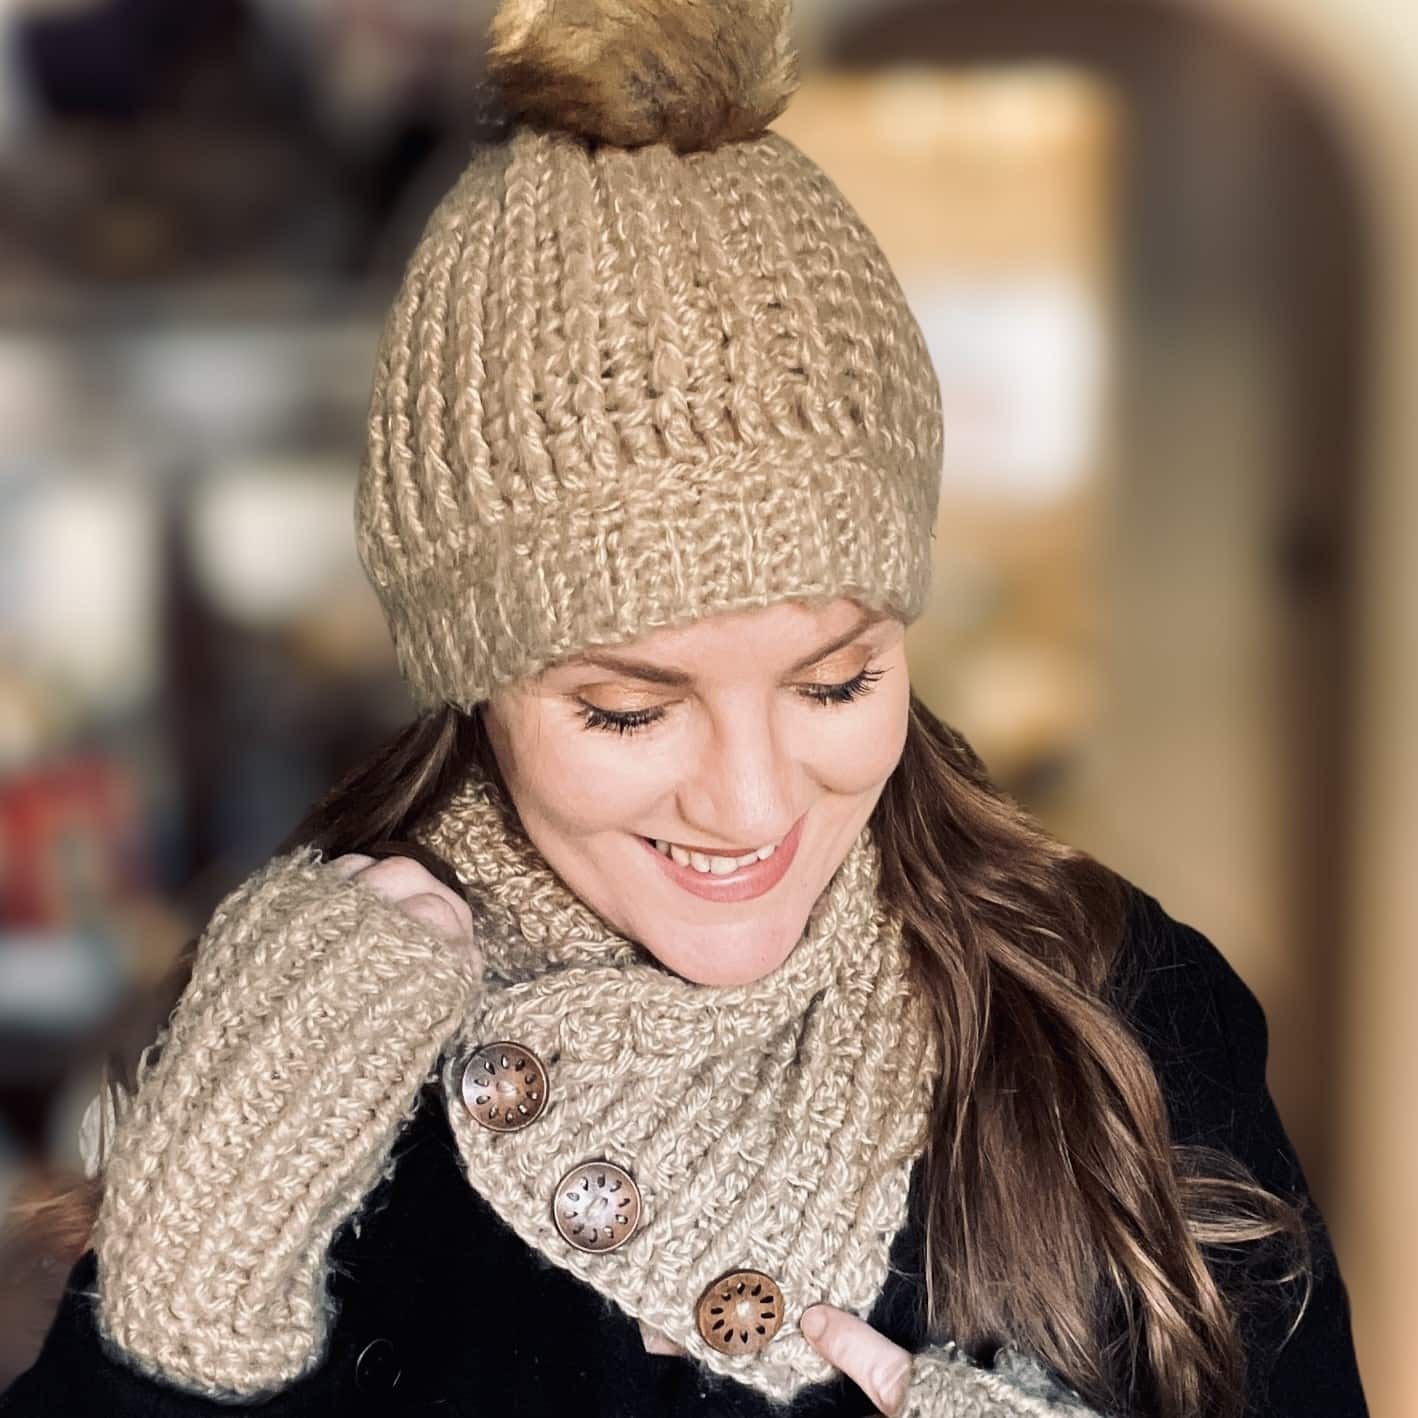
Here is one from my testers! Thank you to all the testers, I really appreciate you working through this pattern with me. Forever grateful 


Materials:
Suggested Yarn: Yarn used in sample is Yarn Bee Tender Touch in Suede
Suggested Yarn Details: 100% Acrylic- 3 oz, 135 yds per skein.
Care: see label for instructions.
Yardage Needed: 407 yards (a little over 3 skeins)
- Hook Size: 6.5 mm
- Measuring tape
- Scissors
- Darning Needle
- Buttons – I got a bag from Michael’s
Yarn Substitution: Any 5 weight or similar see yarn subs here.
Abbreviations:
| fsc | foundation single crochet |
| dc | double crochet |
| hdc | half double crochet |
| FPdc | front post double crochet |
| FPtr | front post treble crochet |
| blo | back loop only |
| rep | repeat |
| beg. | beginning |
| sl st | slip stitch |
| st(s) | stitch(es) |
| ch(s) | chains(s) |
| ea | each |
| rnd | round |
| *…* | rep instructions between asterisk however many times indicated. |
PDF is available on Ravelry and Etsy for $6.50

Stitch Guide:
Stitches in pink are clickable links to a tutorial on how to create the stitch.
sc – single crochet – insert hook in indicated st, yo, draw up a loop, yo draw through both loops on hook.
dc – double crochet – yo, insert hook in indicated st, yo, draw up a loop, *yo, draw through 2 loops* – rep from * to * until you have one loop left on the hook.
Special Stitches:
fsc – foundation single crochet – create a slip knot. ch 2, insert hook in 1st chain. yo, draw up a loop. ch 1, yo, draw through both loops on hook. (2nd st) insert hook in bottom two loops of ch 1. yo, draw up a loop, ch 1, yo, draw through both loops (2 fsc created).
FPdc – front post double crochet – yo once, insert hook in indicated st (from front to back and out the front again). *yo and draw through two loops* – rep *…* until only one loop on hook remains on hook.
FPtr – front post treble crochet – yo 2 times, insert hook around indicated st (from front to back and out the front again). *yo and draw through two loops* – rep *…* until only one loop on hook remains on hook.
Surface Stitch – Please see this video tutorial for help with this stitch

Pattern Notes (Please Read):
- Beanie is constructed by working the brim first, then working in the round, with turns.
- Mittens are worked in the round; thumb is added later.
- See pattern for where to place first st, if not mentioned in pattern, it is made in same as ch.
- Always skip stitch behind front post stitchess, unless otherwise indicated.
- Sizing is written in pattern as follows: (S, M, L, XL)
Tips: You don’t have to work super tight, make sure you meet the gauge. Some of my testers ended up using more yarn than I did, and I’m not super sure why?
Ready? Let’s make it!
Fuzzy Bee Winterset

Skill Level
Beginner to Easy
Pattern:
with 6.5 mm hook… using Yarn bee tender touch in suede
Brim:
Row 1: Ch 6, sc 1 in 2nd ch from hook and in st ch across – 5 sc.
Row 2: Ch 1, turn, sc 1 in first sc, sc 1 (blo) in next 3 sts, sc 1 in last st – 5 sc.
Row 3 – 54, 56, 58, 60: repeat row 2, or until it measures (18, 19, 20, 22)”
Join ends with sl st in back loop of front piece and front loop of back piece.
Top of Beanie:
Rnd 1: Ch 1, sc 1 in ea end of row around – 54, 56, 58, 60 sc.
Rnd 2: Ch 2, dc 1 in ea st around, join in first dc – 54, 56, 58, 60 dc.
Rnd 3: Ch 2, *FPdc1, BPdc1* rep *…* around, join in first st, join in first st – 54, 56, 58, 60 sts.
Rnd 4 – X: Repeat rnd 3 until beanies measures 7, 7.5, 8-8.5, 9” from brim to last row completed.
Tie off leaving a 12” tail for sewing. Flip inside out, and bring together the top portion, sewing all into the center. Leave addition tail for attaching Pom.
(Beanie uses approx. 1 skein plus a tad extra)
Surface stitch where brim meets top of beanie. With RS out, insert hook with sl st attached from bottom to top. Surface stitch around in each hole created by row 1 of sc.
Tie off and weave in tails.
Hand warmers (one size):
Round 1: fsc 20, join in back loop of first fsc – 20 fsc.
Round 2: Ch 1, sc 1 (blo) in same as ch 1, (mark first sc), sc 1 (blo) in ea st around, join in ch 1 – 20sc.
Round 3: Repeat 2.
Round 4: Ch 1, *dc 1 in front loop of round 2, sk 1 st behind st just created, sc 1 (blo) in next st*, rep *…* around, join in ch 1 – 20 sts.
Round 5: Ch 1, *FPdc 1 around FPdc, sc 1 (blo) in next st*, rep *…* around, join with sl st in ch 1 – 20 sts.
Round 6, 7, 8: Repeat Round 5.
Round 9 (left hand): Ch 1, *FPdc 1 around FPdc**, sc 1 (blo) in next st*, rep *…* around, ending rep at ** in the 15th st, ch 3, sk 3 sts, FPdc 1 in next st, sc 1 (blo) in last st, join with sl st in ch 1 – 17 sts, (1) ch-3.
Round 9 (right hand): Ch 1, FPdc 1 around FPdc, sc 1 (blo) in next st, ch 3, sk 3 sts, sc 1 (blo) in next st, *FPdc 1, sc 1 (blo)*, rep *…* around, join with sl st in ch 1 – 17 sts, 1 ch-3.
Round 10 (left hand): Ch 1, *FPdc 1 around FPdc**, sc 1 (blo) in next st*, rep *…* around, ending rep at ** in the 15th st, sc 1 (blo) in next 3 ch’s, FPdc 1 in next st, sc 1 (blo) in last st, join with sl st in ch 1 – 20 sts.
Round 10 (right hand): Ch 1, FPdc 1 around FPdc, sc 1 in back loop in next 5 sts, *FPdc 1, sc 1 (blo), * rep *…* around, join in ch 1 – 20 sts.
Round 11 (left hand): Ch 1, *FPdc 1 around FPdc, sc 1 in back loop in next st*, rep *…* around, ending rep at ** in the 16th st, FPdc 1 around next sc, sc 1 (blo) in next st, FPdc 1 around next FPdc, sc 1 (blo) in last st, join with sl st in ch 1 – 20 sts.
Round 11 (right hand): Ch 1, FPdc 1 around FPdc, sc 1 in back loop in next st, *FPdc 1 around next sc, sc 1 (blo) in next sc* (2 times), FPdc 1 around next sc, sc 1 (blo) in next st*, rep *…* around, join with sl st in ch 1 – 20 sts.
Rounds 12 – 19: Repeat round 5.
Round 19: Ch 1, hdc 1 in ea st around, join in ch 1 with a sl st – 20 hdc.
Round 20: Ch 1, hdc 1 in ea st around, join in ch 1 – 20 hdc.
Cut tie off, run a simple stitch along the line between Round 1 and Round 2.
Thumbs (optional):
Turn inside out, attach yarn in any stitch around thumb hole.
Row 1: Ch 1, sc 1 in each st around (I had 11 sc), join in first sc – 11 sc.
Row 2: Repeat row 1 in back loop only, don’t join, mark last completed sc – 11 sc.
Row 3 – 4: Begin working in the round, no joins, sc 1 (blo) around until thumb is desired height, tie off, weave in tails, flip right side out.
Cowl:
Row 1: fsc 19
Row 2: Ch 2, (ch does not count as st), turn, dc 1 (blo) in each st across – 19 sts.
Row 3: Ch 3 (ch 3 counts as st), turn, *FPdc 1 around next dc below, sk st behind FPdc, dc 1 (blo) in next st*, rep from *…* across, ea st across – 19 sts.
Row 4: Ch 2, (ch does not count as st). turn, dc 1 (blo) in each st across, making last dc in top of ch from prev row – 19 sts.
Row 5: Ch 2 (counts as ch 1 and a 1 st), turn, *FPtr 1 around FPdc from row 3, sk st behind FPtr, sc 1 (blo) in next st*, rep *…* to end – 19 sts.
Row 6 – 47: Rep rows 4 & 5.
Row 48 (buttonholes row):
Ch 2, turn, dc 1 (blo) in ea of next 3 sts, ch 1, sk 1, *dc 1 in ea of next 5 sts (blo), ch 1, sk 1* (two times), dc 1 (blo) in each of next 2 sts, and dc 1 in t-ch. – 16 dc, 3 ch-1’s.
Row 49: (remember to sk sts behind FP stitches)
Ch 2, turn, FPtr 1 around FPtr from row 47, sc 1 (blo) in next dc, **sc 1 (blo) of ch 1, sc 1 (blo) in next dc, *FPtr 1 around FPtr from row 47, sc 1 (blo) in next dc* (two times) rep from ** once more, sc 1 (blo) of ch 1, sc 1 (blo) in next dc, FPtr 1 around FPtr from row 47, sc 1 (blo) in next dc – 19 sts.
I was trying to keep this a 3-skein project, but just barely made it.
Row 50: Ch 1, turn, sc 1 in each st across and 1 sc in second ch of ch-2 – 19 sc.
Cut, tie off, weave in all tails.
Attach buttons on opposite side, line them up with the buttonholes.
Congratulations! You’re Finished!
If you have any questions about this pattern, please join my pattern support group Stardust Gold Crochet & Friends here.
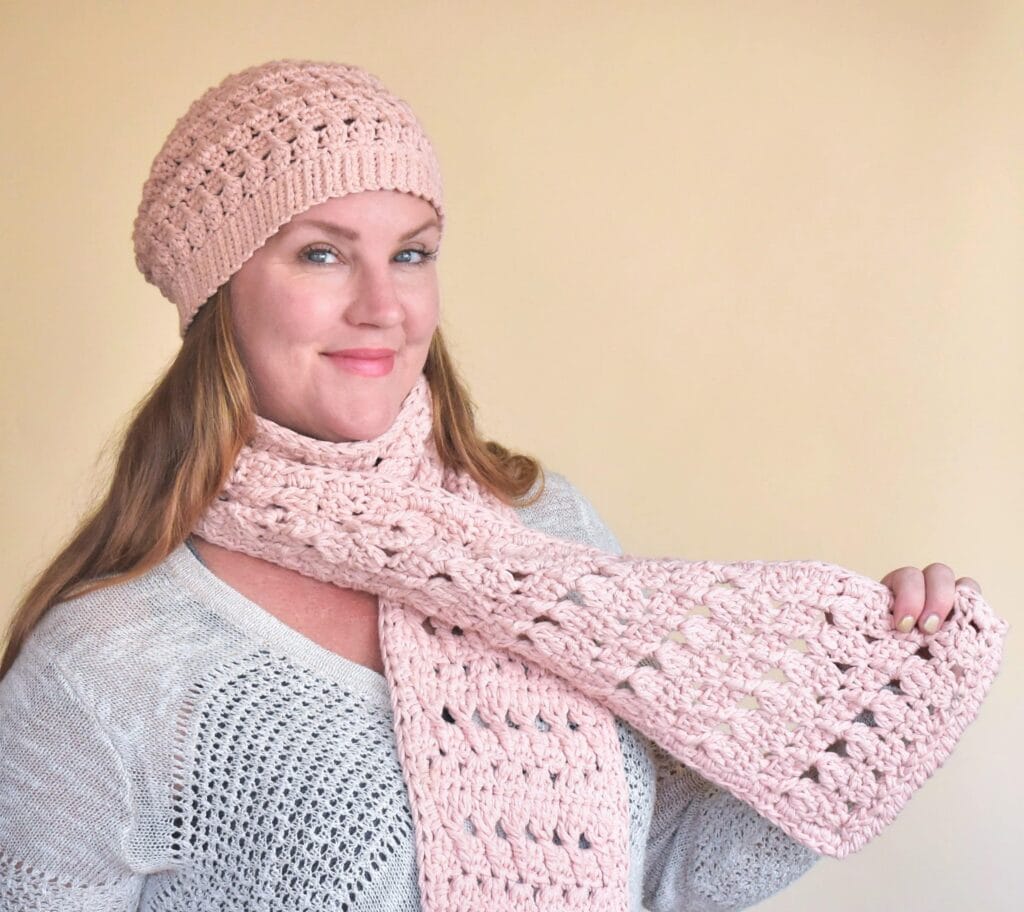
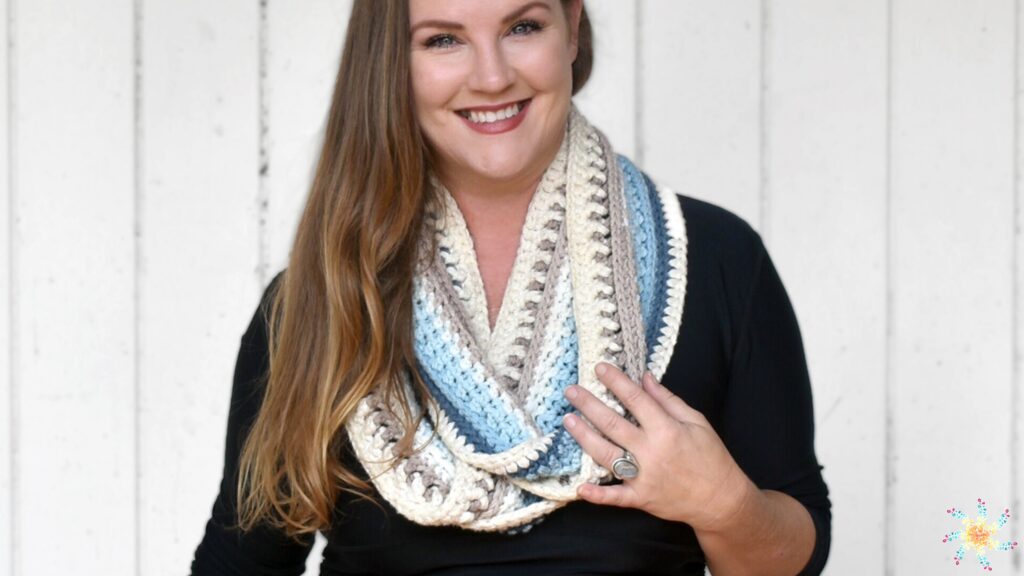
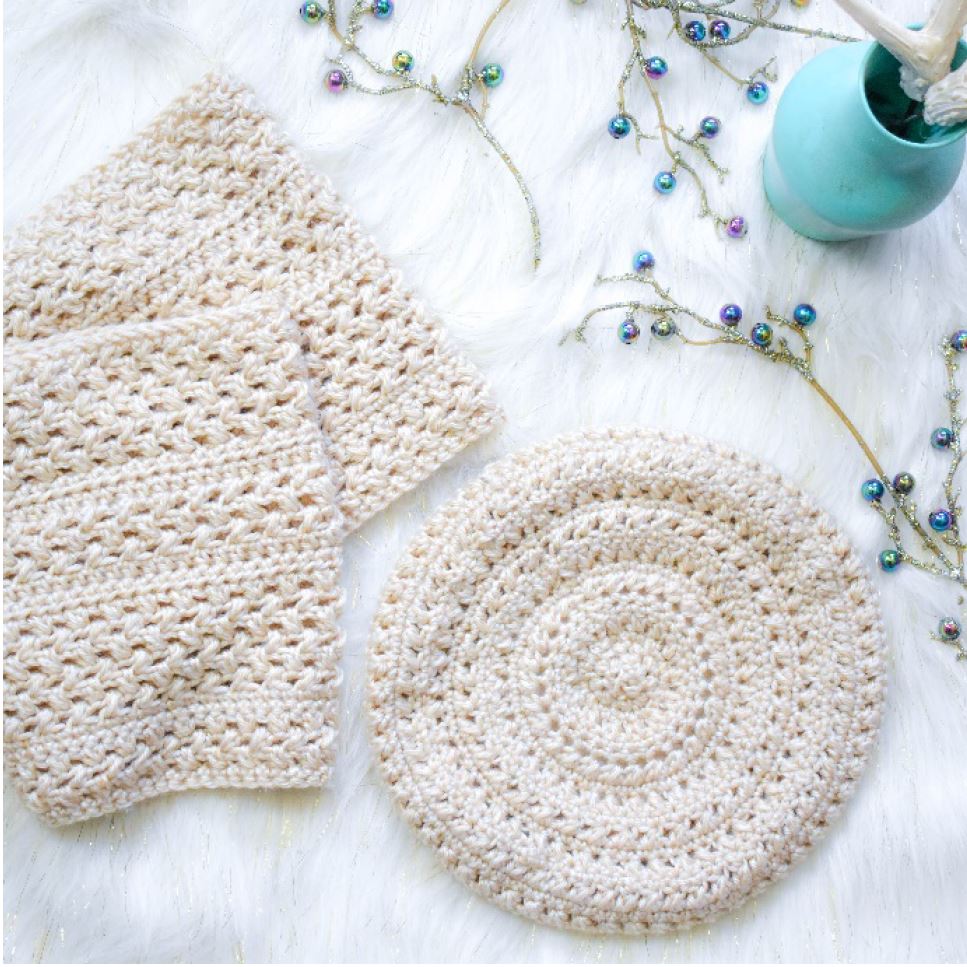
More Crochet Scarf and Beanie Sets You May Like…
Autumn Harvest Blog Hop Freebie!
Thanks for stopping by the Autumn Harvest Blog Hop! Today’s free PDF download is here! CLICK HERE to get the download.


Thanks for stopping by and making beautiful things with me, PLEASE SHARE AND PIN! IT’S HOW I KEEP MY PATTERNS FREE!
If you’d like to collaborate with me, please send me a message or leave a comment, I would love to work with you!

All photos and pattern are property of Stardust Gold Crochet.
Feel free to sell items created from this pattern, but please do not copy, distribute, or sell this pattern as your own.
This post contains affiliate links, if you happen to purchase from my links, I will earn a few cents :). Thank you for that!



I am having the same problem. It keeps saying there was a problem.
Im having the same problem. Also getting something went wrong message. Restarted my computer, still no luck.
I’m having the same problem. It tells me the page can’t load. I subscribe as well.
I clicked the link for the pdf and it says there was a problem signing up. I tried several times. I already get your newsletter so I don’t know if that is the issue.